Date: June 5, 2020
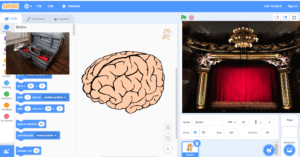
Scratch is a basic coding language that uses drag-n-drop coding blocks to create gameplays and stories. In this series, learners will be guided through the following basics in Scratch:
- Introduction to the Scratch learning environment
- How to delete, add a sprite, and add a backdrop
- How to make a sprite say something
- How to add sound
- How to make your sprite fly around
- How to make your sprite glide from one point to another
- How to make your sprite move left and right
- How to move up and down
- How to code costume changes
- How to code backdrop changes
Scratch provides endless opportunities for learners to practice computational thinking by creating their own stories and games. By working solo or in groups, learners can make their favorite story come to life or take their characters on an adventure through the realms just by dragging coding blocks in the right order.
The possibilities are only as limited as your imagination folks!
Scratch Episode’s 1-10
Scratch uses building block style coding to create animated stories using computational thinking. The learners will learn about the basic interface of Scratch like:
- The Sprite Pane
- The Stage
- The Block Palette
- The Code Area
Along with the terminologies like block palette, sprite, sprite pane, and stage (all terminologies are from scratch), the learners will also be introduced to coding blocks like:
- Motion
- Look
- Sound
- Event
- Control
- Sensing
- Variables
- Operators
The learners will drag and drop the coding blocks onto the code area and make their sprites follow the program instructions. Detailed instructions are provided along with pictures for each step.
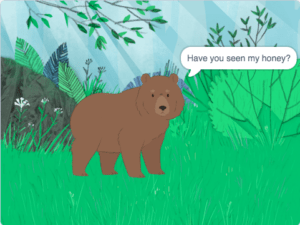
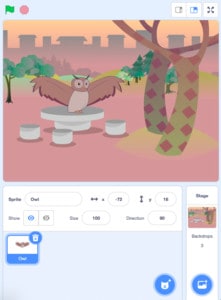
This episode will take the learner through the steps of adding code to make your sprite say something using the speech bubble through the event coding blocks. They can be found on the left-hand panel of the screen. Students can have two Scratch characters on the stage and write dialogues for the characters. In this episode, the students will build upon their previous knowledge of Scratch and learn terms like:
- Events (These blocks are used to sense events, which trigger scripts to run)
- Looks (These blocks are used to control a sprite’s appearance)
- Stage (The stage is the area where the sprites are and perform their actions)
Detailed instructions and Youtube videos, along with examples are provided with each lesson.
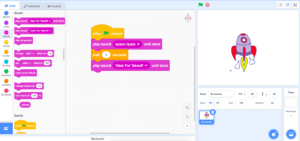
This episode will teach the students how to add sound to their sprite. They will also build upon new vocabulary like:
- Sound (sound blocks are color-coded pink/magenta and used to control sound functions)
- Sound Editor (The Sound Editor allows a user to edit and remix sounds)
- Sound list (The Sound List on the left side of the Sound Editor is used to select sounds for editing in the editing area)
The students can choose sounds from the library or choose to record their own sounds/voices using the device’s microphone to make the sprite more personal. The lesson has step-by-step instructions and pictures to guide the learners. Students can also learn how to:
- Produce multiple sounds
- Have the sounds play at an interval
- Specify how many times the sound will play
Test their code to see how the program behaves!
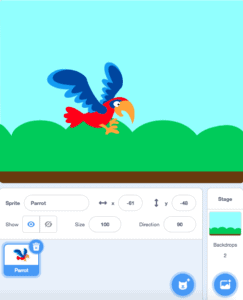
In this episode, the students will learn how to make their sprite fly by introducing the “Motion” block. The students will learn how to:
- Make their sprite glide around the stage
- New Events block “when this sprite clicked”
- New Motion block “glide one second to random position”
The steins will be introduced to a new coding block, “Motion”. Students will combine all of their knowledge and choose a sprite, add a background, choose motion and sound, and run their code to see if it works.
Every Scratch project whether it be a game, story, or animation will always have the x,y grid behind the stage to determine where sprites are located. These lessons are for intermediate learners with prior knowledge of coding and mathematical reasoning. The lessons will teach advanced vocabulary:
- Variables
- Coordinates
- X position for horizontal location
- Y position for vertical location
The students also control the speed of the motion by deciding how long the sprite will take to travel from one position to the next, e.g. two seconds. Step-by-step instructions and a Youtube link is available with each lesson.
In this episode, learners will explore:
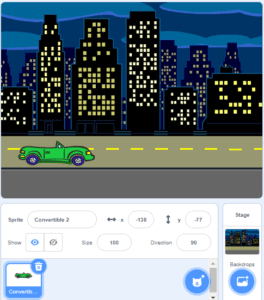
- Moving their sprite left and right using the left/right arrow keys
Students will learn how to locate their sprite position in x:y coordinates and notice that the position of the coordinates changes as they move their sprite on the stage. Students will use the events and motion blocks to determine the motion of their sprite and choose to control the motion using arrow keys. Step-by-step instructions and a Youtube link are available with each lesson.
In this episode, learners will explore:
- Moving their sprite left and right using the up/down arrow keys
- The same concept as lesson 7, but with the up/down arrow keys.
New concepts introduced
- Costume – A costume is one out of many different frames (pictures) of a sprite
- Paint editor – The Paint Editor is Scratch’s built-in image editor. The Paint Editor allows Scratchers to create their own sprites and backdrops using it or adjust to any existing sprites and backdrops
The students will choose a sprite from the library that has more than one costume (pictures). The step-by-step instructions and a Youtube video tutorial will guide the learners through the process.
The students can also determine the transition period between each costume change.
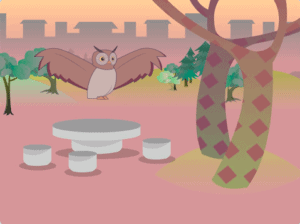
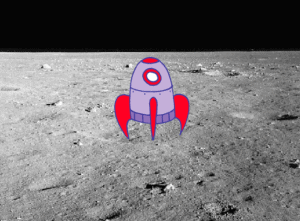
In this episode, students will learn how to transition between different backdrops as their code runs. Students can tell a story using their sprites as they transition between different backgrounds. E.g the story of a moon landing or space exploration. Step-by-Step instructions and video tutorials are available with each lesson.
