
Introduction
In this module, students examine body image and pressures on girls and boys to have the “perfect” body. Students will learn how digital media portrays “perfect bodies” and will challenge what they see in social media and on the internet. From a practical standpoint, students will identify factors and pressures that affect healthy and unhealthy body image and discuss the role of self-esteem and how other factors such as peer pressure, mental health, depression and anxiety affect self-image and body image. They will also practise strategies to challenge dominant cultural ideas as a way to make healthier choices. The end product can be a collection of students’ digital posters that deliver body-positive messages.
Learning Goals
- Students will be able to identify the factors that impact an individual’s body image in positive and negative ways
- Students will be able to identify social, environmental and cultural influences on body image
- Students will make digital posters to express in a creative or artistic way the messages they want to convey about positive body image
Vocabulary
- Self-Concept – The perception a person has of their own identity. People form self-concept using interpretations of information they acquire about themselves through experiences and interactions with others and their environment. A person’s self-concept can be influenced by the opinions of others, reinforcement of behaviour, and explanations or understanding of one’s own behaviour or actions. Unlike self-esteem, self-concept is neither positive nor negative, but rather accurate or inaccurate, or extensive or narrow.
- Body Image – The subjective picture or mental image one has of one’s own body.
- Critical Media Literacy – Aims to analyze and understand the power structures that shape digital media representations and the ways in which audiences work to make meaning of images and words. (The Ontario Curriculum Health and Physical Education. Accessed July 2020)
Guiding Questions
- What does a healthy body look like?
- What does a healthy body feel like?
- What factors influence how we see bodies as healthy or fit, or not?
- Does a thinner body mean a healthier body? Why or why not?
- Do you think social media and advertisements promote healthy or unhealthy body image?
- When you think about games you play online, do they promote healthy or unhealthy body image? Is it different for males and females?
- What can you do to challenge these ideas society presents, and to start to accept that all bodies are of different sizes, colours and shapes?
- What can you do differently to gain greater self-acceptance and take better care of your own body?
Curriculum Links
This module can be used to address components of Health and Physical Education and Language Arts. Cross-curricular links can be made to subjects including Social Studies, (peer pressure, social determinants of health), Critical Media Digital Literacy (critical thinking and consumption of digital media), Coding (creating games and apps to promote positive body image), Arts (graphic design) and Literacy (graphic novels or comic strips).
Materials
- Paper for Gallery Walk activity—one per student
- Paper for exit activity I.A.L.A.C. “I Am Lovable And Capable”—one per student
- Laptop and projector to show exemplars of graphic poster (optional)
Non-Computer Introduction Activity
1. Gallery Walk – Body Image Stations
Write one statement at the top of each of 12 sheets of paper. Post the sheets around the room. Students divide up so there are one or two students per sheet. Students spend 30 seconds completing the statement, then rotate around the room clockwise until they have completed all 12 statements.
Suggested statements:
- I feel good about my body when…
- I don’t like my body when…
- Ads for weight loss are…
- I know I am hungry when…
- Junk food is…
- I exercise because…
- Body images on television are…
- I dislike this part of my body…
- I like this part of my body…
- Ways I cope with stress include…
- A thinner body is….
- A healthy body is…
After everyone has had a chance to write down their thoughts, discuss as a group.
Computer Activity
In this activity students will use Inkscape to create a poster that reflects a quote about body positivity. Students will learn how to edit the text and use a few effects tools. The end goal is to create a poster that reflects a positive self image. Visit Pinnguaq.com for a step by step tutorial of this activity.
Extension Activity
An additional end product over a full unit would be to have students share their digital posters at a school-wide health fair or day promoting awareness of the impact of advertising and social media on body image, or creating a school Twitter handle or Facebook group open to students to promote more body-positive language in school.
Conclusion
1. Have students write negative thoughts they have had about their bodies on sheets of paper. Then have them crumple up the sheets and put them all in a garbage bag. Seal the bag and leave the negative thoughts behind.
2. I.A.L.A.C. “I Am Lovable And Capable” Students leave class with a small piece of paper with the letters I.A.L.A.C. written on it and carry it with them throughout the day until the next lesson. They should write on the sheet when something affects them positively, and tear off a piece if something affects them negatively. Results are shared in the next class.
Additional Resources
- Teach Body Image: Dr. Lorayne Robertson Ontario Tech University
- Teaching Tolerance: Reshaping Body Image
- Media Smarts: Canada’s Centre for Digital and Media Literacy

Tutorial
Note to Teachers
Using the software Inkscape, students will create a digital poster that represents the factors involved in developing positive body image that might be distributed via school social media platforms.
If this is your first time using Inkscape, we recommend you also explore our introductory lesson at Pinnguaq.com – it will give you a good foundation in the basics of using the software.
Materials
Introduction
In this activity we are going to create posters using the digital art programme Inkscape. Our goal is to use art to share positive messages about ourselves.
To begin, think about the message you want to share on your poster. Something extremely important that goes hand-in-hand with body positivity and love of oneself is self care. Self care includes not only taking care of yourself physically (for example making sure you are drinking enough water, eating enough fruit and getting sufficient exercise), but also taking the time to become aware of and learn to understand your feelings. Some examples of ways of doing this are taking a walk to have some time to think or meditate. Some people like to write down their feelings in a journal. It is very beneficial to your health to do something that makes you feel relaxed and that allows you to spend time with yourself. Recognizing your emotions is one of the first steps to loving yourself and understanding who you are at a deeper level than your outer appearance.
Developing negative feelings about yourself can happen easily. For example, in your day-to-day life, have you ever compared yourself negatively to others? If you find yourself doing this, a good habit to develop is to block these negative thoughts by remembering something good about yourself. For example, if you feel envious of the way someone else looks, stop and recall one good thing about yourself. Here are some good things to tell yourself when you are feeling upset about your appearance:
- My appearance does not define who I am.
- I am beautiful no matter my size.
- I am beautiful, smart and funny in my own way.
- Another person’s size or beauty does not define mine.
- I am loved and I deserve the love I receive from others.
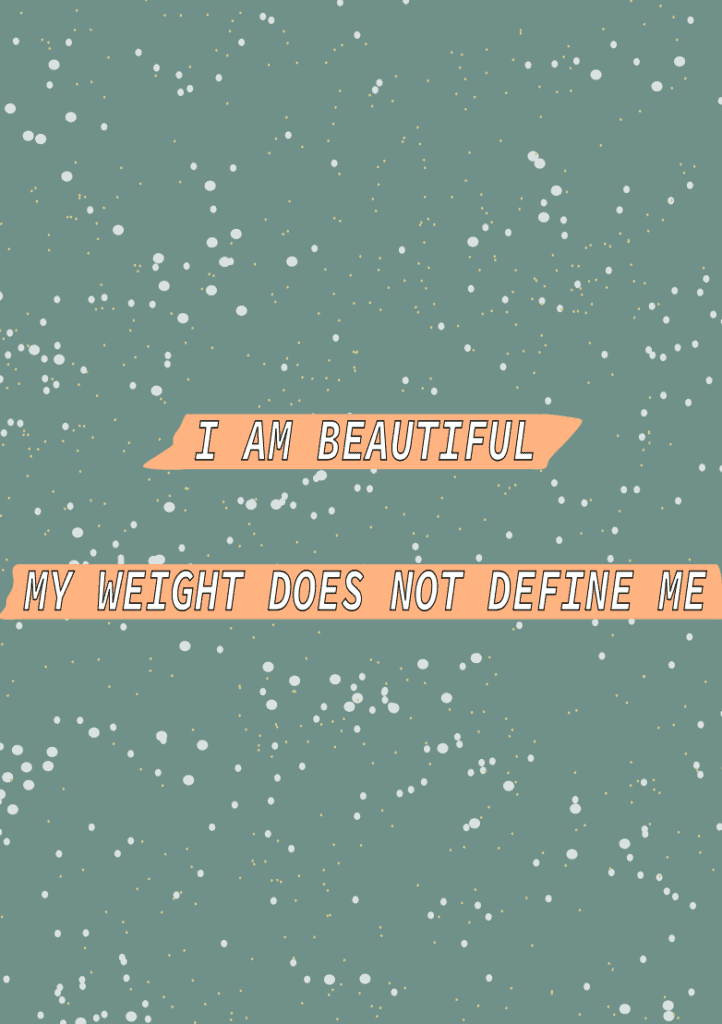
To begin your graphic poster, choose a statement or quote fthat expresses your feelings about body positivity. My example uses the statement I am beautiful, my weight does not define me.
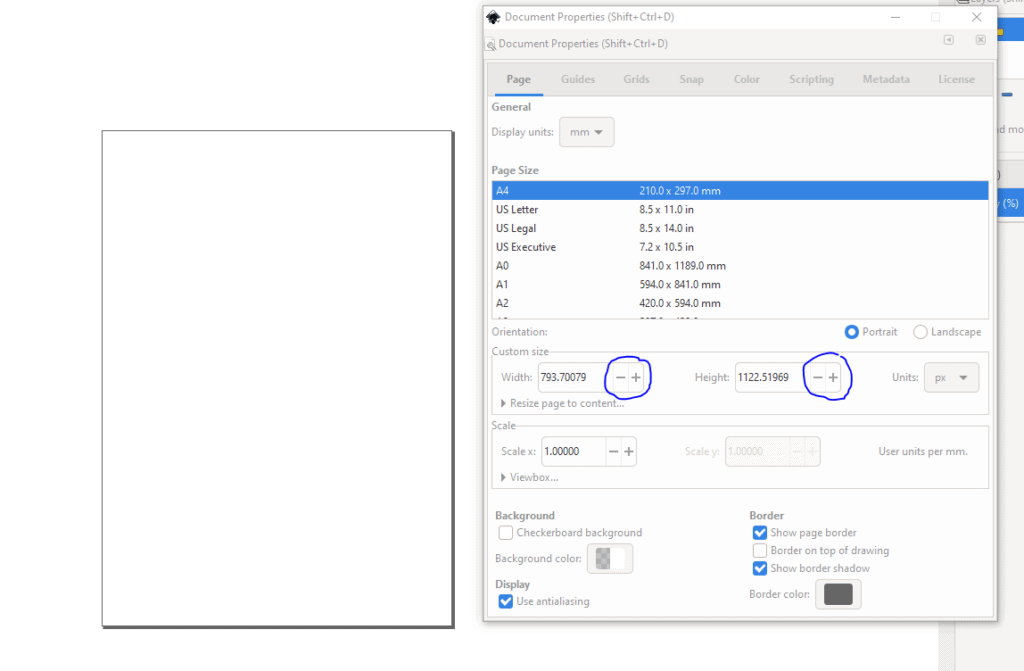
Step 1: Open Inkscape. The default canvas size (1,112×793 pixels) should be fine but if you want to change the size of the canvas, go to Files > Document Properties or hold down Shift+Ctrl+D on your keyboard. Under Custom Size, you will see width and height;beside them is a number with plus and minus signs – use these to edit the size of your document. You will see your document’s new size when you drag the document properties window away from your canvas.
TIP: Make sure you save your document regularly throughout this activity by holding down Ctrl+S on your keyboard. Inkscape can crash and you don’t want to lose your progress!
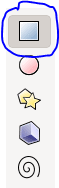
Step 2: Choose a colour for the background of your poster. To do this, select the square tool located in the left-hand toolbar or hit R on your keyboard. Remember that the colour you choose should also communicate the positive message of your poster.
- Click and drag across your canvas until the rectangle you create matches the canvas.
- Select a colour while the rectangle is selected. (If you clicked out of the rectangle and need to select it again, use the selection tool – the shortcut is S on your keyboard). Scroll through and find a colour you like. Now your canvas should look like this (with the colour you have chosen, of course.)

Alternatively, if you would like to use an image instead of a solid colour background, check out Unsplash for some great photos to use behind your statement.
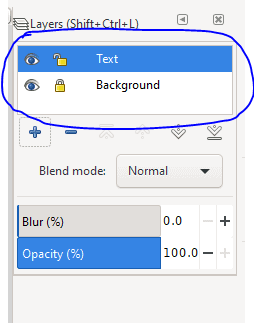
Step 3: Now that you have selected a background for your poster, you will need to create a new layer where you can add the text of your body-positive statement to your poster. Our background colour is on Layer 1. If you click in the box where it says Layer 1, you can change the name of the layer. Labelling your layers is also a good way to keep organized and not lose track of what each layer is for. Let’s name this layer Background and let’s also lock it so we can’t move it by accident. Right beside the layer name is a lock icon – click on it so this layer will be locked in place!
To create another layer, click the plus sign located at the bottom of the layers menu.
TIP: If the layers menu isn’t showing hold down Shift+Ctrl+L on your keyboard, or go to Layer > Layers… at the top-left corner.
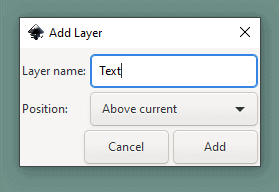
When you hit the plus sign, a window will pop up asking if you’d like to change the name and if you want the layer below or above the current layer. Keep it as a layer above, because we want our text to be on top of the background. Change this layer name to Text so it will be easy to find if you want to edit your image.
Now your layers window should look like this:
Step 4: Type in your body-positive statement or quote. In the left-hand toolbar, you will see a big A:
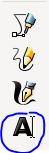
Select this tool, the left-click anywhere on the canvas and a text box will appear. Now you can type in your statement or quote. Then, we’ll centre the text, change the font, and choose a new colour for your text. Let’s take this step by step.
Note: All the toolbars mentioned above are located at the top of the screen, underneath where the File, Edit, View, etc. headings are. They will only show up if you have the text tool (T on your keyboard) selected.
- To centre your text, look for this icon:
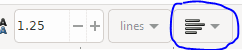
Click on it and several alignment options will pop up. For centre alignment, I chose the second option from the top.
2. Now let’s change the size and style of the font. You will see that right now, the size of the font is 30 points.
To fit my body-positive statement in the centre of my poster, I want my text to be a bit smaller, so I am going to change the size to 28 points. Another way to move text around is to use the selector tool, which you can choose by hitting S on your keyboard.
Now let’s change the font style. The Inksape default is sans-serif but I’m going to choose another font style from the list. You will find these options right at the very top-left corner of your screen.
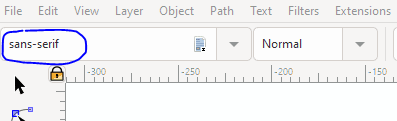
Select the kind of font you like. Also choose whether you want your text to be normal, bold, italic, etc. in the menu where it says Normal.
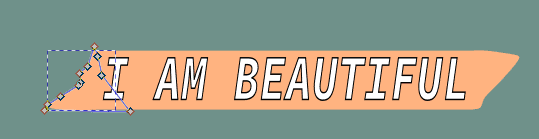
3. Now let’s change the colour of the text! It’s really simple to do this, just make sure the text is selected, then choose a colour from the colour bar at the bottom of your screen! If you would like to add a border of another colour around your text hold Shift on your keyboard and left click on the colour you want the border to be. I made my text white with a black outline – here is what it looks like:
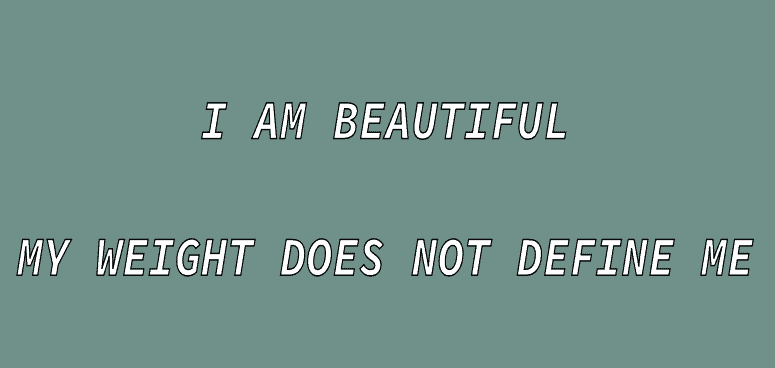
To create the space I have between the two lines of my text, I just hit enter on my keyboard after the word ‘beautiful.’
Step 5: Now it’s time to add some details to make your statement or quote pop. As you can see in the picture of my completed poster, my text has an orange border and I added some dots. Here is how I did both!
- First, I added a new layer, which I named Details. Then, for the orange border, I used the square tool and drew a box around my text. Make sure this layer is underneath the text layer and above the background!

Once you have created the box, select any colour you’d like. I chose this peach/orange colour because I think it goes nicely with the grey/blue background and white text. For the ends, I used the bezier tool (B on your keyboard). I wanted it to look like the orange swipes were made with a paint brush, so I drew some paths so that my box looks less like a plain rectangle. The bezier tool gives you more control so you can create precisely the shape you want.
When using the bezier pen, there might be a black outline around your path. If you want to get rid of it, hold down the Shift key and left click on the X box so there will be no colour around the path.

2. Let’s add some dots! Create a new layer that is one level above the background layer and name it Pattern. Then make a small dot on your canvas with the circle tool (E on your keyboard).
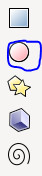
Now that you have created a dot, change tools to the spray paint can (A on your keyboard) and start spraying your canvas! A bunch of dots will show up. You can make different variations of dots and colours by creating a new dot and then using the spray paint can tool again. Remember you can also make any shape you want and use the spray paint can tool! This completes the poster, be sure to save the file so you don’t lose anything.
Step 6: Let’s export our final image as a PNG. In the File menu, you will see Export PNG image… or you can hold down Shift+Ctrl+E on your keyboard. A menu like this will pop up:
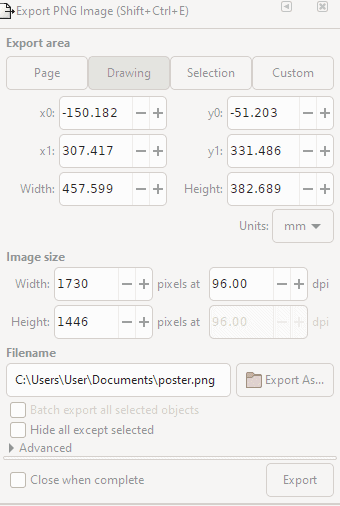
One important thing to do is set a file location and name, and then hit Export. Click on Export As… and select where you want to export your image, for example in your pictures or documents folder. Once you have done that, hit Export and your image will export to your computer.
To help promote body positivity consider sharing your poster via your school’s social media.
