Section Navigation

In the series: Building A House In Unreal 4 Series
Introduction
This module is designed to introduce Unreal Unreal Engine 4 Development kit as a creative tool. Specifically students will learn how to create a new project and explore the development environment.
Learning Goals
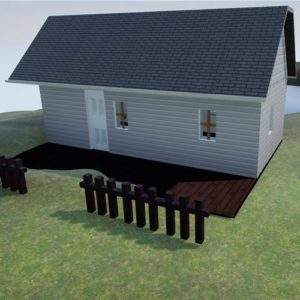
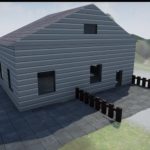
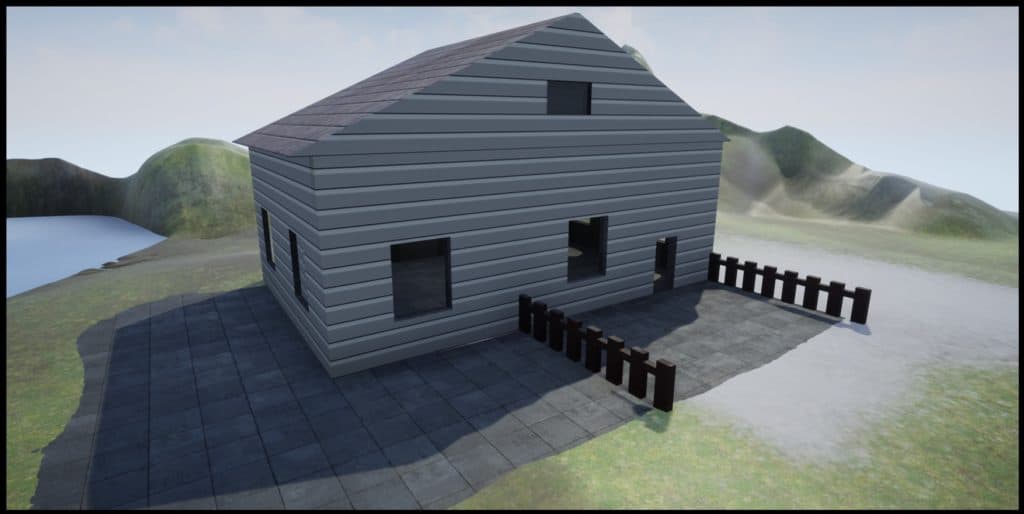
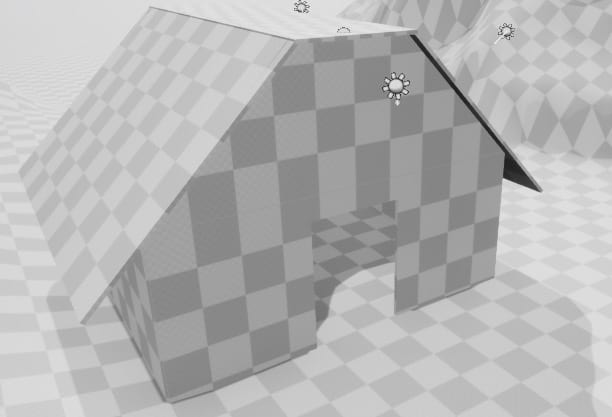
In this module students will learn how to build a basic room in Unreal 4. This will include creating a house and using the brush tool to block out, or prototype their house for a later module. The following image shows the goal of what students will build in this module.
Vocabulary
Mesh - Another name for a 3D model. Represents the wireframe of the model which looks like a mesh(net) fabric.
Brush Mode - This is an Unreal 4 feature that uses 3D frames to create 3D surfaces within itself. This is often used for blocking out projects in the alpha and design stages.
Volumes - In UDK a volume is a 3D space where something is happening. For example, a kill volume can be placed in water to instantly kill a player if they enter it.
Post Processing - Visual effects added to projects. For example, adding a colour correcting filter to an end product can make a desert level look washed out and bone dry if you lower saturation, making it feel more realistic.
VFX - Visual Effects. These can be added to levels, like post processing, to create a more immersive environment.
Vertex - This a point where edges meet. In a pyramid,the point on top is a single vertice.
Edge - this a hard angle of a shape. In a pyramid, the edges at the bottom that form the square base.
Face - this is the flat surface of a shape. In a pyramid, the square and 4 triangles are faces.
TARGA, .tga file - This is a file type that is used in UDK for texture files. More will be learned in a later module
Origin Point - This is the point at which an asset’s manipulator exists. This is set in a modelling program, and can be changed in UDK for easily moving assets.
Skybox - This is a large sphere that has a special material applied to it to replicate a real sky.
Material - This is unique to a texture, where a material has instructions inside of an engine. More will be learned in a later module.
Texture - This is a base image that is created based on the UV Unwrap of a model. It is what provides the colour and look of a model. More will be learned in a later module.
Blockout - This is a stage of development and is often part of the design process as well. In 3D levels and environments, often basic shapes are placed according to a blueprint in place of finished assets. This helps get a feel for the piece and allows testing to begin in the early stages.
Orthographic View/Ports - These are flat views of the 3D space. They show each axis individually on a grid so that placement of assets is properly aligned.
Curriculum Links
This module aligns with the Arts and Computer Studies curriculum in grade 9 – 12. Students are developing a new software through the creation of a new project. The use of the tools help them learn various elements of visual arts techniques as they explore different types of motion and simple mechanics.
Guiding Questions
- What are some of the components that make up a video game? (levels, environments, story-lines, characters)
Materials
- A computer with at least 2GB of GDDR (Graphics RAM), 8GB of computer RAM, 3.0GHz Processor and a hard drive
- An Unreal account – Register for Unreal
- Graph paper and drawing utensils
Non-Computer Activity
Plan Your House!
Today students will create a house. Let’s begin by asking what a house consists of, what kind of shapes they need to build it, and what their house might look like. Have the students use graph paper to draw their house before beginning with the Unreal Engine.
Computer Activity
For this module students will be building a room using a classic prototype pipeline. First students will build a room using the geometry brush system within Unreal 4. Refer back to the video included with this module for a more detailed explanation of the tools used in this portion.
- The Unreal Engine uses a launcher to start its software. Once you’ve registered and installed the Unreal Engine, you can launch it from that platform.
- Create a blank project. By default, Unreal offers only one blank template, which when you open it, already has a light, a plane, and other objects in it. Open that template, then click File > New Level > Empty Level to create a truly blank space.
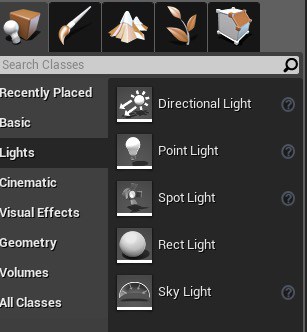
- Place a light into your blank project. Use Place > Lights > Directional Light
- Add a sky to your project. In the Content Browser section of your screen, click the folder button next to where it says ‘Content’ and select ‘Engine Content’ instead. Now type ‘Sky’ in the search bar. Several options should come up. Click and drag SM_SkySphere into the level. There are two – it’s not important which one you drag – one has clouds and the other doesn’t.

- Drag a box onto the scene using Place > Geometry > Box
- Drag a plane onto the scene using Place > Basic > Plane
- While the plane is selected, press the spacebar twice to switch to “Select and Scale Objects’. You can also switch to that mode by clicking the Select and Scale Objects icon at the top of your viewport.

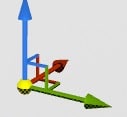
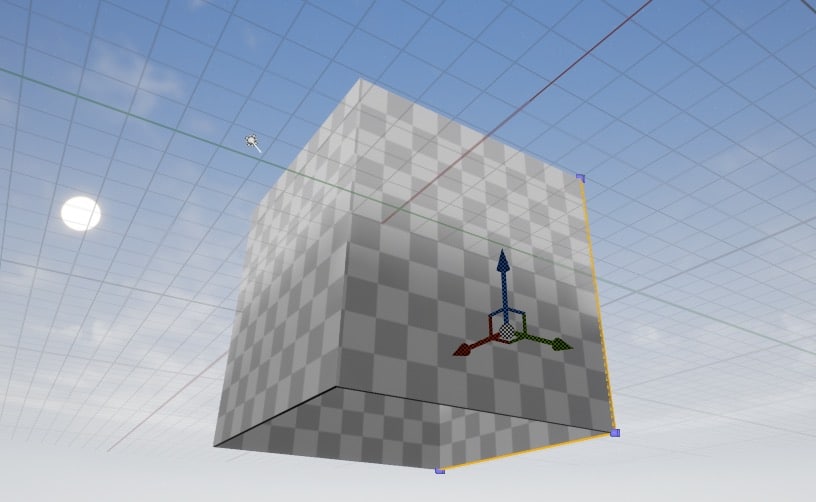
- Expand the plane so it fits your whole scene by selecting the plane and clicking and dragging the center of the manipulation tool at the intersection of the X, Y, and Z lines (the yellow dot) until it can’t grow any more and fits the entire scene.
- Your project should look something like this:
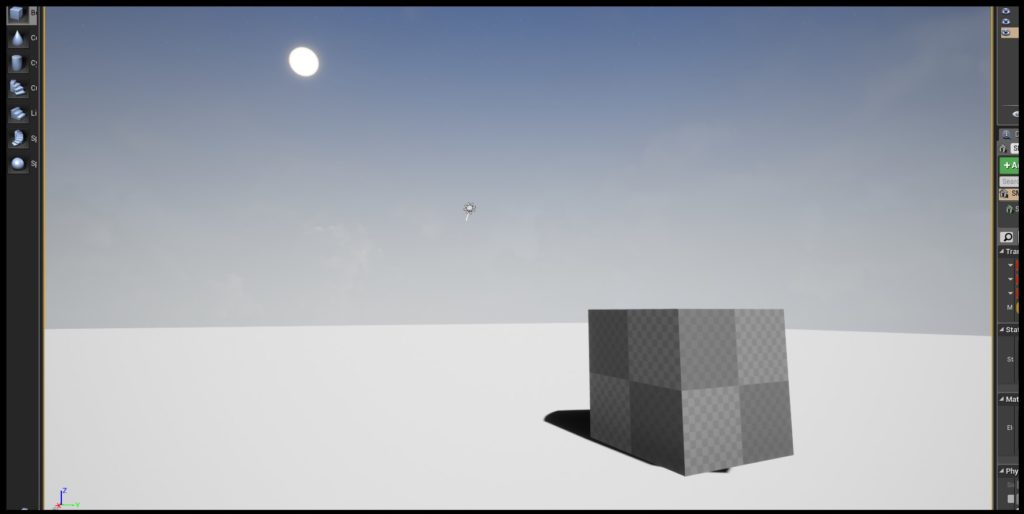
- Feel free to play around with the lighting, add new lights, or remove shadows, if you’d like. The skysphere is lit, in that it does not need light pointed at it to be visible, but is not a source of light.
- We’re going to start making our house. It is hard to put things together in a 3D space – sometimes things will look like they’re fitting well together, but then you’ll change the camera angle and see that from that angle, the walls and the floor are not connected at all. To make this easier, we’ll make it so we can only place our walls and grids in increments. Start by setting ‘Snap to Grid’ to 100. This will make it so that all objects can only move and be placed in steps of 100 pixels and will make it easier to be precise with placements.

- You’ll notice that if you try to move the box now, it moves in steps rather than smoothly.
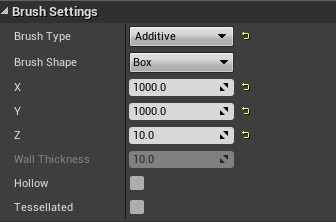
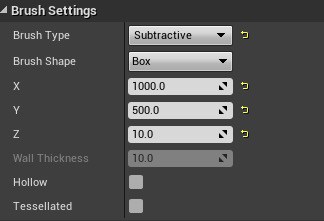
- We’ll start by building a floor for the house. We can use the square we’ve already put into the level. Select it, and then take a look at the “Details” section on the right. We can change the dimensions of the box by changing the numbers in the “Brush Settings”. If you set your dimensions as follows, you’ll end up with a nice flat square. Feel free to change the X and Y values if you want a rectangle instead, but a square will be easiest to fit together.
- Click and drag your floor using the Select and Translate function (W) until it is flush with the plane you started with – it would not be sensible to have it floating in the air. If you find it difficult to get it to the right place, you can use the “Transform” section in “Details” to move it around. Setting both the Box and the Plane to Z = 10 will place the box sitting directly on the plane.

- We can duplicate the floor to use as walls by holding Alt and clicking and dragging the box using Select and Translate Objects away. You can also hold down Alt while using the Select and Rotate Objects function – this will allow you to duplicate your box while also rotating it in any direction to make it act as a wall. Make sure that whatever direction you rotate it, it ends up at 90 degrees, so that it will be a right angle to the floor.
- Do this four times for all four walls and once for a ceiling. You should end up with a nice hollow box. If you rotated the box from sitting on the floor you might not end up with a perfect cube – half of the walls might be sticking down through the floor because the floor rotated on its center axis, not on its edge.
- You can fix this if you’d like your house to be a perfect cube by moving the walls up, or not if you’d like the walls to be half the height of the length of the floor.
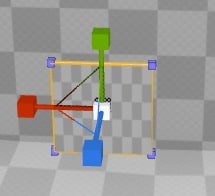
- Hitting spacebar will change the manipulator so that you can move, scale, or rotate your walls.
- It is interesting to note that you can’t use the “Brush Settings” in the same way as you used it initially because when you change the dimensions of the box, it changes the XYZ values as though the box was still lying down as the floor. With a little experimentation you can figure out which values to play with to change the size of the box to your liking, or just use the “Select and Scale Objects” function (R) to change their size.
- Repeat the process two more times for the roof. To get a slanted roof, you’ll have to use the Select and Rotate function
- Remember when you’re moving your walls to use the XYZ movement controls rather than just grabbing the center piece and moving it around- if you grab the center, there’s a good chance that the piece will appear in the right place only until you change the camera angle and realize it was off on one or two of the axes.
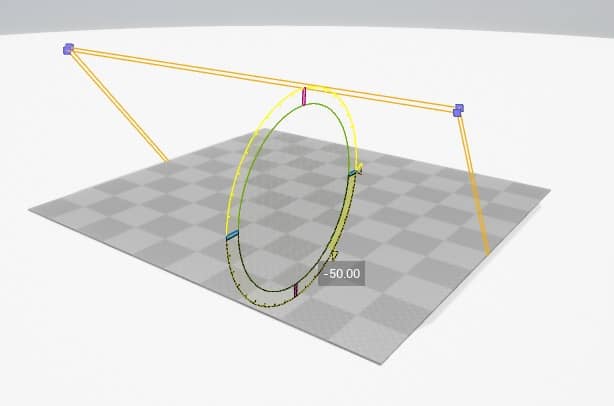
- Let’s add a window and a door! The easiest way to do this is to use the subtractive brush. Basically you just create a shape (a mesh) and then use it to subtract rather than add. So use the same method we used to create the extra walls (Alt + Click and Drag) and use the select and scale objects function to shape it however you’d like your window and door.
- Now stick the window or door right into the wall where you’d like it to appear. Make sure that it’s flush with the wall by changing the angle you’re looking at it from. Once it’s positioned, go to brush settings in the Details toolbar and switch Brush Type to Subtractive. The window and the wall that it’s placed in should disappear in the shape of the mesh that you put in the space.
- For an extra challenge, try creating a triangle shape that will fit between the roof and the wall. Duplicate a wall, put it in the space, then create and rotate some new objects in Subtractive mode to erase the parts of the wall that are sticking out.
- Build your project and then press the ‘play’ button – you’ll be able to fly around using the mouse and the WASD buttons.
When Things Go Wrong
If a student is struggling with aligning their pieces to the grid, there is a snap button at the top of the viewport. You can change the snap increments. If the asset is not properly aligned to the grid, you can right click on it, go to “Transformation” and select “Snap object to grid”.
If a student is struggling with their geometry changing every time they move their brush, make sure they are Alt + dragging the geometry to duplicate it before they edit the brush. They can also continue dragging shapes from the geometry menu in to the level. Make sure they switch back to brush mode so they can edit.
Conclusion
Give students lots of time to build their houses with this tool. Once complete check out the third Unreal Engine 4 module where pre-built assets are used to finalize their creations and decorate them.
Resources