
Anatomy of a Mesh
Enter Edit Mode. In this mode we can see the elements of a mesh. These elements can be used to manipulate objects into looking entirely different from the where they started.
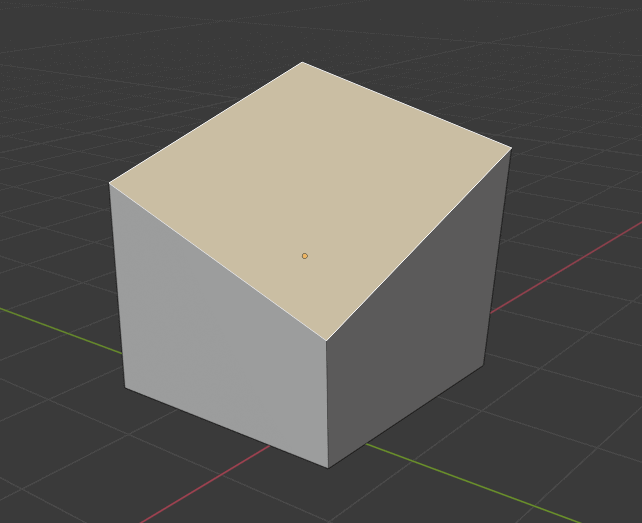
Thus far we have dealt with whole objects. We are actually able to open these objects up and edit their individual components. Letting us create almost anything within the Viewport. To gain access to the components of an object we need to change modes. In the bottom left of the viewport there is a drop down menu that says ‘Object Mode’. We can either use that menu and select ‘Edit Mode’ or we can press the hotkey Tab to switch into edit mode.
Once in Edit mode the bottom UI of the viewport will change slightly. The one we need to take note of is the 3 buttons that look like a dot on a box (vertex), a line on a box (edge) and a square on a box (face). These buttons will let us switch between the 3 components of a mesh:
Vertex – A point in space (2D or 3D)
Edge – A line that connects 2 points
Face – 3 or more Edges connected
We can use the UI at the bottom of the Viewport to switch between these elements. We can also bring a menu to our mouse by using the hotkey Ctrl + Tab and then selecting the element we wish to work with.
- Thank you Kerusu on SoundCloud for sharing this great track!