By Brandon Bunnie
Virtual teaching comes with many challenges. As is clear to anyone who has watched teachers and young kids try to adapt to school closures during the COVID-19 pandemic, it’s not easy to hold the attention of a group through the small window of a flat screen.
Luckily, there are novel ways to make the experience more engaging and interactive. With virtual learning becoming increasingly common, new tools and technologies are helping improve the process for both instructors and learners.
Open Broadcaster Software, or OBS Studio, is a free, open-source platform for video recording and live-streaming. It’s available for Windows, macOS and Linux, and can be downloaded on the OBS website. It has a wide variety of applications, and is useful for anyone looking for a way to make online teaching a more intimate, dynamic experience for learners. Using OBS, you can customize your desktop by adding media elements that can take virtual lessons beyond the standard lecture mode, to enable something more interactive, stimulating and interesting.
To set up OBS for virtual teaching (this tutorial is for Windows; the process differs for Linux and macOS), you’ll need to download two programs—OBS and the OBS-VirtualCam plugin.
First, download and install OBS. Once installed, it will run a wizard that will configure your streaming settings based on the machine you’re using and the quality of your internet connection. When the setup wizard is complete, close the program.
Next, go to the VirtualCam plugin page. On the right side of the page, you’ll find a rectangular button labeled Go to Download. Clicking on this will download an .exe file. Complete the download by running the .exe. Now OBS is all set up to allow you to present almost anything via your video window.
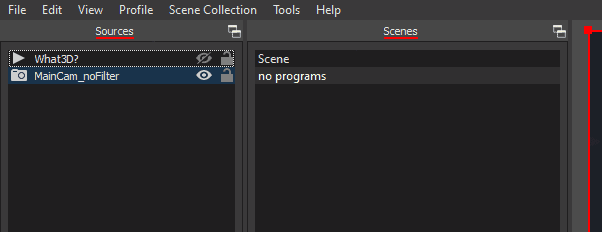
In OBS, start by building your scene. Three windows will be your main focus: Scenes, Sources and Canvas.
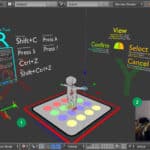
The Canvas is the window that displays what you’re sharing with your audience. It will be the largest and central window of the application. Use the red handles to resize images or move them around to ideal positions.
The Scenes windows are similar to pages on a website—much as any webpage can have a different setup and information displayed on it, the same is true for scenes.
Sources is where you will find and link to the content you want to display. To add elements, use the plus-sign button at the bottom or right-click in the window.
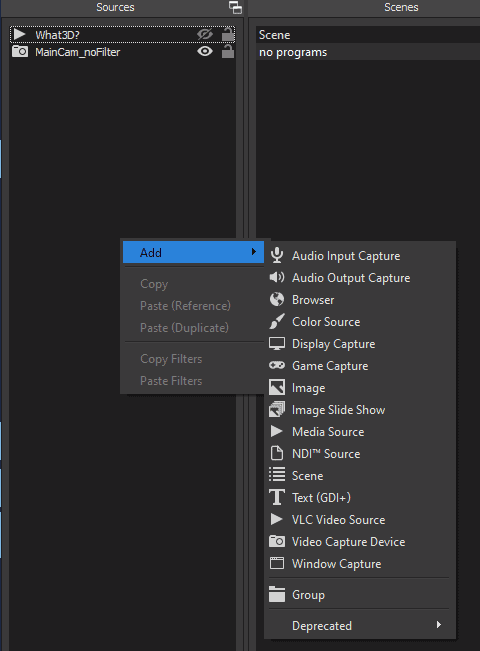
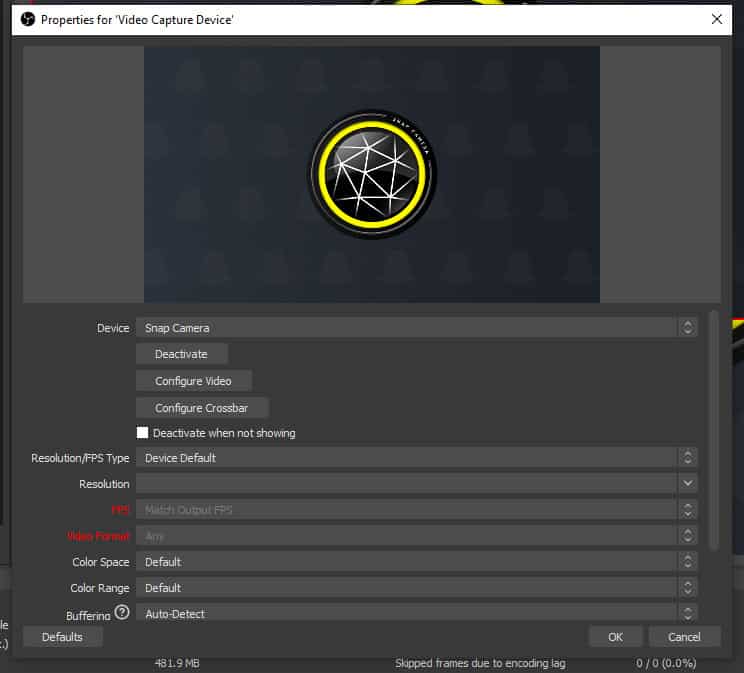
Select a Video Capture Device element and link to your webcam. Select a name for the element (for example, “Me”). After that, another window will appear, asking you to choose which device you wish to use. Select your camera.
Now, to get the OBS image into your camera, go to Tools on the top toolbar and select VirtualCam from the drop-down menu.
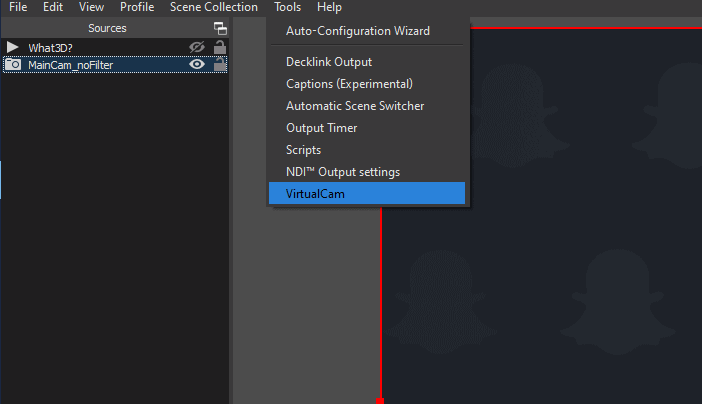
A dialogue box will pop up. Press Start and then go to your online meeting application (Zoom, Meet, etc.). Here, you’ll need to configure the video to use the OBS Camera instead of your regular camera.
Add further elements to a scene by selecting them in the dropdown menu and pointing to where the content is housed—a website, video, images, etc. Ordering your sources determines how they will be layered or stacked on the page; the source at the top of the list will be the top layer, and so on.
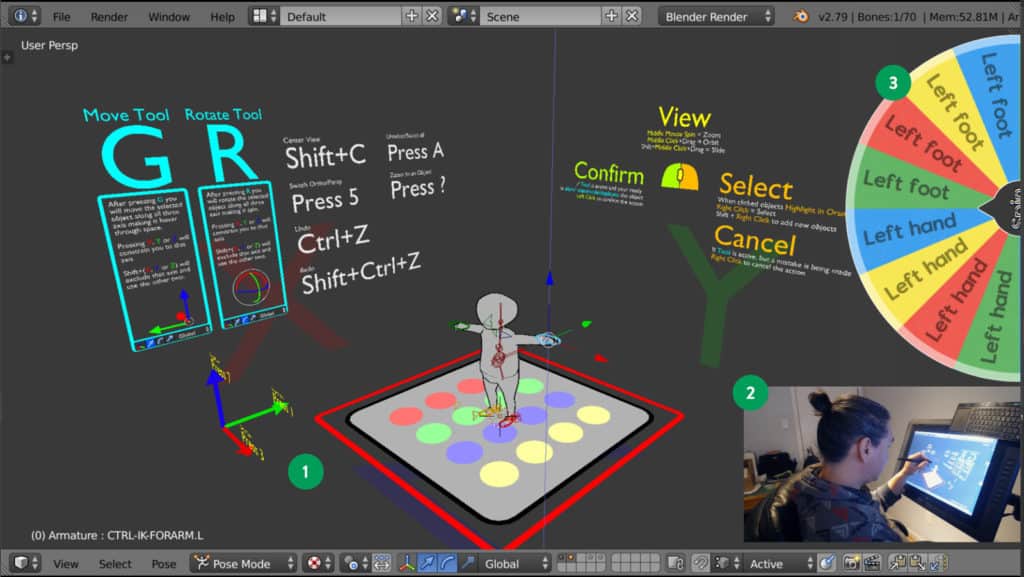
Using this method produces a virtual classroom that brings remote learning one step back toward the interactivity of a physical classroom. The instructor can remain onscreen in the meeting app alongside the content, and some applications allow users to minimize and pin the video feed from their own camera, so they can still see video streams of what all the students are doing. Instead of relying on static slides, educators can introduce motion graphics.
All in all, using this OBS setup might not solve all of the challenges of virtual teaching—but it can make it a lot more fun.
This article originally appeared in the third issue of Root & STEM, Pinnguaq’s free print and online STEAM resource supporting educators in teaching digital skills

