How to Make Natural Inks
By Bonnie Schiedel
Art is a great way to get creative, fire up different parts of the brain, and see something in a new way. To make colourful, sustainable inks that don’t come with excess packaging or contain microplastics that end up in nature, just reach for plants from the kitchen, forest, or garden.
Betty Carpick, an artist and arts educator in Thunder Bay, Ontario, of Cree and Eastern European heritage, knows this well. She actively uses a sustainable method for creating inks in educational settings.
“When I go into schools, some of the kids will call me the Ink Lady,” says Carpick.
“For me, the inks are a connection to the plant world and water world,” she says. “Many people are disconnected from nature, so I feel that to care about and protect it, we have to have a relationship with nature.”
While some natural inks are vibrant in colour, others are more subtle and muted, so Carpick likes to ask students to reflect on the way we think about colour and the way it influences us. “We live in a time where we see lots of bright colours; lots of colours now are pigments augmented by chemicals or plastics to keep them bright. The inks that I make, even though we mostly use them on high-quality watercolour paper, they’re living, so they will change through time.”
For Carpick, art is an essential part of education and inquiry. “Without the art [component], we don’t open the STEAM concept wide enough, because art invites play and joy,” she says. “It [involves] making mistakes and unpredictability. I like that.”
Many artists who make natural inks use a technique similar to Carpick’s. To make your own inks, you will need:
- About a ½ cup of plant material (see suggested plants below)
- Water
- Salt
- White vinegar
- A stove or stovetop burner
- Thin strips of paper
- Gum arabic (Optional. Used to thicken ink and available from art supply stores. Or, use a small amount of honey instead!)
- Wintergreen oil or whole cloves (these are natural preservatives)
- An old stainless steel cooking pot (that you won’t be using for cooking again!)
- Rubber gloves
- Rags (to clean up spills or protect your work surface)
- Coffee filters
- A funnel
- Container with a wide mouth
- Small glass containers with lids
Plants to try:
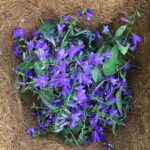
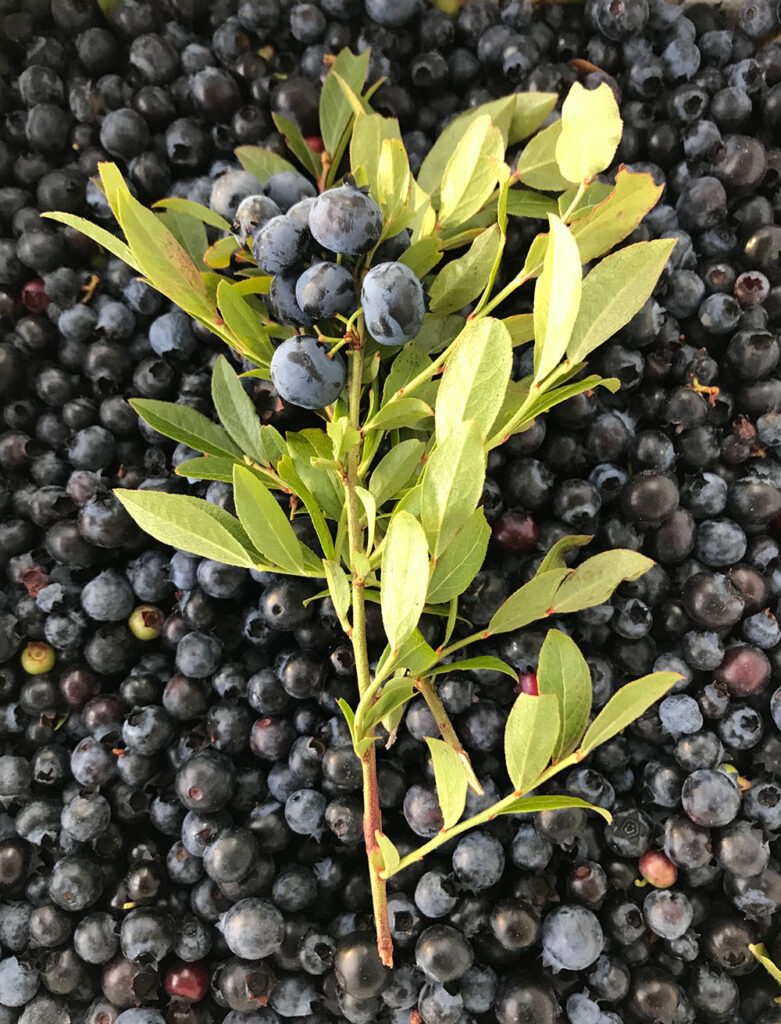
Beets, spinach, iris petals, sumac berries, red cabbage, blackberries, blueberries, cranberries, saskatoon berries, elderberries, cherries, dandelions, onion skins, grape juice, lavender, turmeric, tea. Remember to only use the green and flowery parts of the plant, not the roots or the soil.
Please exercise age-appropriate cautions and avoid plants that are toxic if ingested.
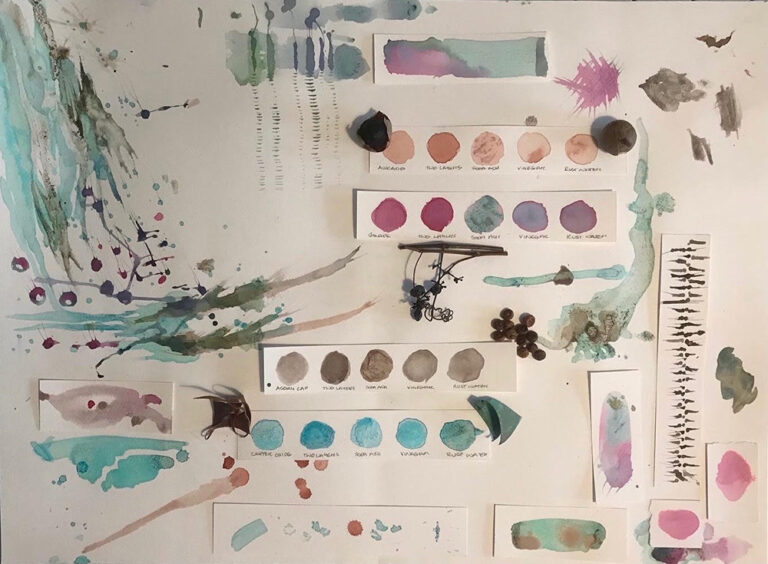
Courtesy of Betty Carpick
To make your ink:
- Gather your plants. Set up a workspace with all your items.
- Put a ½ cup of plant material in a stainless steel pot. Cover with water. For every cup of water, add a dash of salt and one teaspoon of vinegar.
- Simmer, but do not boil, for an hour or more. When the liquid looks rich and dark, put on your rubber gloves and dip a strip of paper in it to check the colour.
- When you’re happy with the colour and the liquid has cooled a bit, place a coffee filter in the funnel. Put the funnel into the wide-mouth container. Slowly pour the liquid through the filter.
- Take a small glass container. Only if available, add a few drops of gum arabic to emulsify and slightly thicken the liquid. Add one whole clove (or a couple drops of wintergreen oil). Add the ink, stir, and close with a tight-fitting lid.
- Repeat with different plants to create different coloured inks. Refrigerate inks when not in use.
Have fun creating art!
Resources
- How Betty Carpick uses earth to create incredible art and pass on knowledge – CBC Video
- Betty Carpick “The Land Is Dancing” – Video
This article originally appeared in the ninth issue of Root & STEM, Pinnguaq’s free print and online STEAM resource supporting educators in teaching digital skills

