Section Navigation

In the series: Pixel Art
Introduction
Pixel art can be a versatile tool in creating 2D graphics for games and software. There are a handful of techniques that can get around some of the limitations of the medium and help your artwork look more professional. This module expands on the basics of Pixel Art 01, teaching further techniques and terminology, and highlighting some common problems, using the open source software Graphicsgale.
Learning Goals
The techniques introduced in this module can help improve the quality of student’s final pixel art graphics. Students will gain a better understanding of using image editing software to create graphics as well as some common mistakes to avoid.
Vocabulary
Value - The amount of light or darkness in a colour.
Aliasing - The appearance of jagged edges produced by diagonal or curved lines.
Anti-aliasing - A technique to reduce the appearance of aliasing by visually blending values.
Ramp - A range of colours with varying luminosity (brightness) that can be used for shading.
Dithering - The placement of two or more colours close to each other to create the appearance of blending or texture.
Selout - “Selective outlining” of a sprite to apply anti-aliasing by brightening sections of the outline.
Banding - The unintentional illusion of lines between pixels caused by the arrangement of similar values being shifted by one pixel.
Pillow-Shading - Shading an image according to its shape, rather than a directional light source.
Guiding Questions
- What is contrast, and how does it help define shape and texture?
- What is an optical illusion?
- How can tricking the eye help make a better image? How can it make a worse one?
Curriculum Links
This module provides an opportunity to address curriculum expectations in the Arts and Computer Studies in Grade 9-12. In particular, students will be introduced to the software GraphicsGale. This assignment will also demonstrate how to use image editing software to create graphics.
Materials
- Graph paper
- Coloured pencils or markers
- GraphicsGale – Download GraphicsGale
Non-Computer Activity
Shading
Shading is a way to imply shape and volume in a two-dimensional image. When shading pixel art, one of the easiest ways is to start with a value ramp. This is a set of colours with varied levels of light and darkness. Here is a slime sprite made with a simple six-colour ramp, then shaded using different techniques.
The first sprite uses traditional directional lighting, where the light illuminating the sprite comes from an imaginary spot to the upper left of the image. It also has a strong, solid outline, which helps to define the sprite’s shape.
The second sprite is shaded in a similar manner, but uses selective outlining, or “selout.” The solid outline is broken in certain areas where light hits the sprite, and uses a slightly lighter colour to soften the outline, giving the shape a smoother appearance. Internal lines are also softened with lighter colours from the value ramp.
The third sprite shows a technique called “pillow shading,” where the light source appears to come directly from the viewer, and the value ramp follows the overall shape. This technique should be avoided as it tends to make a sprite look flat and uninteresting.
The final sprite uses directional lighting, however the pixels are placed in a manner that caused “banding.” Banding occurs when several pixels in a value ramp follow a similar shape or path. Where the pixels shift the viewer’s eye can perceive an illusory line between the areas of differing value. Banding can create unintentional and undesired patterns and lines in your sprite, and can make a sprite look blurry as well.
Dithering
Another technique used to create shading or texture is “dithering.” Dithering is a method of visually blending two or more areas of colour together. Pixels are placed in patterns or at random, with increasing or decreasing frequency, so that the eye perceives a mixing of colours where they meet.
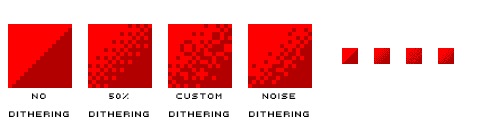
The example above uses two shades of red. In the first example, with no dithering, there is a clear diagonal line between the two values. In the second, the line where they meet has been dithered with a checker pattern, which spreads out in both directions. This creates a blending effect and makes it looks as if the two colours flow together. The third square uses a similar technique, but includes shapes and designs instead of a simple repeating pattern. This custom dithering can add style and interest to an image. The last square uses noise dithering, where the placement of the pixels is seemingly random, though the relative density is consistent. In addition to creating the appearance of blending,dithering can also be used to create areas of texture within an image.
Aliasing and Anti-Aliasing
One of the potential drawbacks of pixel art are the jagged edges that appear from the use of limited colours and the fact that you’re working with squares. This is more apparent in angled lines (that aren’t at a 45-degree angle) and in curves. The jagged appearance of a line is called “aliasing.” To lessen this effect, pixel artists use a technique called “anti-aliasing.”
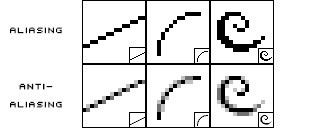
In the image above you can see how a standard line looks without any smoothing, and how the same line looks when anti-aliasing has been applied. With anti-aliasing, intermediate colours are used to reduce the contrast (difference in lightness) between the line and space beside it. In this example, dark grey and light grey pixels are used to soften the black line where the jagged corners are most visible. This can be very useful in drawing and shading pixel art, but too much anti-aliasing can make an image look fuzzy or create banding.
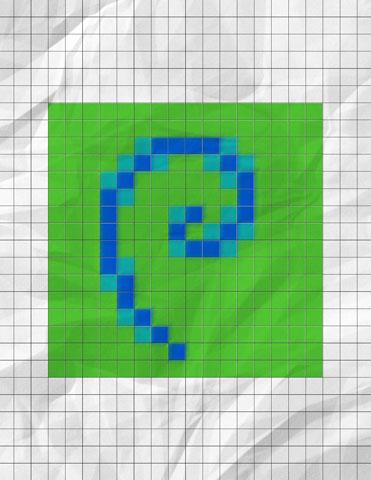
Activity
Using graph paper, students select two to three colours and mark out a 16×16 square grid. Using one of the dithering techniques, students try to visually blend the colours together. Encourage students comfortable with the techniques to add in some curved or angled lines and use anti-aliasing to soften the lines.
Computer Activity
Here are a few examples of larger pixel art images using the techniques discussed:
Creature Creation
Using the techniques discussed we will now make a larger scale sprite of an animal. An akhlut will be drawn in the following example. Students can choose a real animal, one from folklore, or create one from their imagination. The larger working canvas will allow students to fully explore blending, texturing, and anti-aliasing to create a more polished image.
To begin, open GraphicsGale and press CTRL+N to create a new canvas. Set the height and width to 64×64 pixels and click OK. Maximize the canvas window and use the drop-down magnification menu to zoom in to 1000%.
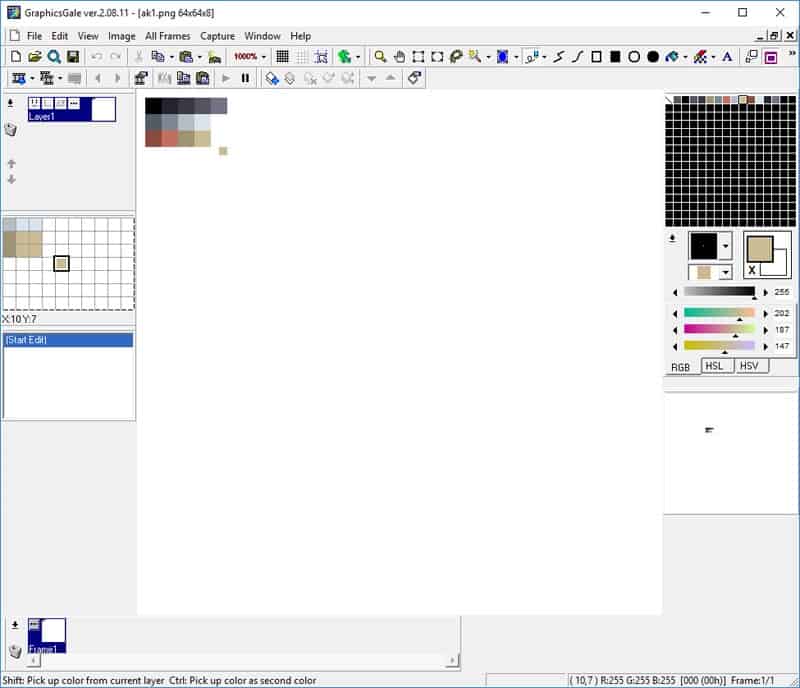
Create a palette of up to 15 colours to draw with. Think about what value ramps will be needed for both drawing and shading. Choose colours by clicking the Palette Window on the right of the screen (adjusting the colour using the sliders at the bottom as needed) and use the Pencil Tool

to draw out some squares of colour in the corner of the canvas. This will help you quickly access these colours later.
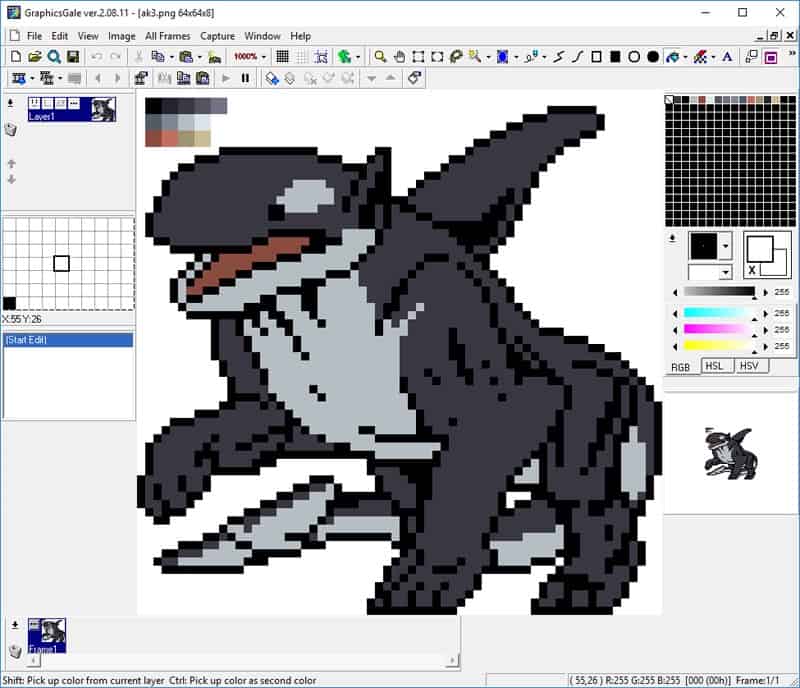
Using the pencil tool start to create your creature. There are two methods that pixel artists use to block out their drawings. Some start by creating an outline, then cleaning it up and filling areas with colour, much like a colouring book. Others use a traditional painting approach and block in areas of colour and refine the details and lines afterwards. Either approach is fine and you’ll learn which works best for you by experimenting.
When working with the pencil tool, right-clicking selects a new foreground colour from the palette, while left-clicking draws with that colour. To “erase” a pixel, select the background colour and draw over unwanted pixels to remove them.
Use the Flood Fill Tool

with the outline approach to fill enclosed areas with colour. This can be useful for drawing quickly. However, if areas are not completely enclosed, the paint may “flood” to unwanted areas. If this or any other mistake happens, press CTRL+Z/CTRL+Y to undo/redo your last action, or use the Undo/Redo buttons in the toolbar.

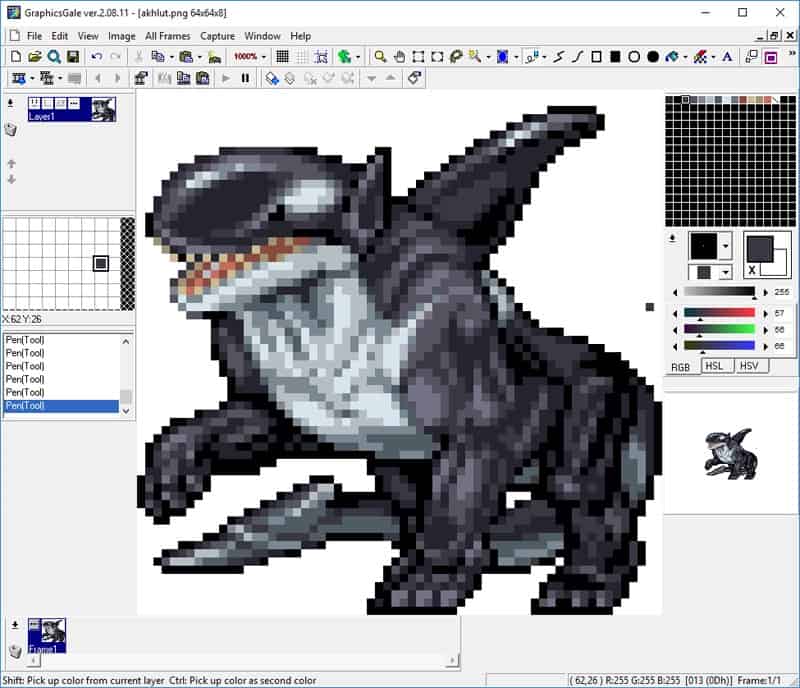
Keep drawing and colouring until you’re happy with your image. Try some of the techniques we learned about earlier, like anti-aliasing, dithering, or selective outlining, and see how they affect your drawing. When you’re finished, go to File >Save As, name your image, choose a save location, and choose .png (portable network graphic) as the file type, then click Save.
End the module with an opportunity for students to share their work with each other, provide constructive feedback, and discuss any challenges they had.
Conclusion
Students will find the techniques covered in this module useful for all graphics they create with pixel art. Some of the techniques explored in this lesson, particularly anti-aliasing, are more technical than intuitive, but practice and repetition will allow them to become part of their regular workflow when creating game and software content. The principles of shading discussed are applicable in traditional art and in 3D modelling as well.
Resources
Additional Resources
Social Media Resources
- 80.lv – YouTube game/art tutorials, for artists of varying levels