Section Navigation
Introduction
By the end of the module, the student will have a working prototype made with Twine. This is a great start for any students who want to learn to code or make games.
Learning Goals
- Understanding basics of the Twine interface.
- Use Twine syntax to create an interactive passage.
- Create a branching narrative with multiple passages.
- Troubleshoot potential issues.
- Export Twine story to its own .html file.
Vocabulary
Code - Instructions that a computer program uses to perform tasks.
Twine - A tool that allows the user to create interactive stories using code.
Passage - In Twine, a passage is a narrative unit, a building block for full stories.
Narrative - The art, technique, or process of telling and structuring a story.
Software - A general term for a program that operates on computer hardware.
Prototype - An early model of something like a game or machine.
Troubleshoot - A testing process to identify implementation problems.
Interactive Fiction - A nonlinear story where the reader directly influences the narrative.
Guiding Questions
- What makes a story funny, dramatic, or exciting?
- What kinds of stories do you want to tell?
The following is a example of a story you could use. We want to thank Shanese, a member of the Red Sky Métis Independent Nation and Pinnguaq Curriculum Cultural Advisor for this module, for sharing the story about how the Bear (Kaakuush) lost his tail. Shanese is completing her Bachelor of Arts in Indigenous Studies at Trent University.
How The Bear (Kaakuush) Lost His Tail
It was winter, and the lake had frozen. Mahcheshiish (Young Fox) knew the path Kaakuush took by the lake and decided to lure Kaakuush with some fish. Mahcheshiish cut a hole in the ice and stacked many fish next to it. Mahcheshiish knew Kaakuush loved to eat fish, but so did Mahcheshiish. Mahcheshiish didn’t want Kaakuush to fish in this spot, fearing Kaakuush would eat all the fish up.
When Kaakuush saw all the fish he was excited. He asked Mahcheshiish to teach him how to catch so many fish. Kaakuush swore he would do everything Mahcheshiish told him, so Mahcheshiish agreed. Mahcheshiish took Kaakuush to another spot in the lake and cut a hole in the ice.
Mahcheshiish turned to Kaakuush and told him he must put his bushy tail into the water to catch the fish. Mahcheshiish told Kaakuush he must sit very still. Mahcheshiish warned Kaakuush that bear should not think of anything because fish can read thoughts. Mahcheshiish went off into the bushes, and said he would tell Kaakuush when to pull his tail out of the water.
Kaakuush did as he was told. He did not move, and he did not think. Mahcheshiish watched Kaakuush sitting so still and laughed and laughed, rolling upon the ground. But, soon Mahcheshiish grew tired and went home.
The next morning, Mahcheshiish went back to the lake, wondering if Kaakuush had gone home. It had snowed during the night. When Mahcheshiish approached the lake he saw a mound on the ice covered with snow. The mound was Kaakuush, who had fallen asleep. Mahcheshiish burst out laughing.
Quietly, Mahcheshiish crept up to Kaakuush, and began to shout: “Now Kaakuush! Now! Pull your tail up now!’ Hearing the commands, Kaakuush woke up and immediately tried to pull his tail out of the water. As he pulled, a loud snap was heard. Kaakuush turned to look, thinking he had caught a lot of fish. But there were no fish. Kaakuush’s beautiful tail had frozen in the water and broken off when he tried to pull it out.
Groaning, bear yelled at Mahcheshiish. Kaakuush was angry because he lost his tail through Mahcheshiish’s trick. Kaakuush swore he would get even with Mahcheshiish. Mahcheshiish just laughed and laughed at bear and his missing tail. Kaakuush became more angry and leapt at Mahcheshiish. But, Mahcheshiish was too fast and ran away laughing.
To this day, Kaakuush continues to have a short tail, and still does not like Mahcheshiish. Sometimes in the woods a Kaakuush’s groaning can be heard. Kaakuush groans because he is remembering the trick Mahcheshiish played long ago and continues to mourn the loss of his beautiful tail.
Curriculum Links
This module would connect well to curriculum involving web design or creative writing. It’s a fantastic tool to provide alternative ways to share stories.
Materials
Twine – Download Twine
Non-Computer Activity
Share a story that you experienced, but with one detail changed to be entirely fictional. This detail can be subtle, so most people hearing the story won’t notice, or it can draw attention to itself by being over-the-top and obviously untrue. Think about the ways we can draw from our experiences in life to tell exciting, compelling stories.
Computer Activity
Learning Twine
Twine is a tool for creating interactive fiction—a type of story that allows the reader to make choices on how the narrative unfolds. Imagine if a television show suddenly paused and asked you, the viewer, how the main character should act in a moment of peril, or what ending you would like to see. With Twine, we can create those interactive stories.
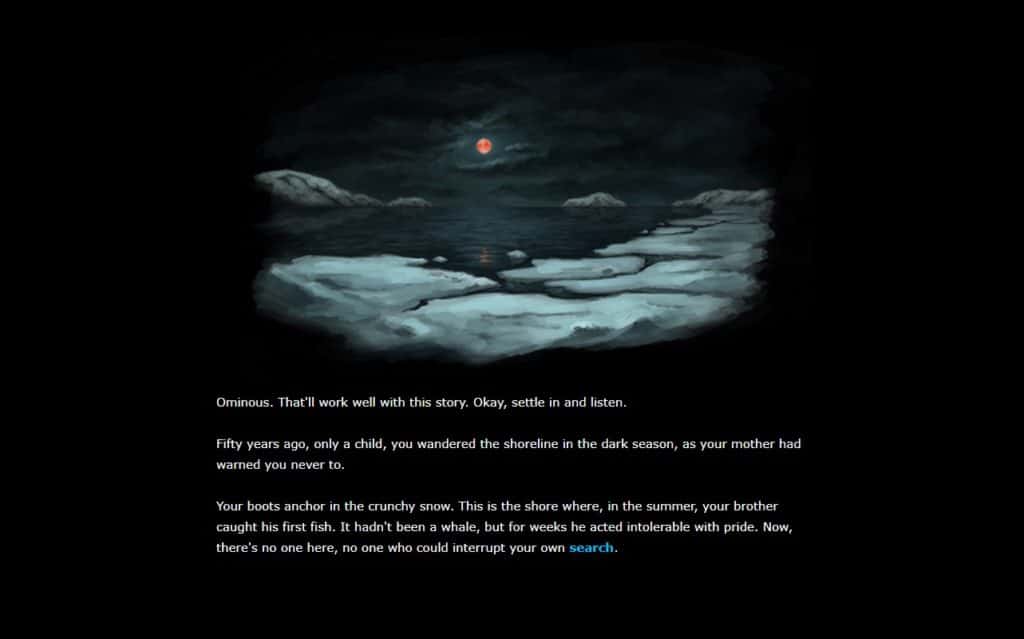
With this module, we’ll learn how to use the Twine software. By the end, you’ll have created your own individual passages, which can then be highly personalized.
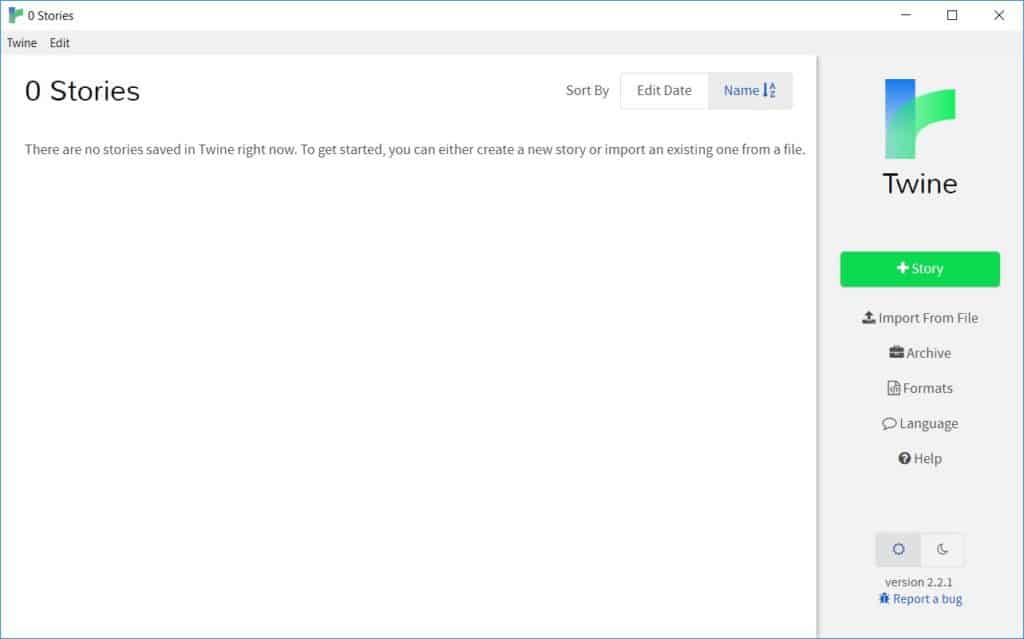
Opening Twine for the first time, the screen will be mostly blank, so let’s fix that. First, select the button labeled + Story. Twine will ask what you’d like your story to be named. You can name your story whatever you like, and the name can be changed later. Since we’re going to personalize these, I named mine Grendel the Miinuush (Cat), after my Miinuush (cat).
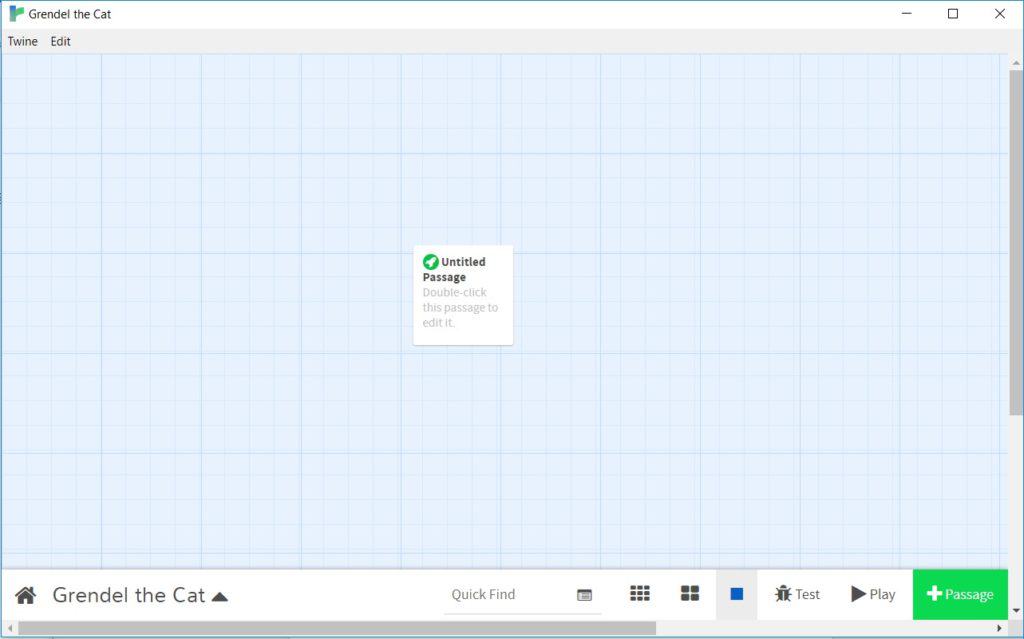
After naming our story, Twine immediately takes us to the story editor screen. Take a look at the little box named Untitled Passage, because this is where we’ll focus our attention. In Twine, a passage is a narrative unit, a building block to create full interactive stories. Go ahead and hover your mouse cursor over the box, then select the pencil icon that appears.Tip: Passages in Twine can also be opened for editing by double-clicking on the box.
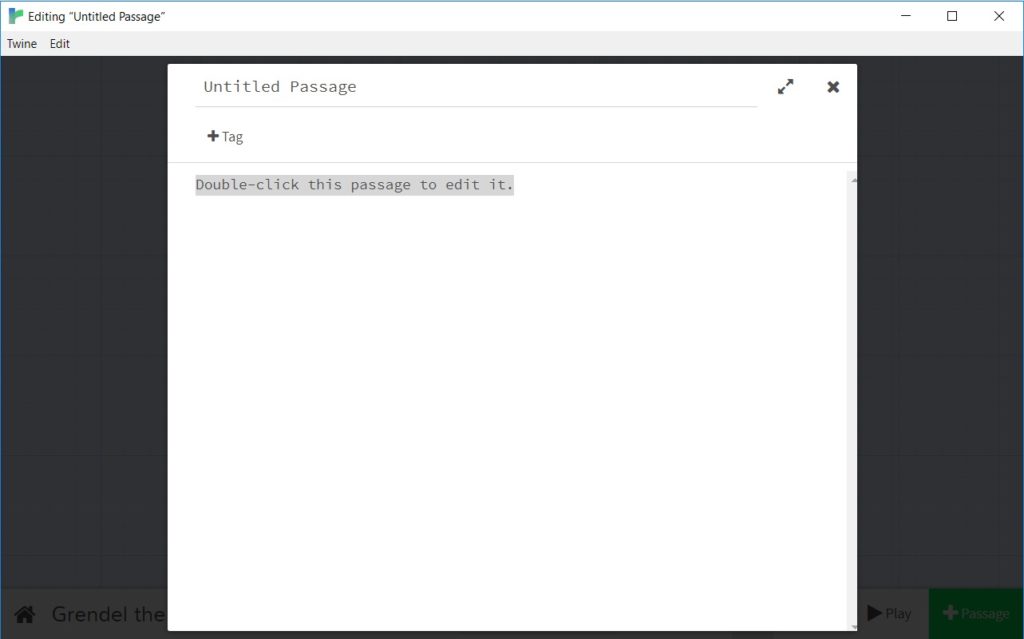
Let’s name our passage. Passage names will be invisible in our finished story, so this name just helps remember its purpose for later. Although we could leave the name as the default Untitled Passage, it would become confusing after we add more. I named my passage “Start” because I intend for this passage to be the first one the reader encounters.
Next, let’s write some text we can work with. This can be about whatever you like—I encourage you to write about something you enjoy, like a hobby or a funny anecdote. I wrote about my Miinuush (cat) Grendel. Once you have text, choose a section of text to place [[brackets]] around to create a link.
![The passage screen in Twine showing text surrounded by [[brackets]].](https://pinnguaq.com/wp-content/uploads/2021/01/start-window-5-1024x639.jpg)
Close out of the passage, and Twine will automatically create a link to an additional passage. This new passage’s name will be the same as the text you placed inside brackets.Tip: Modifying text inside choice brackets will break the connection between passages. If you want to separate the choice text from the passage name, insert a pipe symbol between the choice text and passage name: [[choice text|passage name]]
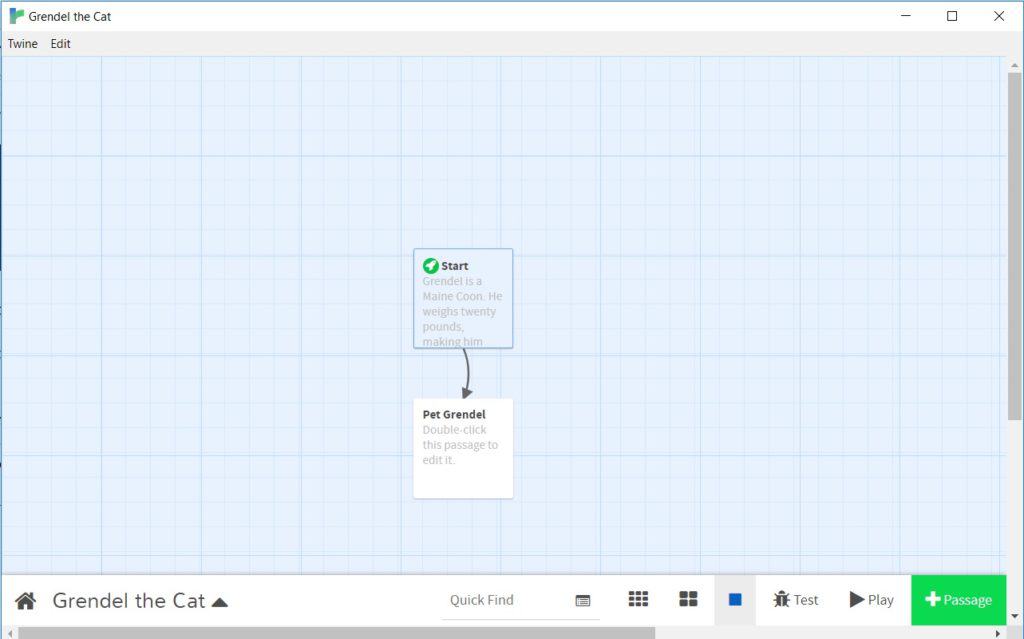
In the new passage, write a description for the player to read. Try to make it a consequence of the choice text from the previous passage. For example, if the player chooses to move to a new location, describe that location in the new passage.
Next, open your original passage and create a second, different choice. Format it the same way as the first choice using [[brackets]], but make the choice text different. Close the passage window, and Twine will create a third passage next to the second one.
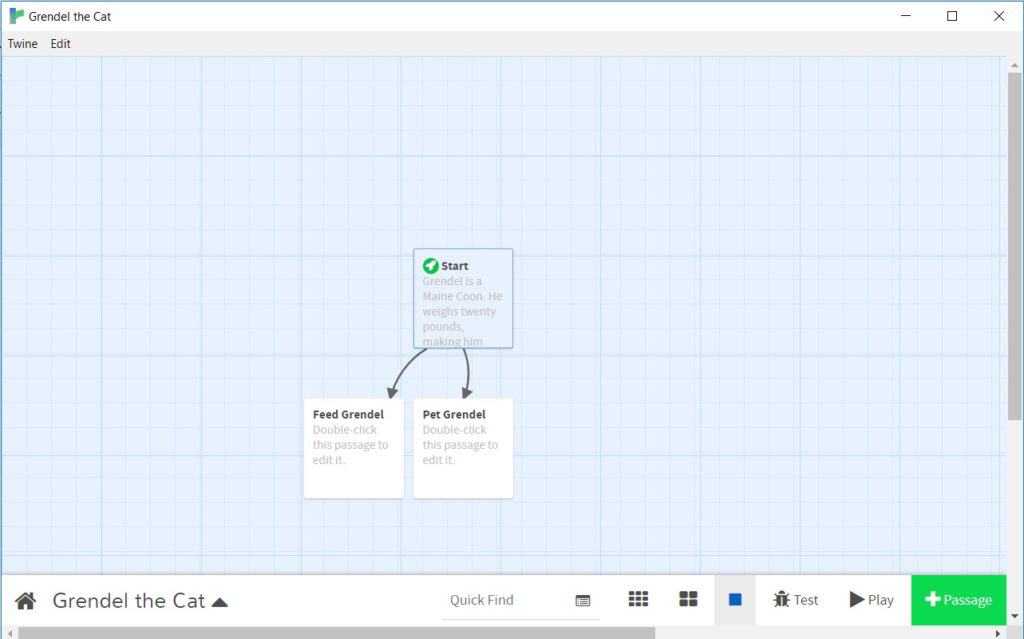
Notice that Twine automatically creates lines and arrows between passages to track the story flow. Write some text in your third passage relevant to the choice text. Next, let’s test our story: hit the Play button in the lower right-hand corner of the Twine window.
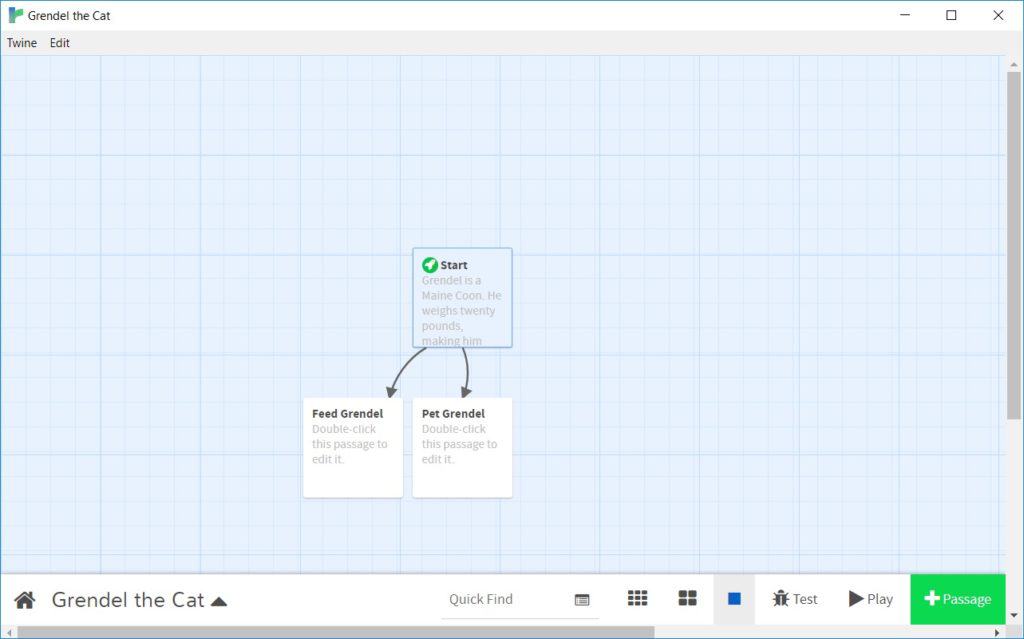
You should now have a story where the player picks between two choices, and then arrives at an ending. If your story doesn’t work the first time, that’s OK! We can fix that by troubleshooting, a type of problem solving where we do tests to identify issues.
- Are your [[brackets]] typed correctly, with opening and closing double brackets?
- Does the choice text inside the [[brackets]] match the connecting passage’s name?
- Is the capitalization consistent between choice text and passage names?
Just with what we’ve learned so far, you can create a full branching story. Twine automatically saves your work, but you can also export your story as its own file to send to others. In the lower left-hand corner, click on the arrow next to your story’s name, then select Publish to File. This saves your story as an .html file any web browser can open.
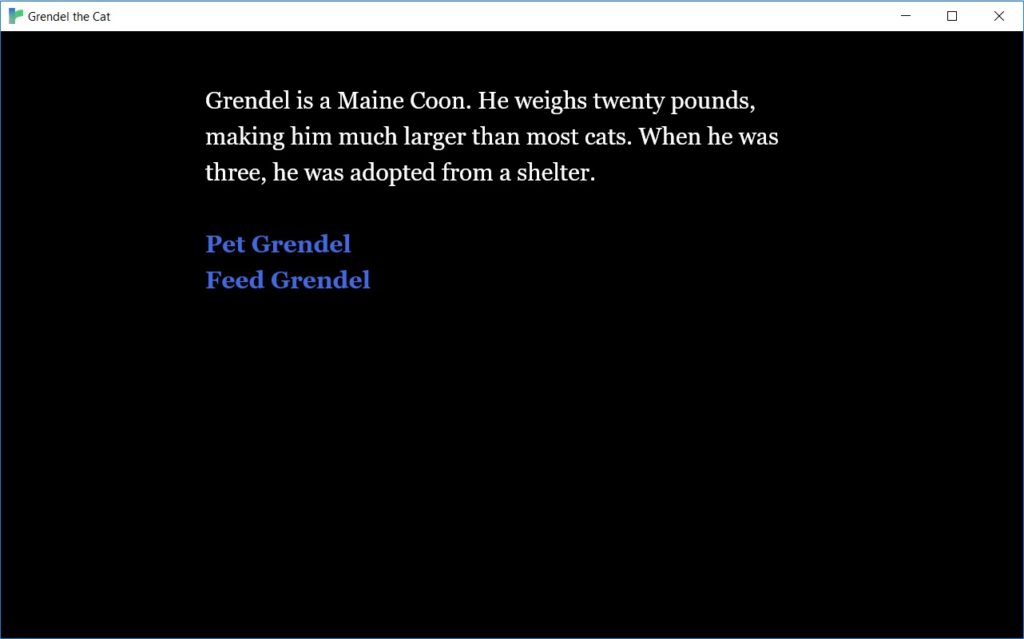
Many excellent Twine stories have been made with only choice text and passages. However, Twine also gives us sophisticated tools to infuse our interactive stories with complex logic.
Conclusion
The foundation of building a story with Twine is connecting passages through choices using code. You can now create full interactive stories, troubleshoot potential problems that come up, and export the story to its own .html file.
Resources
- Twine documentation
- TwineThreads — The official Twine Twitter account
- Emily Short — An interactive narrative designer whose blog is professional and informative
- Elizabeth LePensée — An Anishinaabe and Métis scholar and game designer with an informative, professional Twitter


