
Introduction
Imagine your favourite video games or movies without sound fx or background sound and music. How would it affect your experience? Sound is used in video games in many of the same ways that sound is used in movies. Sound fx, soundscapes and background sounds can bring a sense of reality to an environment. They can also be used to affect the mood and pace of the game. Think of suspenseful moments in movies and the way sounds can be used to intensify those feelings. Fast, urgent sounds make a fast paced moment in a game more exciting and calm, quieter music can slow the pace down.
Learning Goals
This lesson shows you how to use Audacity to edit sounds to create your own sound fx or background sound for this Seeking game made with Scratch. There are 3 versions of the game provided with different lengths. You may choose to try 3 different sound designs and see how it affects your game experience. At the end of the activity are some ways you can share your sound design with us. I’d love to hear what you create!
Guiding Questions
Imagine your favourite video games or movies without sound fx or background sound and music. How would it affect your experience?
Materials
Sound files from freesound
Computer Activity
Activity Overview:
- Play the Scratch games provided. They don’t have sound FX or background sound.
- Design sound fx/background sound for one of the games.
- Upload your sound design into the game.
- Play the game again with your sound fx/background sound.
- Upload the game with your sound design to https://scratch.mit.edu/studios/26308499/.
- Challenge — make sound fx/background sounds for another game.
Getting Set Up
- Download the two programs Scratch and Audacity, the game files and the sound files provided from the links above.
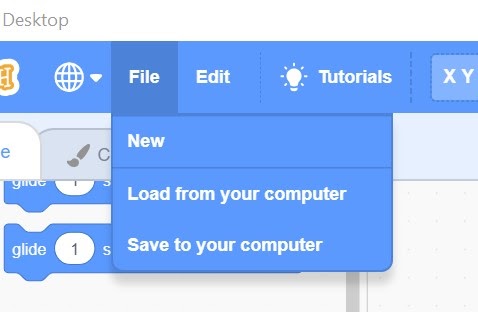
- Open Scratch, choose File > Load from your computer, locate the downloaded game files, choose one at a time, and play the games in Scratch. Think about the sound fx or background sounds you could design for this game.
- Open Audacity on your computer.
- Go to File > Import > select from your computer Walking on Snow audio file.
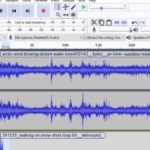
- Open your File Finder on your computer, and drag a second audio file into the Audacity editor and drop, and repeat the process for as many of the audio files you want to mix.
- Or, in the top menu, go to Tracks > Add New > choose Stereo/Mono > File > Import > Audio and select your file from your computer.
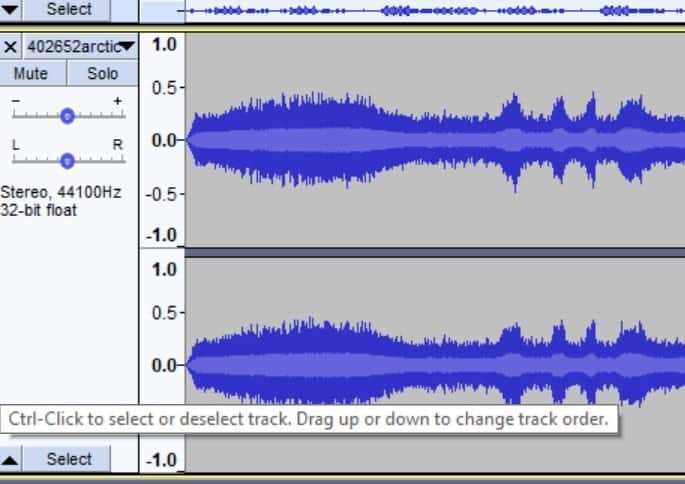
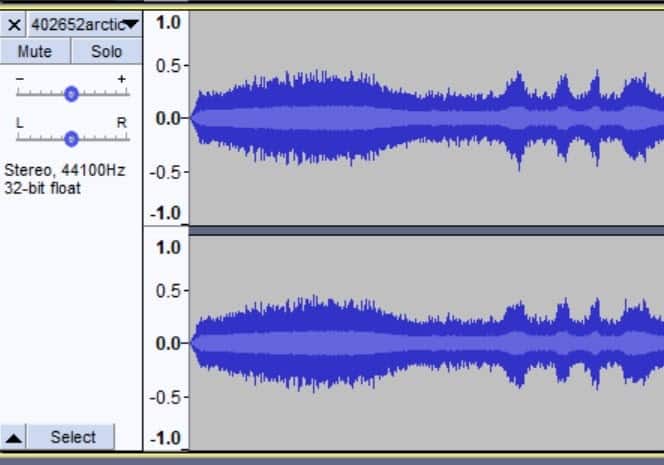
Fact: Stereo files have two waveforms, one in the top half of the track, and one on the bottom. Stereo files are stereo sound which is sound that is made up of two or more channels and creates the impression of sound coming from different directions just like our natural hearing with our two ears on each side of our heads. Mono is audio that is in one channel and it is often placed in the “centre” of our hearing.
- Each audio file will have it’s own Track. A Track is like one instrument in a band, or one voice in a podcast. At the left of each track is the Track Control Panel. In the Track Control Panel you can:
- Name the Track.
- Click and drag the tracks into the order you want
- Mute/solo each track to hear only one track at a time (Mute tracks to make that track be silent and Solo a track to make that track to play on its own.)
- Adjust the Pan — choose “where” you want each track to be heard — Left, Middle, Right
- Adjust the Gain to change the volume for this track
Tip: If you want to be able to see the name of each track shown on top of the track, go to Edit > Preferences > Interface > Behaviours > Check “Show track name in waveform display”
Make It
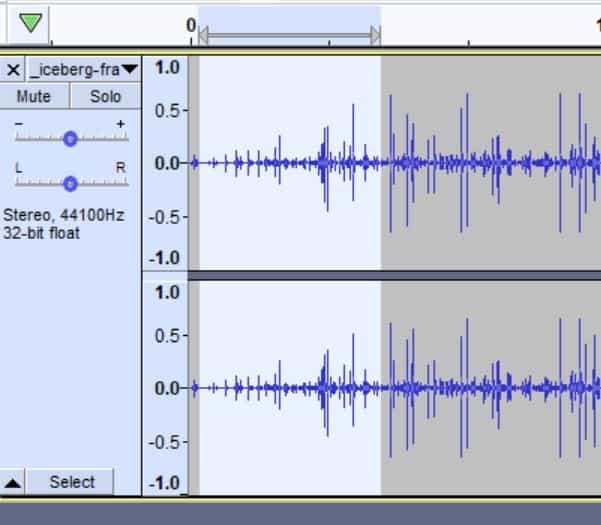
- Arrange the tracks in the order that you want them by Left clicking on the Track and dragging.
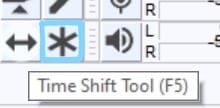
- Use the Timeshift tool to drag the clips in the tracks to the left or right to put them in the order you want. (Hover over the tools to see the names for each)
Think About: Do you want the Walking on Snow track to be first? Or do you want the Arctic Wind track or the sound of the Ice Drill to come first? How does changing the order of the sounds change the “story” of the Mix.
- Play all the tracks in the Mix and watch the Playback Monitor in the Middle of the top toolbar. Do you see the end of the green bar turning yellow or red? If it’s red, this is clipping, when the audio will be distorted, usually because it is too loud.
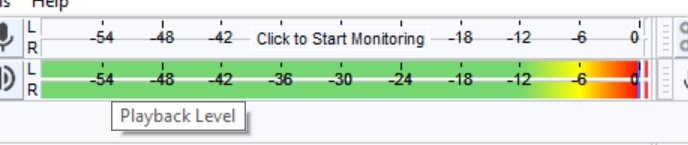
- Click on Solo for each track and play and listen to each track one at a time. Watch the Playback Monitor. Adjust the Gain slider (-…..+) to adjust the volume for each track. Play all of the tracks in the Mix again and watch to see if it stays green, under -6 dB (dB = Decibel, the unit used to measure the intensity or power of a sound).
- Play with the Pan and Gain settings for each track to balance your Mix the way you want it. Adjusting the Pan slider will change where in space a sound seems to come from. Play with these settings for each track and listen to test how it sounds.
- If you think you have the tracks Mixed the way you want, test by Tracks > Mix > Mix and Render to New Track. You can listen to this mix by itself by Muting the other tracks or Soloing this new track.
Tip: If you select Mix and Render to New Track, a new Track that mixes all the tracks will be added to your project.
Be Careful: If you select Mix and Render, it will combine all your tracks into one track and you won’t be able to continue editing the individual tracks.
Fade In or Out
To make smooth transitions in a Mix, sound designers use Fades and Crossfades to bring sounds in and out in a more natural way. Fading in or out a sound allows the listener to hear the sound gradually enter or leave and die away. Crossfades will mix two clips so that as one fades out and dies away, the other fades in. This is really useful for making mashups, mixing a playlist, or blending sounds for sound fx and soundscapes.
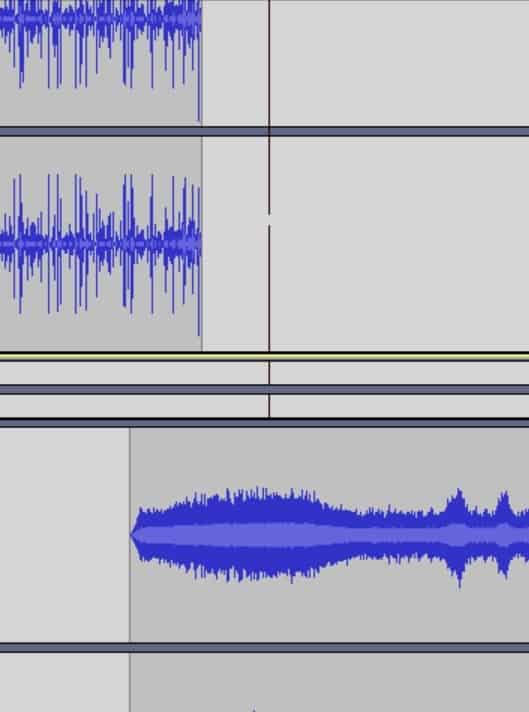
- Left Click and drag on the part of the track where you want the sound to fade in or out.
- Effect > Fade in or > Fade out
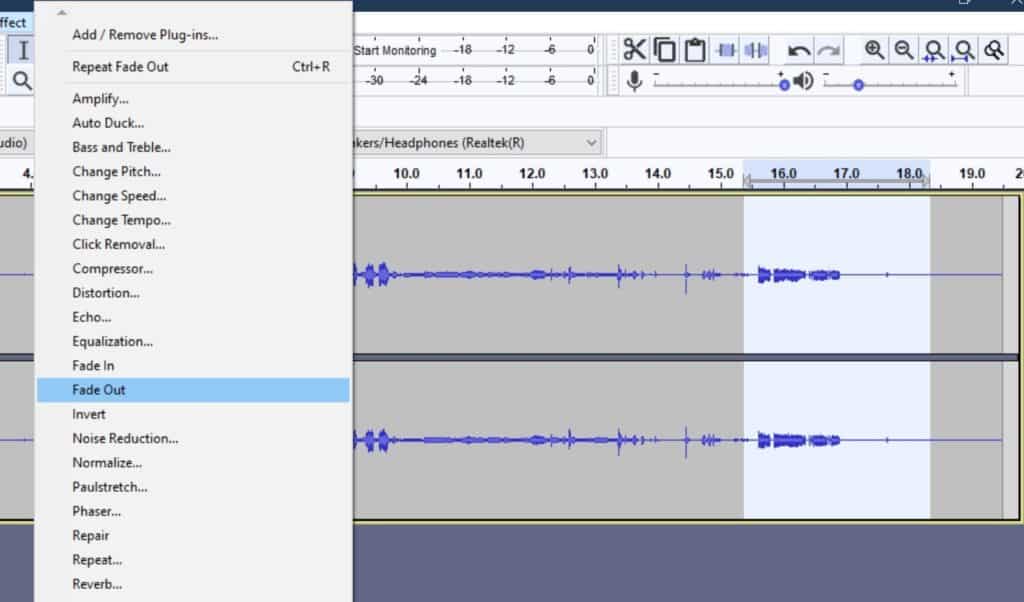
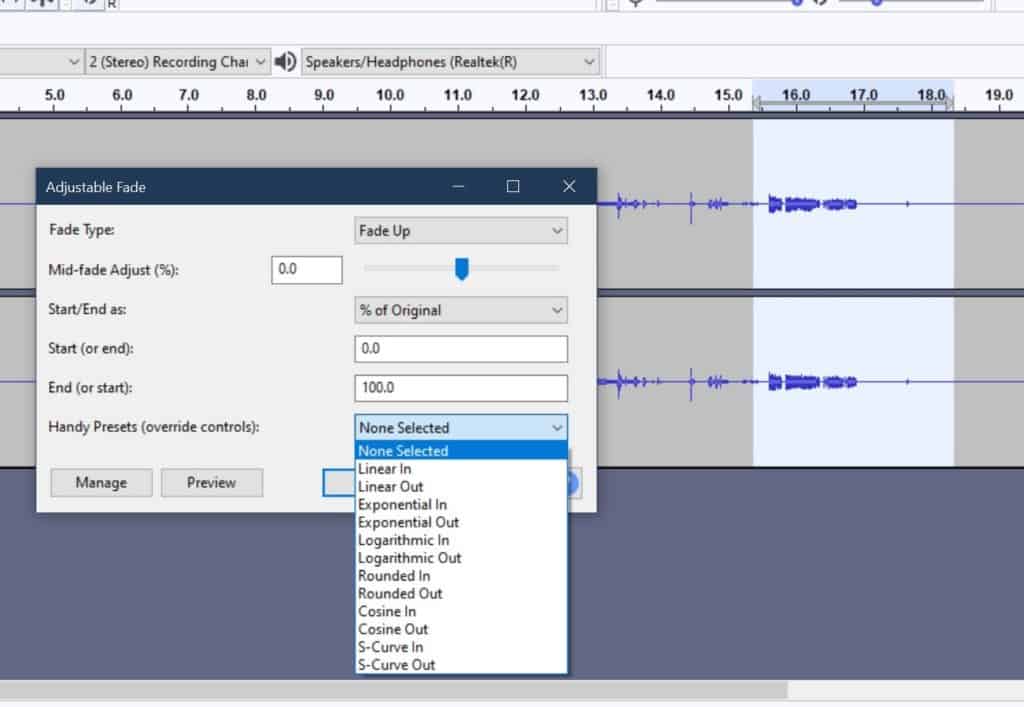
- Effect > Adjustable Fade lets you choose the shape of the fade. An easy way to do this is to choose one of the presets provided in Audacity.
CrossFade
- If the two clips that you want to apply a Crossfade effect to are side by side in the same track, go to Effect > Crossfade Clips. (Clips are sections or pieces of audio that are on the same track but are separate. You can split tracks into separate clips so that you can apply different effects to them.)
- If the audio Clips are on different tracks, you can move the clips into the same track using the Timeshift tool and dragging one clip beside the other clip into the one track. Then you can follow step #1. to apply the Crossfade effect.
- If the audio clips are on different tracks and you want them to stay on separate tracks:
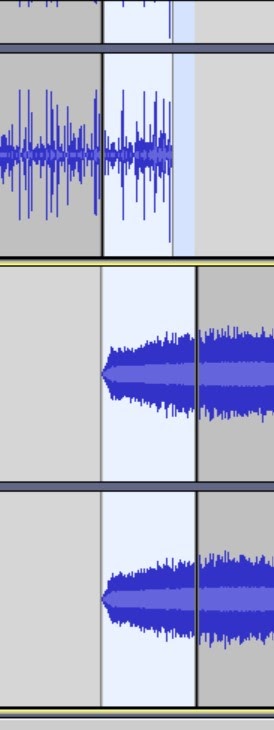
- Use the timeshift tool to drag the clips so that the sections you want to apply Crossfade to overlap.
- Select the two tracks by Left clicking in the Track Control Panel (box at the far left of the track) and hold the Shift Key and Left click in the other Track Control Panel. Both Track Control Panels will be highlighted in blue after you have selected both of them. Or, just Left click and drag over the area where you want to apply the crossfade, making sure you drag over both tracks. Start Left clicking on the one track where you want to begin the crossfade then move your mouse down or up to go over the other track and stop where you want the crossfade effect to end.

- Ctrl + I (hold down the Control key plus the letter i key) This will split the two clips — one split at the beginning of the selected, highlighted area where you want the crossfade effect to begin, and one at the end of the area that you selected.
- Go to Effect > Crossfade Tracks
Save and Export your Mix
- When you have your Mix arranged the way you want, test it by Tracks > Mix > Mix and Render to New Track. Play and listen to this track by hitting the Solo button for this track or the Mute button on the other tracks.
- If you see Clipping (red showing at the end of the green bar in the Playback Monitor), you can go back and play each of the individual tracks one at a time and adjust the Gain slider to lower the volume of the individual tracks. Or, you can go to Effect > Amplify and put in a negative number or move the slider to the left. Using the Amplify effect will adjust the overall volume of all of the tracks in the Mix at one time.
Tip: To view the Mixer Board, go to View > Mixer Board. You can drag this floating window where you want.
- Save your project before exporting so that you are able to come back later to edit it if you want. File > Save Project > Save Project or Save Project As if you have different edits you want to save.
- Before Exporting, you need to Render your project. If you have already Mixed and Rendered your track to a New Track and you like this Mix, you can select that track by Left Clicking on the track and go to File > Export Audio > Export as WAV or > Export as Mp3 > choose a folder on your desktop to export your project to. Only the selected Track will Export.
- If you haven’t yet Mix and Rendered, go to Tracks > Mix > Mix and Render to New Track. Listen to this track on its own by hitting the Solo button in the Track Control Panel. If you are happy with this mix, you can select and export it. If not, make further edits to your individual tracks then Tracks > Mix > Mix and Render to New Track again until you have your MIx the way you want.
Tip: Wav and Mp3 are common files for audio and will work for most programs you wish to use your audio in. Scratch will allow you to import both WAV and MP3 but WAV is more common. You can search for more sounds that are free for you to use at freesound.org. If you use someone’s sound, please give credit to them in the Notes that you put with your project. Check to see how that person would like you to attribute or give credit to them.
Import into Scratch
Now you are going to import your sound fx/background sounds to Scratch. Scratch is a great tool to create games and digital stories with code. Best of all, you can make games and stories which you can share with other people to play, remix and enjoy.
To import your Sound Fx or background sounds into your Scratch game:
- Open Scratch.
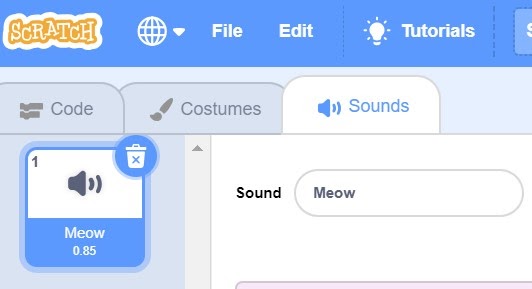
- Click on the Sound tab at the top, next to Code, Costume.
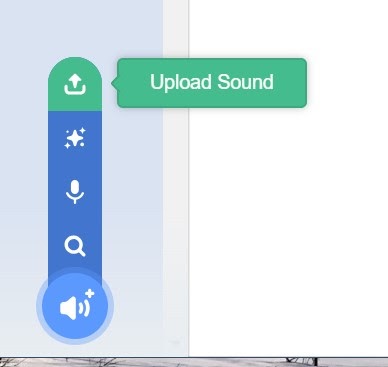
- Hover over the Plus Sound symbol, go to the top, choose, Upload a Sound.
- Make sure you share the game with your Sound Design with us by uploading it to the Pinnguaq Studio at https://scratch.mit.edu/studios/26308499/ or by sharing a picture or video of your game in the comments in FaceBook or on other Social Media.
Artists use Sound to make sound art, sound sculptures and interactive experiences
Read about this really interesting Sound Project that mixes sounds from remote locations affected by climate change with the sounds in your environment by Duncan Speakman (fact: the artist used a RaspberryPi to create his device)
Conclusion
Hey! Remember to send us your comments or questions and keep tuning in to Pinnguaq.com for more Video Game Design and other tutorials. You can upload your game file with sound FX to the Pinnguaq studio, or share a picture/video of it on Social Media. #Scratch #Soundfx
Resources
Other Sound Ideas you might be interested in
Make your own Music with Code with Sonic Pi
Share Your Work With Us! We want to see the awesome things you’re all creating with Pinnguaq. Share online with us and tag @pinnguaq on Facebook, Twitter or Instagram for your work to be featured. Don’t forget to include the hashtag #LearnWithPinnguaq! Keep tuning into Pinnguaq for more lesson and fun activities!
You might also like
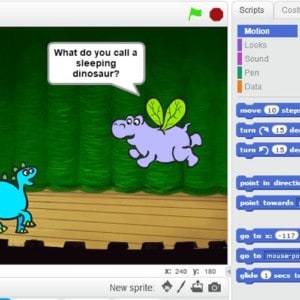
Joke Telling Using Scratch
 Grade 1 – Grade 3
In this fun lesson students will create their own jokes and discover their sense of humour using Scratch to share with their peers!

Introduction To Audacity
Grade 5 – Grade 7
Learn about Audacity, a free program that allows you to record and edit audio.
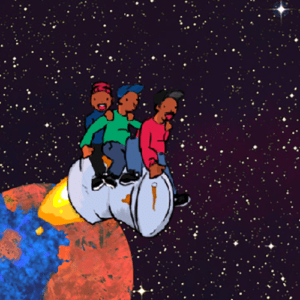
Introduction To Animation And Movement In Scratch
Grade 3 – Grade 6
Based on a book called “Trip to the Moon”, students will learn the basics of animation and sprite movement in Scratch using trip to the moon.
