Section Navigation

Introduction
In this module students will learn how to create three-dimensional pixel art with MagicaVoxel. Voxel art is used in many ways, especially in video game design. Minecraft is a great example of a game built using voxels. There are many software programs for creating 3D pixel art, and some are very complex and challenging for beginners, such as Blender and ZBrush.
Voxel art software such as MagicaVoxel is a great entry-point to 3D modeling software. But it is more than just an introductory software; it is robust enough to help you create anything you can imagine!
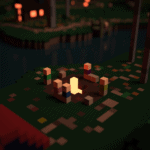
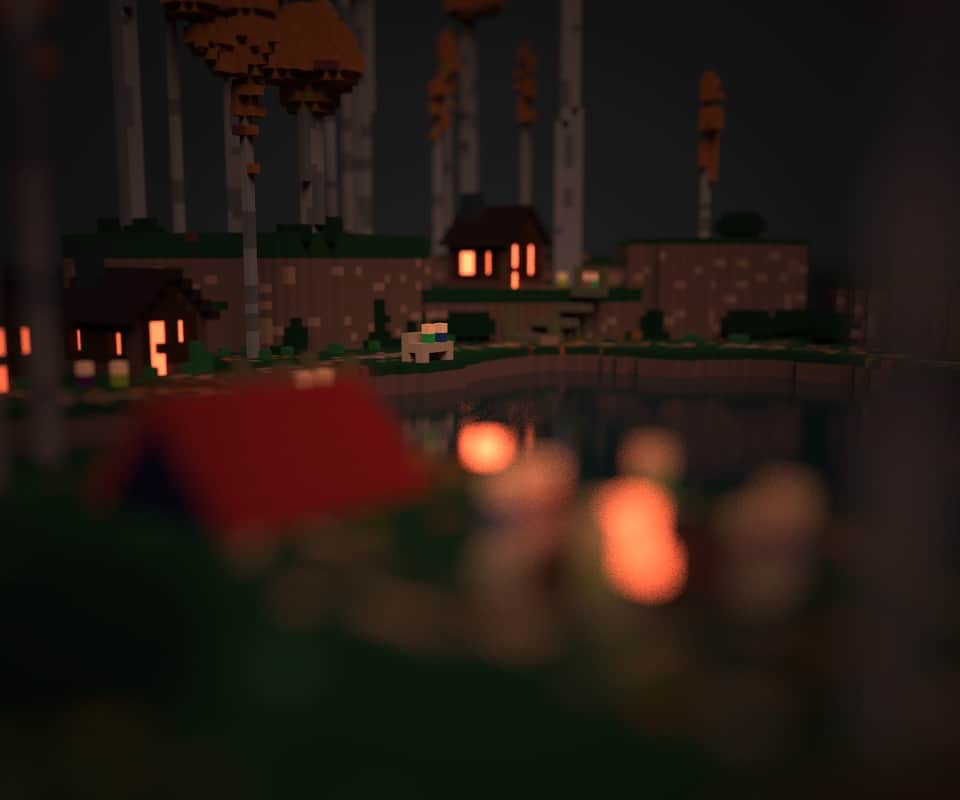
Here is an example of what you can create with MagicaVoxel:
Here is an editable map (ZIP) of the campground example, so you can better understand the possibilities of what can be created.
Learning Goals
Students will learn how to bring two-dimensional images to life by modeling them in three dimensions. This module is a good prerequisite for the Blender module as it introduces students to the terminology and basic techniques of 3D modeling.
Vocabulary
Voxel - A combination of the words “volume” and “pixel”, meaning a pixel with volume or dimensionality. So if a pixel is a two-dimensional square, a voxel is a three-dimensional cube.
Voxel Art - Pixel art in three dimensions. The randomly generated worlds seen in Minecraft are created with voxels; it is akin to building with boxes or cubes.
3D and 2D - 3D stands for three-dimensional and 2D stands for two-dimensional. A 2D image only has two measurements, such as length and width, and is flat, such as something drawn on paper. A 3D image has three measurements, such as length, width, and height, and is often called solid. It is frequently rendered from all sides so that it appears to be ‘popping out’ of your computer screen, instead of looking flat.
Perspective Camera - In 3D modeling this camera is best used to help create scenes where objects in the distance appear smaller (moving towards the vanishing point), and mimics how the human eye sees distance and perspective.
Isometric Camera - Shows dimension of a 2D object without perspective.
Brushes - L, C, P, V, F, B are the shortcuts to the different brush tools in MagicaVoxel: L: Line brush; creates straight lines of squares C: Center brush; creates circles P: Pattern Brush; creates patterns V: Voxel brush; creates free lines using voxels F: Face Brush; fills in different shapes, and raises (“extrudes”), or erases layers B: Brush; creates individual squares
Guiding Questions
- Where do we see voxel art in video games?
- How could you use voxels (cubes) to create art?
Curriculum Links
This module connects to the the principles of art and design found in the Art curriculum. It also connects to Geometry found in the Math curriculum (understanding how shapes work in relation to other shapes and viewpoints). And also the Computer Science curriculum as students gain insights to a new software program.
Materials
- MagicaVoxel – Download MagicaVoxel
- Paper and pencil
- Coloured pencils
Non-Computer Activity
Drawing your model!
Students begin by drawing their landscape on paper. This drawing will become the plan of what to create in MagicaVoxel. Look up examples of Minecraft worlds for inspiration of what voxel-based landscapes can be.
Example:
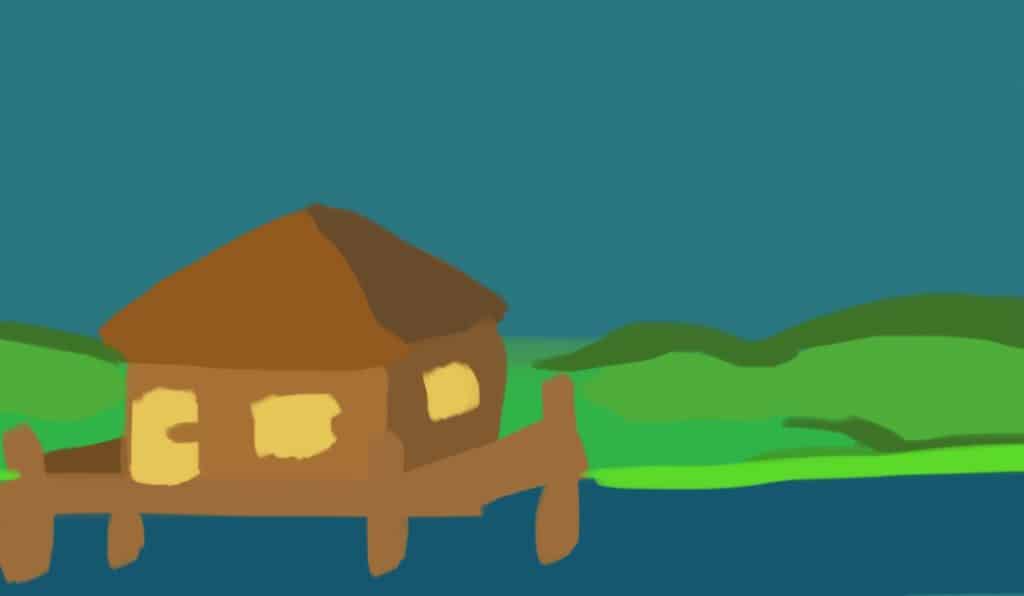
Now it’s time to create your image in 3D!
Computer Activity
Activity
Step 1: Open MagicaVoxel, and under the ‘Edit’ menu on the right, click ‘Del’ (delete) to create a blank document.
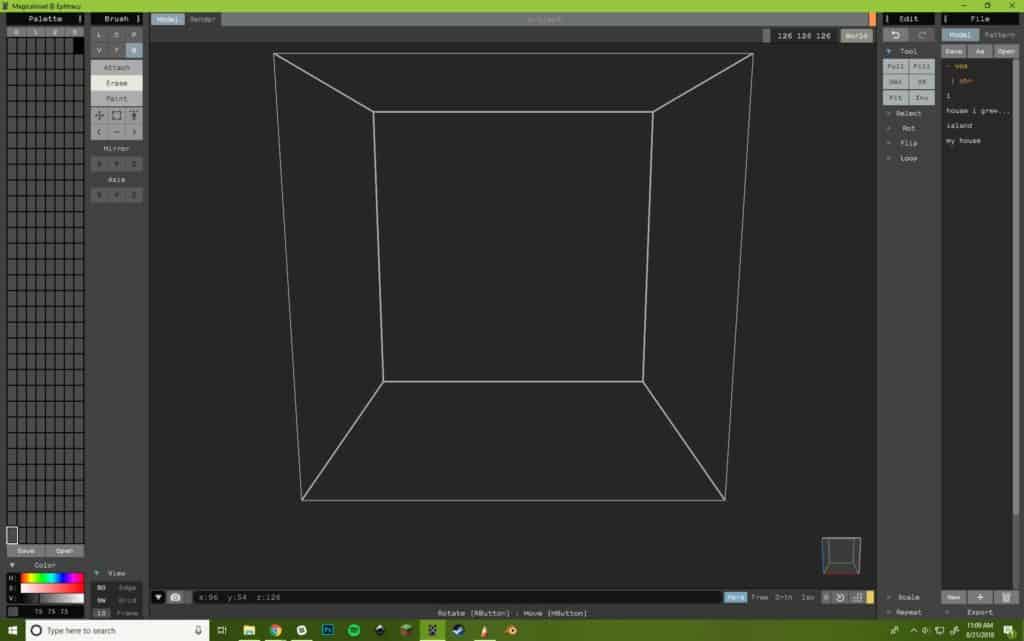
Step 2: At the top of the document beside ‘World’ are the default dimensions. Delete those numbers and type ‘126’; this is the largest you can make one section of your map.
Step 3: The palette is on the left, where you can create your own palette by clicking the ‘3’ at the top, and using the colour slider at the bottom of the screen.
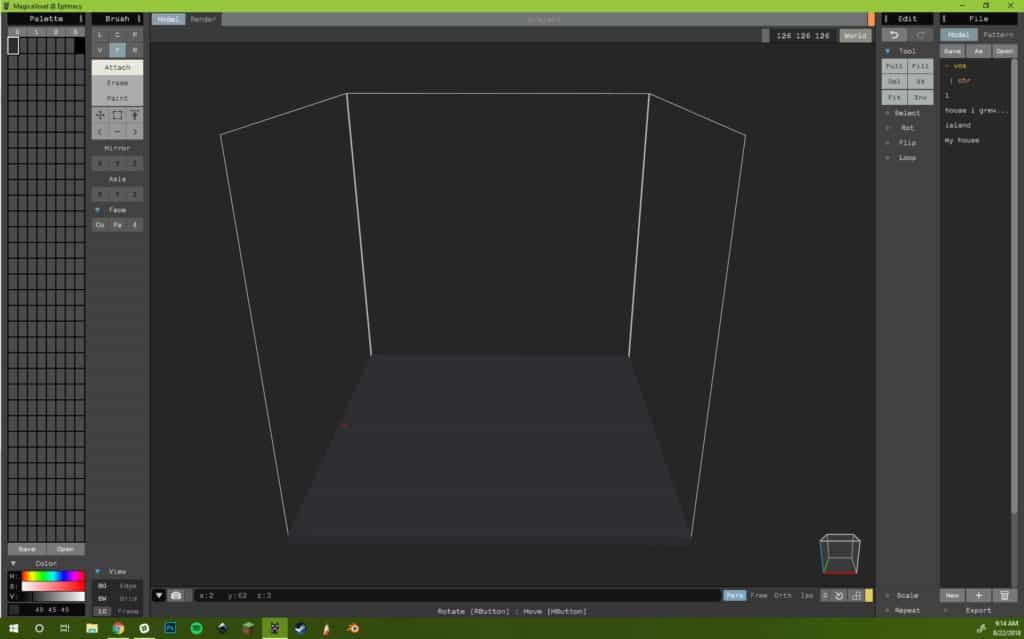
Here is what your screen should now look like:
Step 4: There are many ways to navigate around the map. To create, click and drag using the LMB (left mouse button). To zoom in and out and move the view, use the MMB (middle mouse button). To move the perspective camera, use the RMB (right mouse button) to click and drag in 3D. Ctrl+Z is undo. Tab views the world, alternatively you can click ‘World’ in the top right corner of the map.
Attach: To build your creation
Erase: To erase certain parts of your creation using a brush
Paint: To add colour to your creation
Model VS Render: At the top left of the screen are the two main modes: modeling is for editing and creating, and rendering is for previewing.Note: in Render mode, if your creation does not display properly, go to the ‘World’ screen and use the blue slider to drag your map upwards to meet the x and y axis.
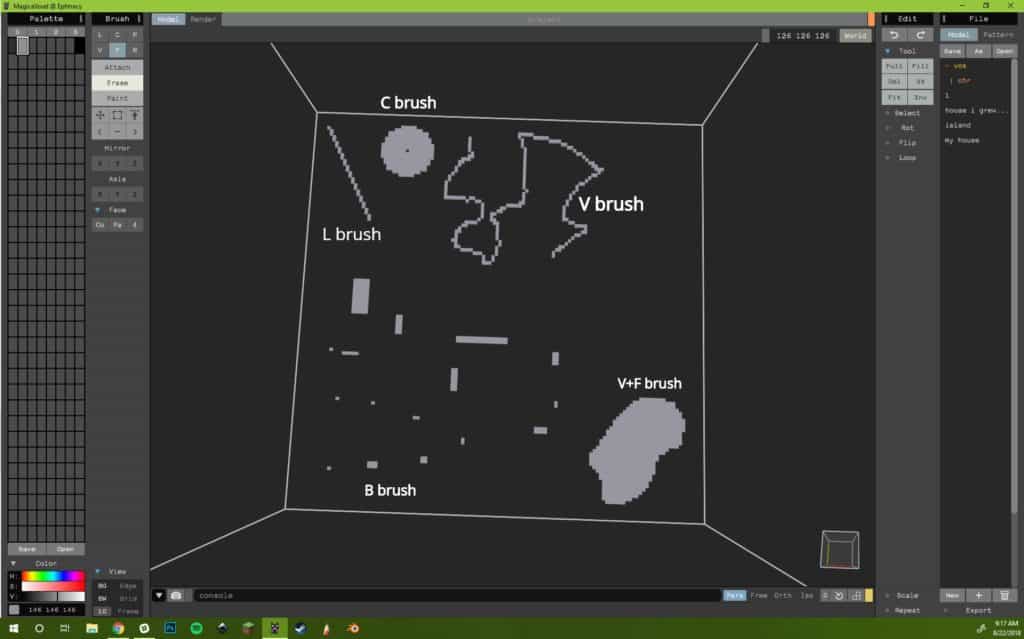
Step 5: Explore the different shapes that can be created with the different brushes. Play around,, create random shapes and see which brushes appeal to you the most. This example shows every brush except for the P brush.
Step 6: We will begin by creating a base for our map. First, select a colour using the colour sliders below the palette.. It can be helpful to work in greyscale and add colour later, to be able to focus on shape and form. Using the F brush, attach a bottom by clicking and dragging upwards.
Step 7: Choose a part of your image to start with first, usually the main point of your image is best. In this example we are going to create a house. To do this attach a box using the B brush and then the F brush to raise it. From there start adding levels to your map. The V brush is great for making hill-like shapes, and the L brush is ideal for making details.Tip: Whenever you make a shape that isn’t whole, use the ‘F brush’ and click inside of it.

Step 8: Alternate between your render and your model. For a night scene, you can control the amount of light with the ‘Sun’ and ‘Sky’ controls.
How to make water: Under ‘Glass’ located on the right in render mode, select the colour you wish to use for water or glass, and increase the ‘Glass’ slider. To make it extra reflective, adjust the ‘Refract’ slider.
How to make light sources: Under ‘Emission’ located on the right in render mode, select the colour you wish to use as a light source. Adjust the ‘Emit’ slider to make light appear. If it is too dull you can select the strength of light by moving the ‘Power’ slider.
Note: Learning to build in MagicaVoxel is an individual process. There is no one way to create things; it is a process of trial and error, and proficiency comes with time and practice. It can be helpful to work from photographs or drawings as a reference. Be patient and allow your own style to emerge.
Step 9: Once you have finished creating your model, then it’s time to paint it. Edit the colour of individual or groups of voxels by selecting them and adjusting their colour via the sliders.Tips:
- If the 126×126 map size is too small, make a bigger map by attaching several together. In world mode click on your image and copy and paste it. This new larger map cannot be edited as a whole, you must edit each map individually.
- Remember to keep checking your Render mode! It is very helpful to preview your map as you work on it, to ensure things are appearing as you intend.
Step 10: Fine-tuning our render mode: There are many things you can change about your final image in render mode to give it different moods or appearances.
- You can adjust the sun and sky under ‘Light’ settings (beside the colour palette) to make it brighter or darker.
- You can change the background colour by selecting a square in the colour palette and choosing a colour for it with the sliders, and then clicking the View options beside the sliders and selecting the GD and AA checkboxes.
- Under ‘Camera’ in the bottom right corner you can adjust the DOF (depth of field), EXP (exposure), and VIG (vignant). These tools help give your render a realistic feel. Play around with the settings and see what different moods you can create.

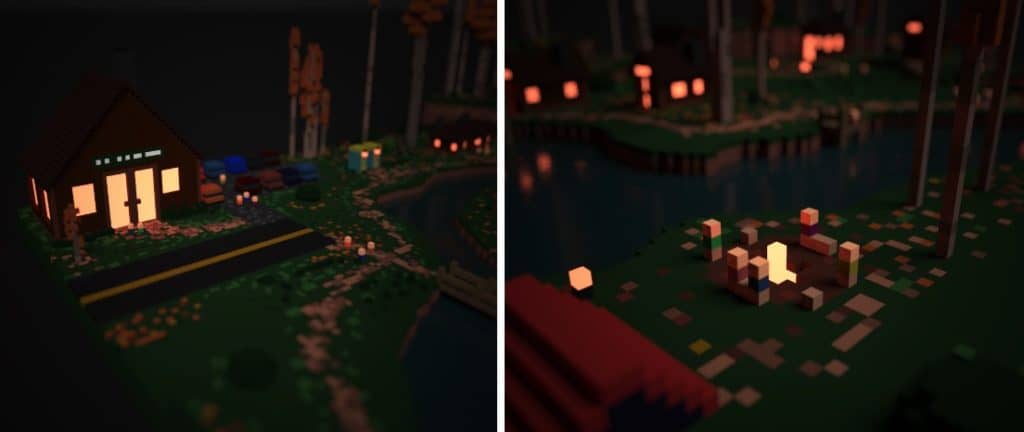
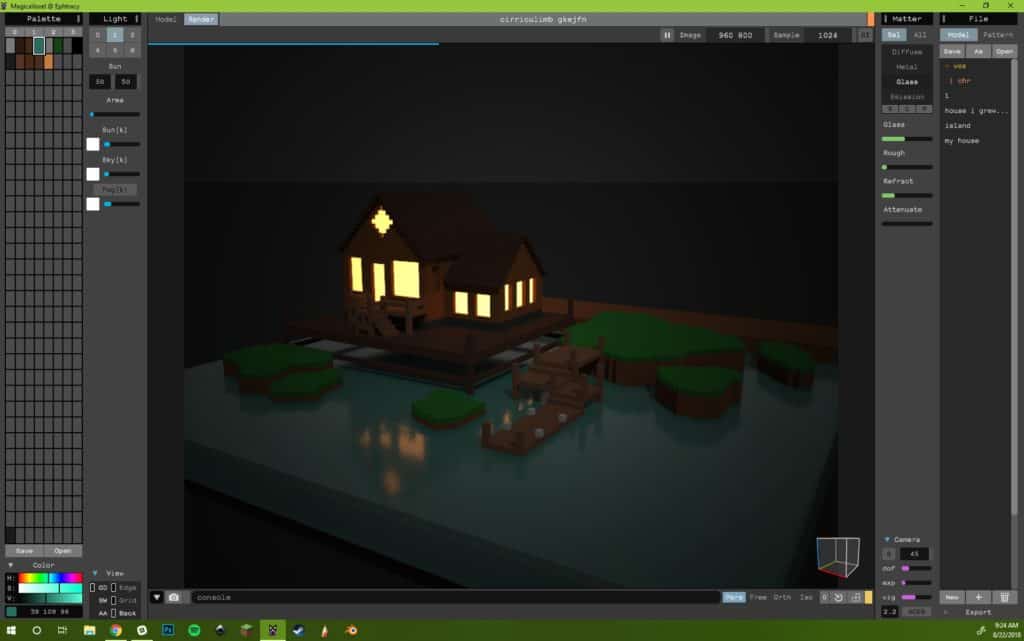
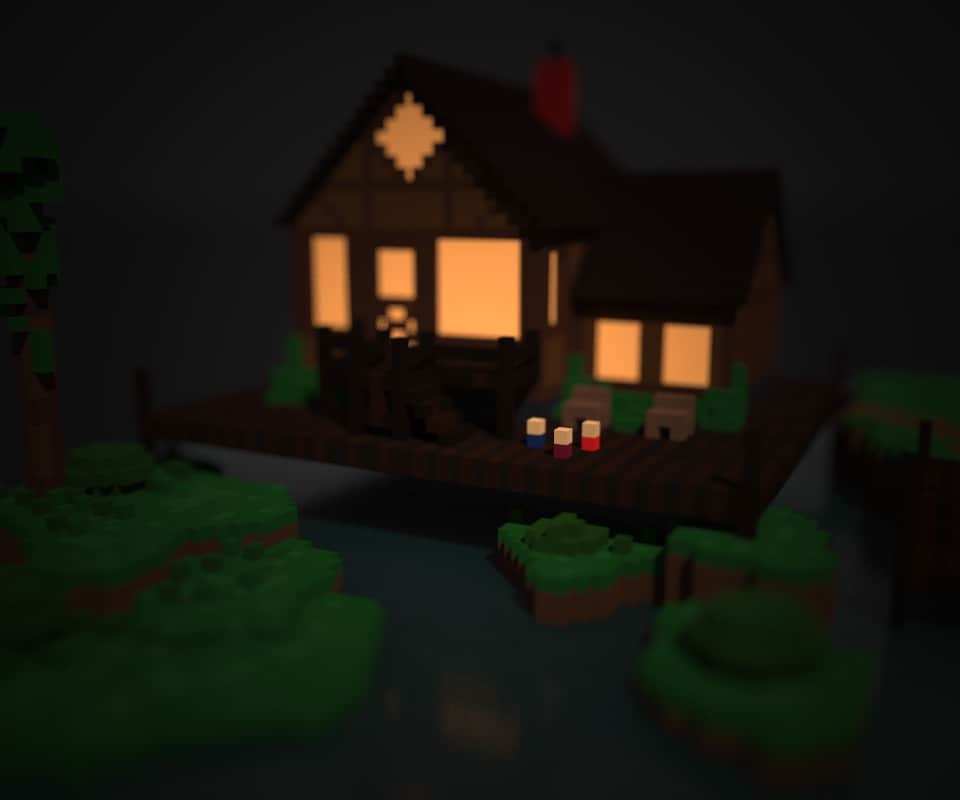
Tip: Here is an example with a shallow DOF. To achieve this look, click a point in your image to be the focal point, and adjust the DOF slider to blur everything except this focal point.
Once you are satisfied with your rendering, you can take pictures of it to share with friends. In render mode, there is a camera button on the hint box at the bottom of the screen. Take pictures from different angles and save these to your computer.
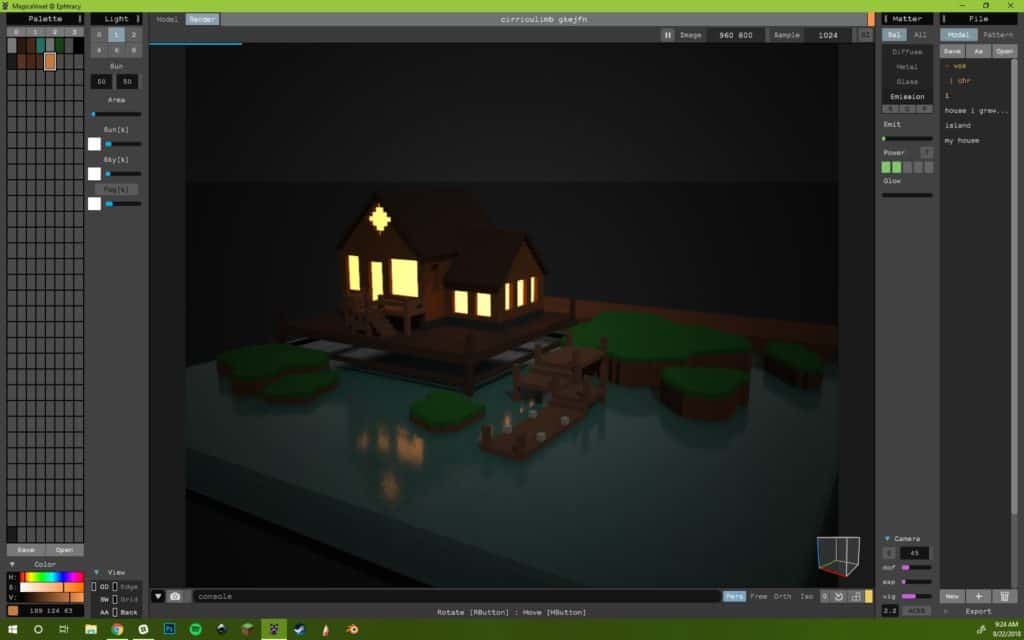
Here is our final example based on the initial sketch:
Conclusion
MagicaVoxel is a powerful 3D modeling program, and has all the necessary tools to create complex and detailed renderings. When learning any new program, it can be daunting and confusing to create things exactly as you want them to appear. Start with simple shapes and sprites, and keep practicing. In time you will be able to create complex scenes and worlds.
Resources
- YouTube Channel – Anna Lepeshkina
- YouTube Channel – William Santacruz
- YouTube Channel – Alex Voxel
- YouTube Video – MagicaVoxel Tutorial Interface Overview
- YouTube Video – MagicaVoxel Creating a Simple Model + Light Emission
- MagicaVoxel
- Twitter – #magicavoxel
- Medium – How I did my first 3D model
You might also like
Introduction To Blender: Part 1
 Grade 9 – Grade 12
Blender is a 3D modelling program and can be very complex if you don’t know what menus to use. Learn how to navigate Blender and create 3D models.
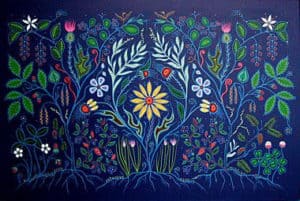
Creating Art Inspired by Traditional Métis Dot Art
Primary – Secondary
Learn how to create Métis dot art by using traditional tools as well as the digital art software Autodesk Sketchbook!
Creating Art In Inkscape
Grade 9 – Grade 12
Learn how to use the basic tools in Inkscape to create a vector art using a reference image.
