Section Navigation
Introduction & Learning Goals
In this lesson students will explore their imagination and create a finished piece of artwork using 3D modeling and 2D image editing skills. It is important for students who are interested in art, or the art industry, to learn that creating a finished project is key to becoming a better artist and learn to use multiple skills to create something unique.
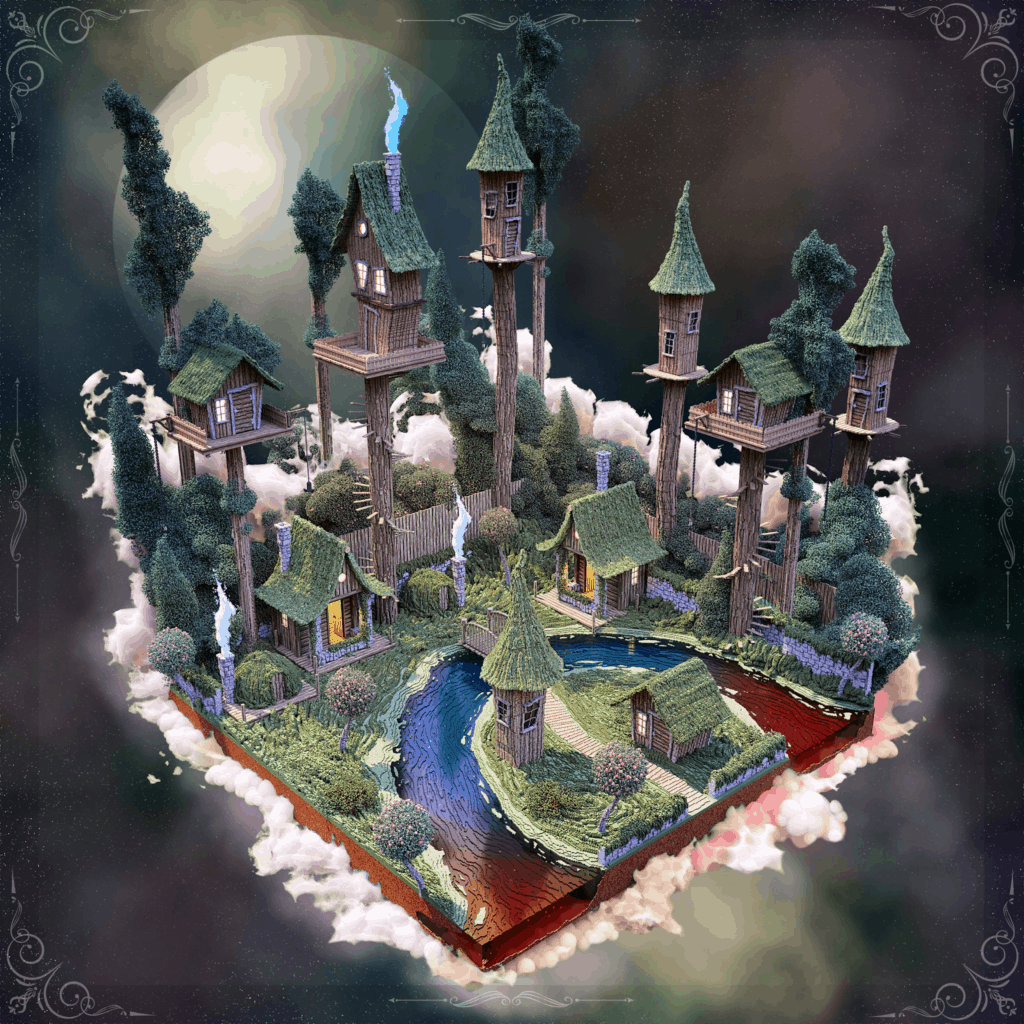
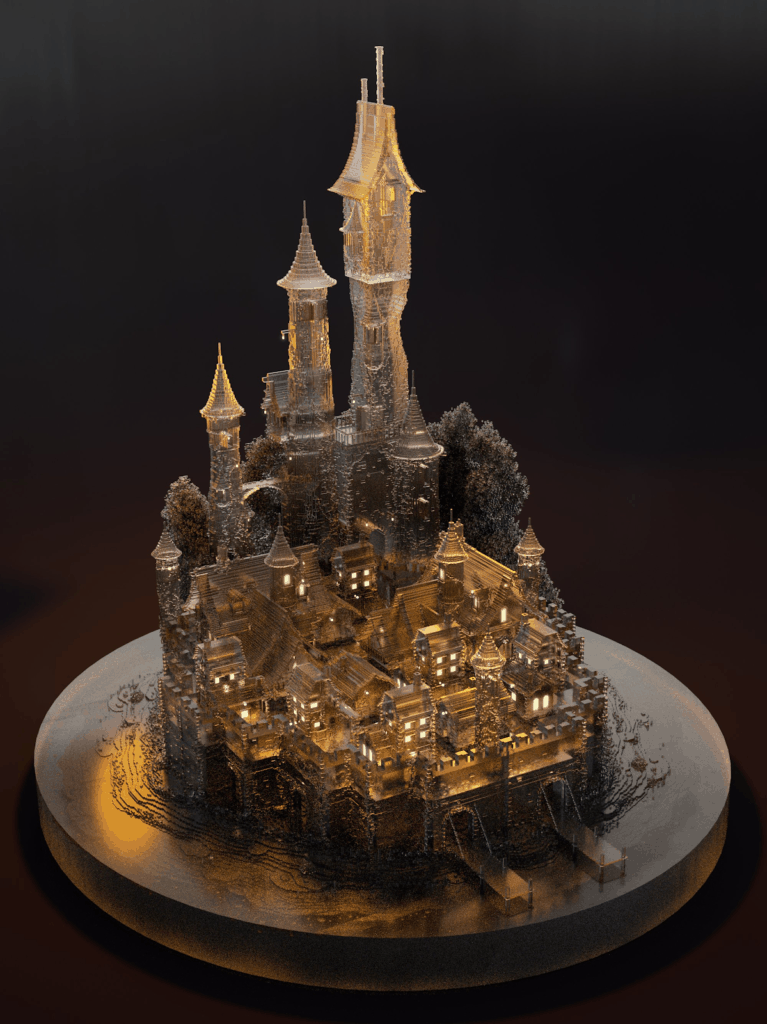
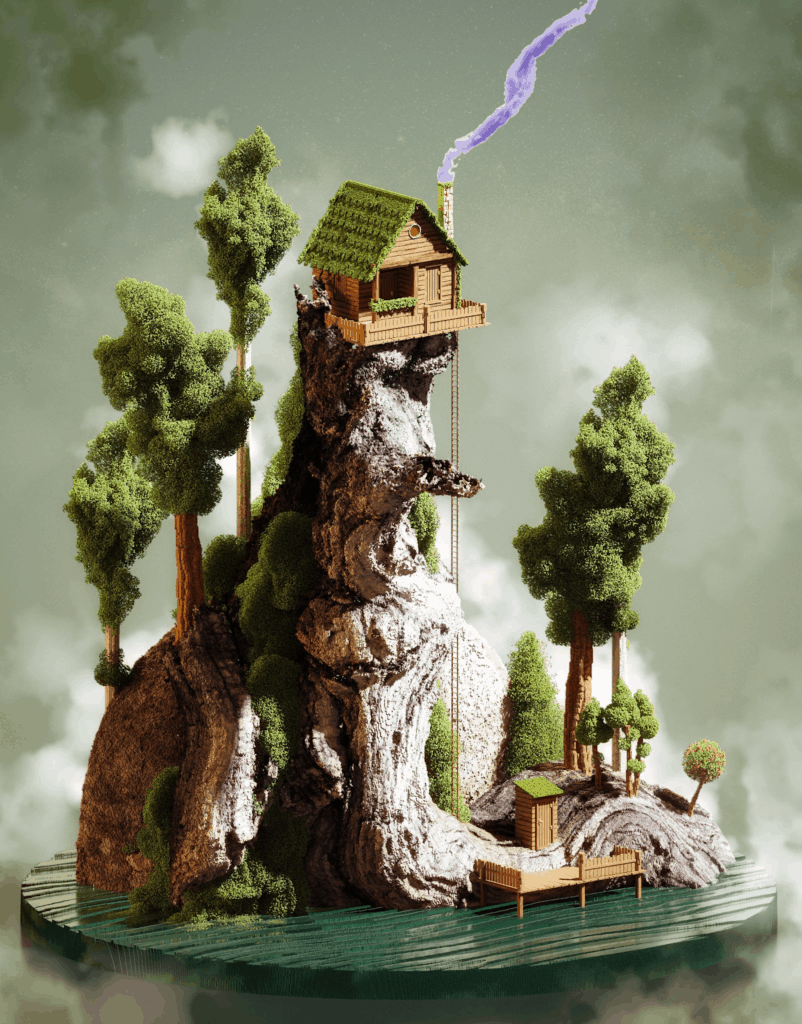
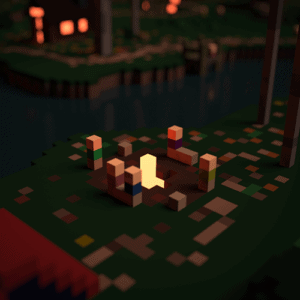
Artist credit: TritzChristophe
In these video tutorials learners will be introduced to topics such as rendering, photo editing, effects, lighting, transparent images, layer use, and more. This lesson should be taken after you have already completed my Creating Art with Magicavoxel lesson and Pinnguaq’s 2D artist, Ian’s, Krita series. This lesson will allow learners to advance their knowledge of Magicavoxel and Krita, as well as further their knowledge in combining two art forms.
Vocabulary
Voxel - A combination of words “volume” and “pixel”, meaning a pixel with volume or dimensionality. So if a pixel is a two-dimensional square, a voxel is a three-dimensional cube.
Voxel Art - Pixel art in three dimensions. The randomly generated worlds seen in Minecraft are created with voxels; it is akin to building with boxes or cubes.
3D and 2D - 3D stands for three-dimensional and 2D stands for two-dimensional. A 2D image only has two measurements, such as length and width, and is flat, such as something drawn on paper. A 3D image has three measurements, such as length, width, and height, and is often called solid. It is frequently rendered from all sides so that it appears to be ‘popping out’ of your computer screen, instead of looking flat.
Layers - In terms of digital art, layers are used to separate pieces of your artwork. Layers are used in 3D and 2D art, and artists use these to edit separate pieces of their paintings or 3D objects.
Moodboard - A mood board is a term used to describe a visual representation of your ideas. These could be things such as images, text, composition, colour, and more. These are commonly used by artists before creating artwork in any form.
Concept art - Concept art is used by artists to convey an idea. This could be a collection of different things, such as sketches or pictures. Concept art is used in many different areas in the art industry. It is used in animation, video game design, character design, film, and other media.
Render - A render is the final image or process of completing an image or 3D model.
Curriculum Links
This lesson can be used in both the Arts and Computer Studies . Students will learn how to put their creative skills to the test, as well as learn how to use both Magicavoxel and Krita to create a piece of artwork.
Materials
Student will need:
- Magicavoxel downloaded to their computers
- Krita downloaded to their computers
- A mouse
- A computer
Preparation Activity
Preparation Activity 1
Students should generate some ideas before creating their own artwork. Have students write down some ideas, or brainstorm with each other.
Here is an example of a mood board I created for my final creation.
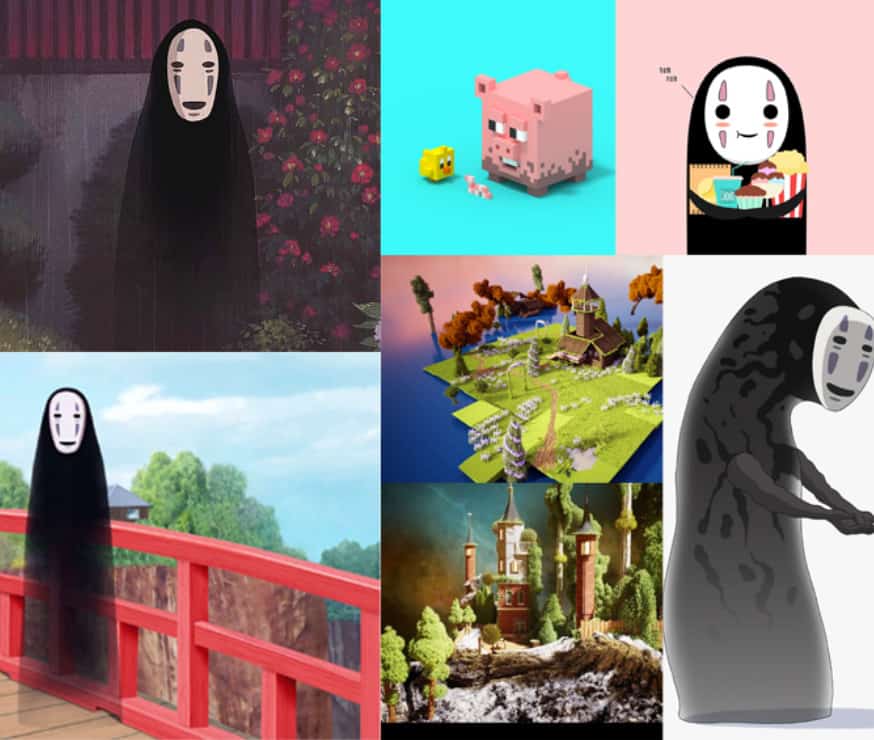
Reminder: It is always OK to use other peoples artwork for reference. To reference to other artists is to use their style, composition, colours, concept, as inspiration for your own artwork. There is a difference between reference and plagiarism. Plagiarism is taking someone else’s work and putting your name on it and claiming it as your own work. If you decide to post your artwork on social media, it is good to link the artists that you referenced as well!
Preparation Activity 2
In this activity students will create some concept art for their project. Using traditional mediums, students will paint something, or a couple of things based on their ideas! This will help give students a better idea of what to do when they use Magicavoxel. This is similar to the activity I had students do in my Creating Art With Magicavoxel lesson! I used Krita to paint my concept art based off of my mood board! Here is what I created.
Computer Activity
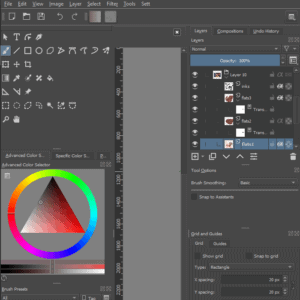
Magicavoxel is great, but can be limited with what you can do.. When you want to add more effects and bring some realism to artwork, Krita is a great tool ! Krita is a 2D art software that is completely free, and will allow you to edit images and add effects, lighting, etc.
Episode 1
In this video we will learn how to render an existing model that we have already created. In addition we will:
- render the lighting, background colours, composition,
- colour edit,
- take an image using Magicavoxel’s camera.
Episode 2
In this video we will take our image that we created and rendered in Episode 1, and edit it in Krita using brushes, png images, and effects. Make sure to use stick.png‘s website to pull transparent images (png images) that you will need for your own artwork!
Conclusion
In conclusion I hope that students learned the importance of using 3D and 2D art to advance their own art projects, as well as how to combine two art forms and create a final piece of artwork! I also hope that students learned something new about Magicavoxel and Krita. Thank you.
Resources
Here are some amazing artists on Twitter who use Magicavoxel or Krita:
Also follow the official Krita and Magicavoxel communities on Twitter:
- MVC_discord (Magicavoxel discord twitter page)
- Krita_Painting
Check out Ian’s article on how he created the front cover of Pinnguaq’s Root & STEM magazine! As well as Jack Hoggarth’s blog on STEAM education in Curve Lake First Nation!
