Introduction
Email is short for Electronic Mail. It’s similar to physical mail from the post office, but there are no stamps required, and instead of being handled by the post office, the sending of email is handled by online businesses. There are several email service providers, also called mailbox providers. The most popular ones are: Gmail, Outlook, Yahoo, and ProtonMail.
Creating an Email Account
In our examples we will use Gmail. Email is different from web browsers and search engines, because with email we need an account to use their product. We need to register with Gmail: provide some personal and security information, and choose an available email address for ourselves, before we can start sending email. Let’s start by creating an account.
The URL for Gmail’s home page is:
Tip: Notice the link has the word “google” in it? Gmail is run by Alphabet, the same business that makes the Google Search Engine and the Chrome Web Browser. The name Google is more famous, which is why if you use their products you will often see this name instead.
Gmail’s home page looks like this the first time you visit it:
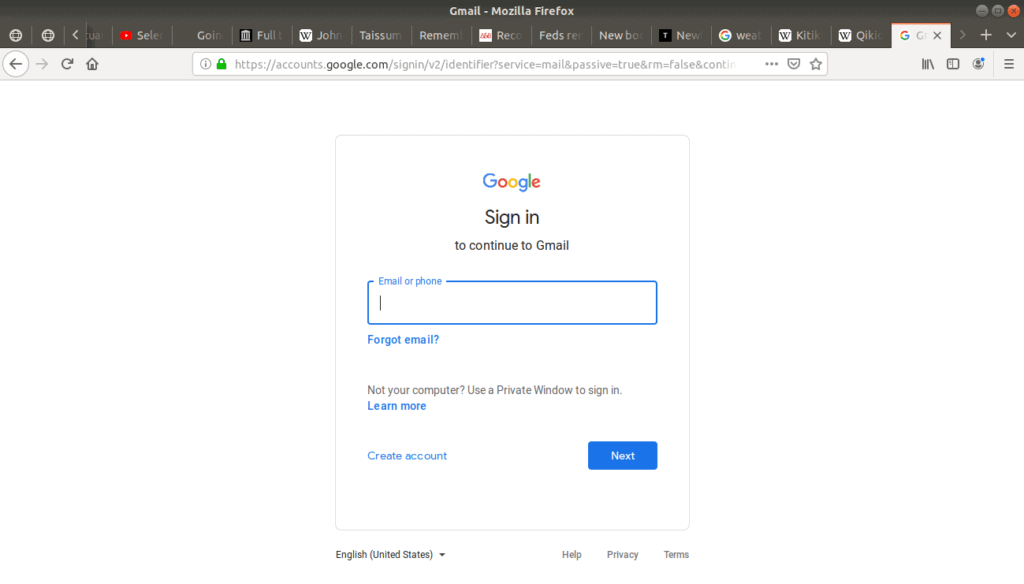
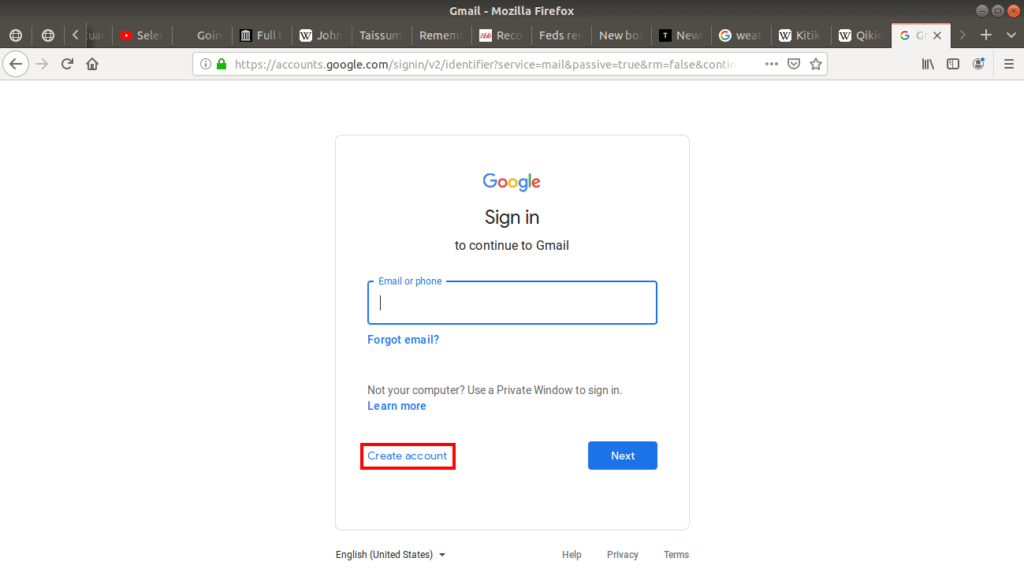
If you already have an account, enter your email address and password to sign in, otherwise let’s Create an account:
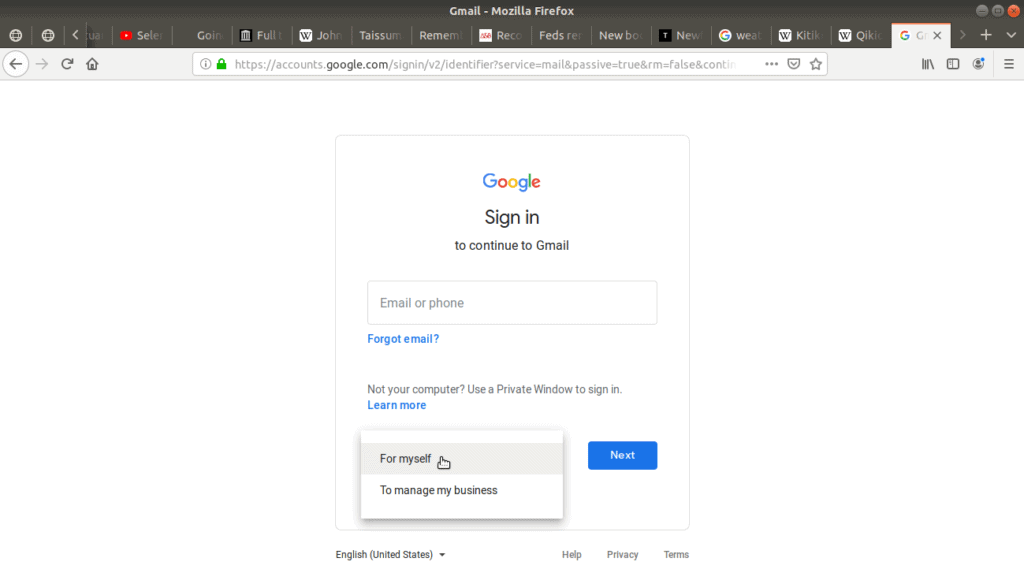
Gmail asks if you want to create a personal account or a business account. Select For myself:
Then you will need to provide your:
- First and last name.
- A username, which will be your email address.
- A password, which you have to enter twice.
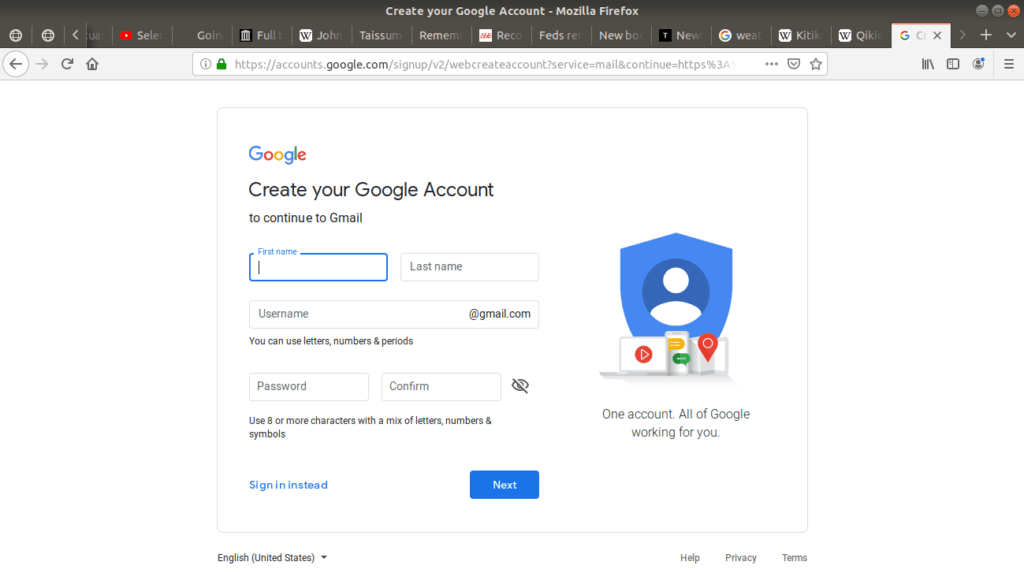
Note: When entering a username, you may find the name you selected is already in use. In that case, if you still want a similar username, it is common to add dashes (-), underscores (_), or numbers to your name. For example if “DanielNikpayuk” was unavailable, I could try “Daniel-Nikpayuk”, or “Daniel_Nikpayuk”, or “DanielNikpayuk12”, and hopefully one of those names would work, otherwise I would just have to keep trying, or find a new name altogether.
Note: The reason you had to enter your password twice was to ensure you entered it correctly. Let’s pretend we chose our password to be “Password1234” but we typed it as “Password1334” and we didn’t realize, then the next time we tried signing in the mailbox provider wouldn’t let us because we’re typing “1234” but it thinks its “1334”. It’s unlikely we’ll type the same incorrect password twice, so by getting us to retype it when we create it this sort of problem can be prevented.
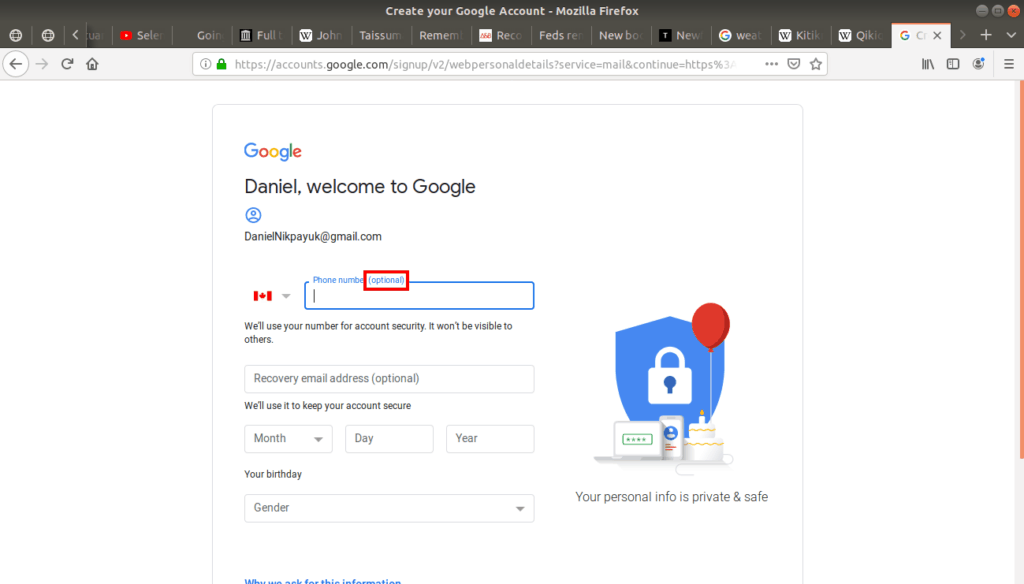
On the next page, you are asked for more personal information. Some of it is optional, so only enter the amount of information you’re comfortable with. You can always go back later and add it into your account:
The following page shows Gmail’s privacy terms:
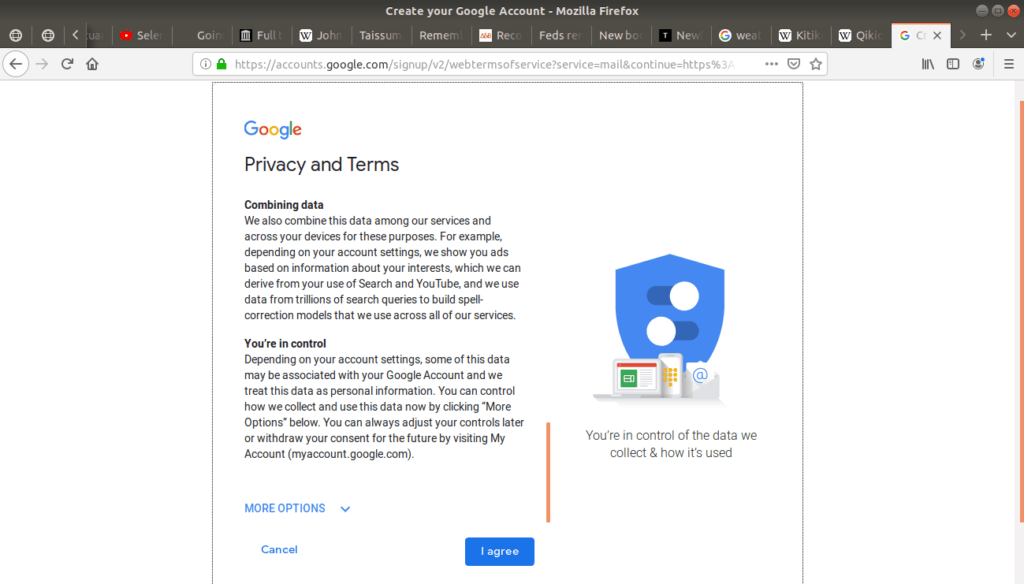
Whenever you register to use an online application such as Gmail where you have to provide personal information, you will always see “privacy terms” or something similar. Usually these are long legal contracts where they explain how your private data will be used, and by checking a box or pressing the I Agree button, it means you agree to their terms. I recommend reading these terms so you know what you’re agreeing to.
When you get to the bottom of the page click agree to continue on:
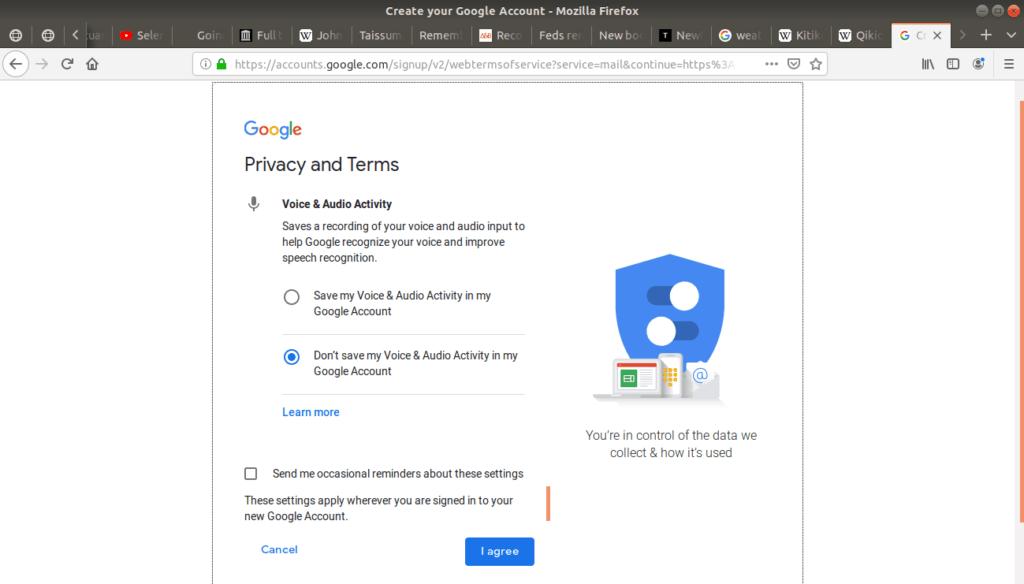
Note: If you choose not to read the privacy terms right now, you can always return to them later after your account has been created. If the email service provider ever changes or updates their terms, they will notify you.
Using an Email Account
After you’ve setup your account, you will generally receive a welcome message from the email provider:
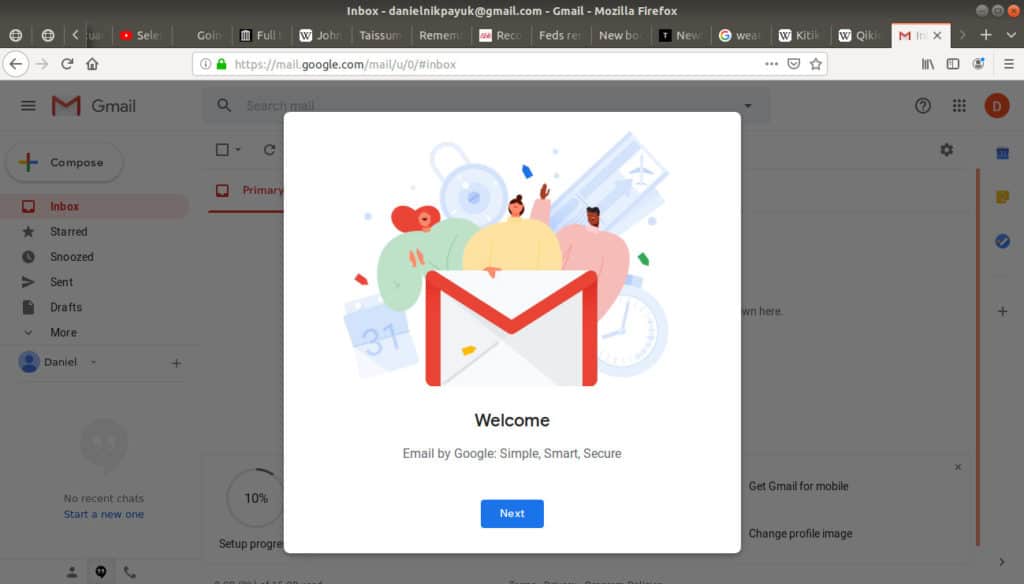
There is also often a brief tutorial or tour of the site, which you can skip if you’re not interested.
The main page of your account looks like this, and is called your inbox:
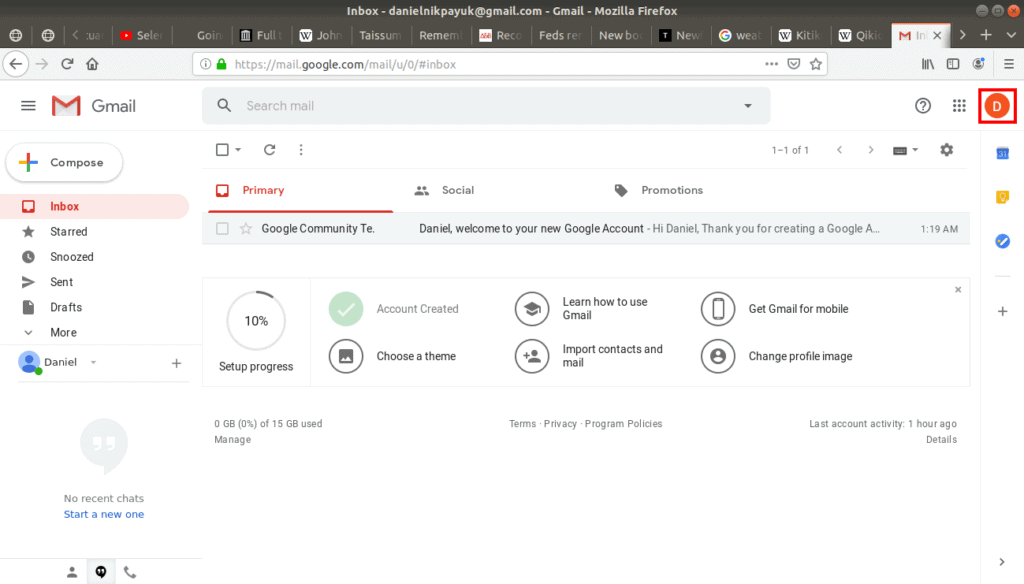
There are many tools and features, and various ways of customizing the display of your inbox.
Sending email
To create an email, click the Compose button:
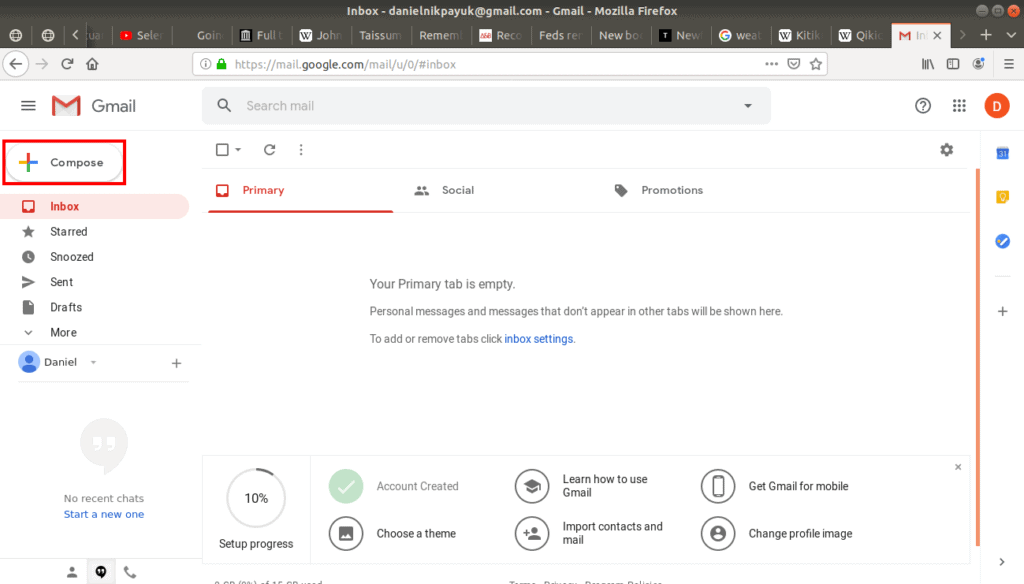
which opens a New Message window:
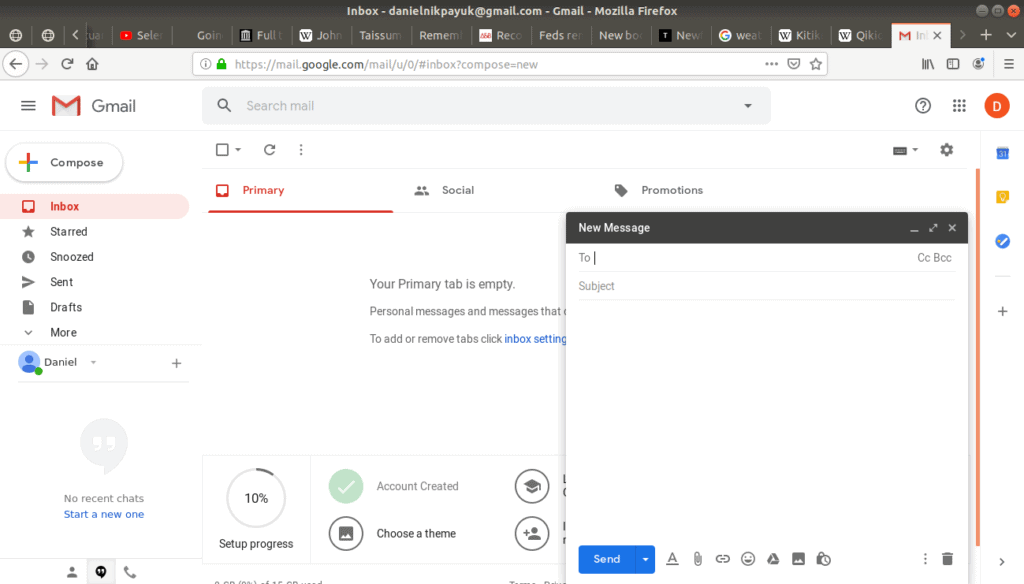
Enter the recipient’s email address in the To field:
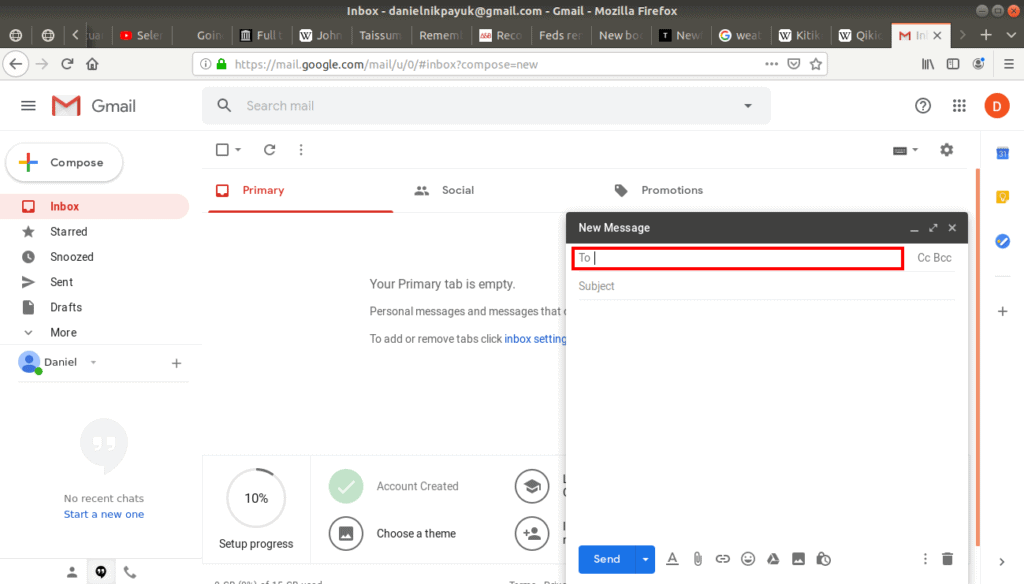
Unlike regular postal mail, email allows the option to send to multiple people at the same time. This way you can have group emails, or mass emails.
There are other, specialized ways of adding recipients:
- Carbon Copy (Cc) is for when you want to send a copy of the email to someone. The person carbon copied (or cc’d for short) is typically not the direct recipient, and is not expected to respond, but is someone you want to keep “in the loop” or share the contents of the email with.
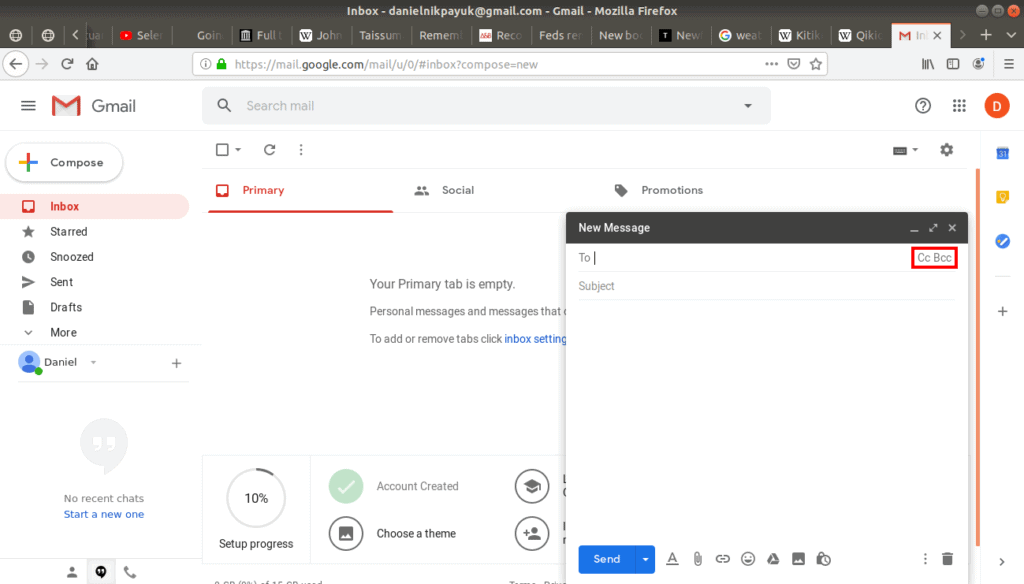
- Blind Carbon Copy (Bcc) is when you want to send a copy of an email to a third person, without the main recipient knowing. Be careful and respectful using Bcc, as it can be insensitive to lead someone to believe they are the only recipient of an email when they are not. Bcc is ideal when there are more than 30 recipients, or situations where the recipients may not know each other, and may not want their email listed for others to see.
After the address or addresses have been entered, fill in the Subject field:
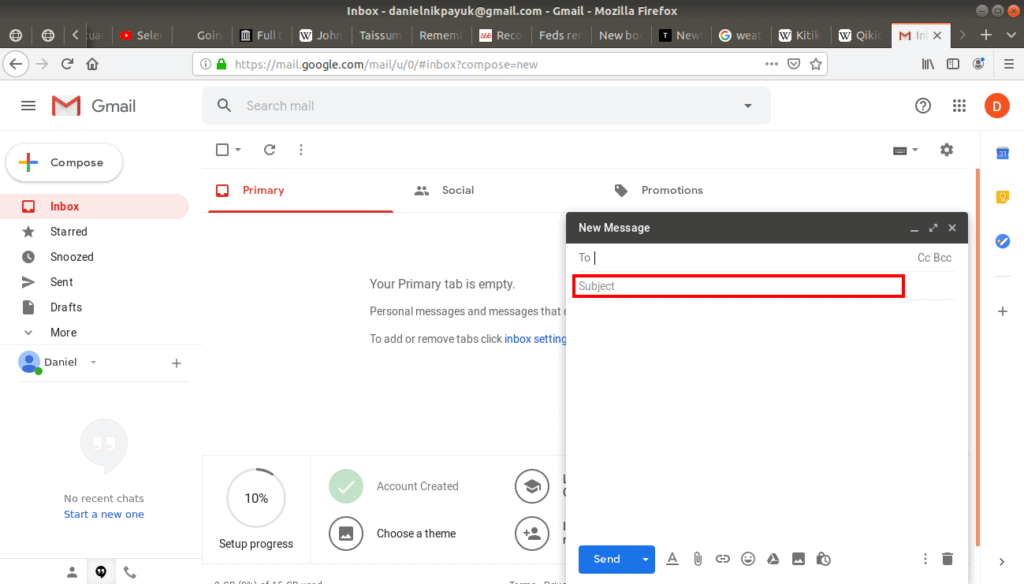
It is a common practice to provide a short description of what your email is about. The subject helps get the recipients attention, and gives them an idea about what they’re about to read.
Finally, below the address and subject lines is a text box where you compose your email:
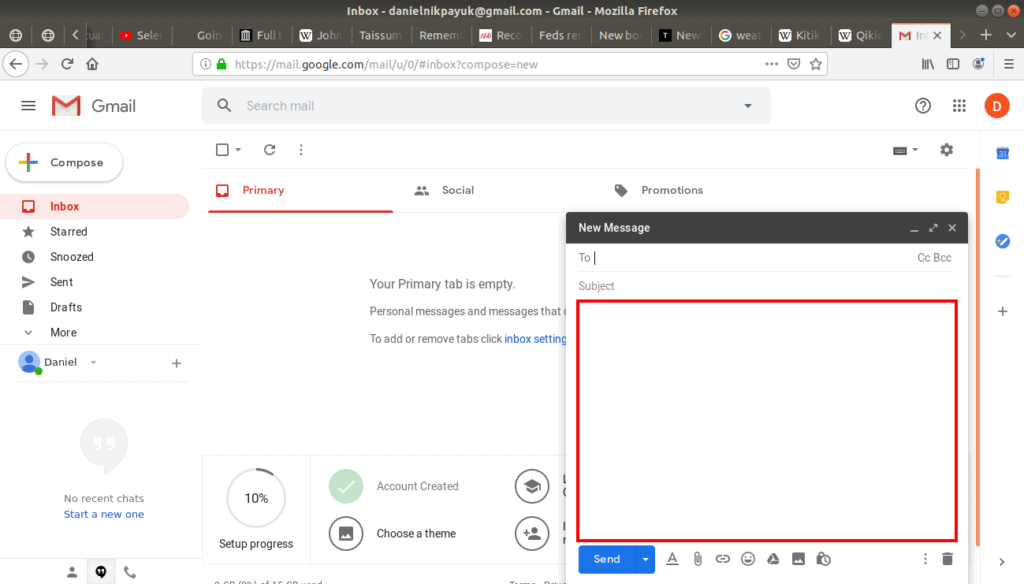
Tip: There are many different views on email etiquette, but in general, email is considered more formal than text messages.
Below the text box are several tools.
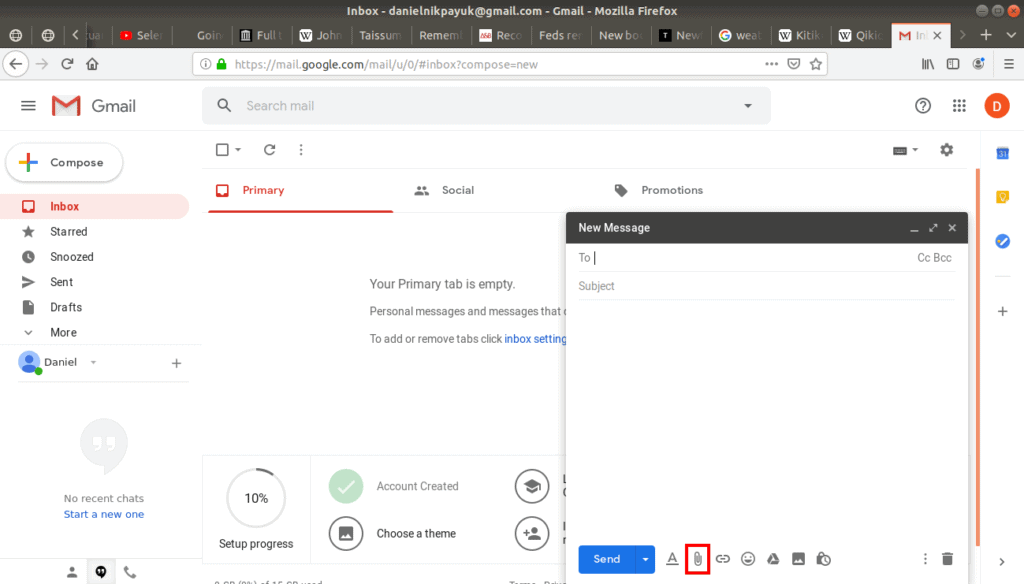
The paper clip button allows you to attach files to your email, such as a photo, video, or PDF. When you click the attach button, a window opens allowing you to navigate to the file on your computer.
Finally, when you’re ready you can send your email:
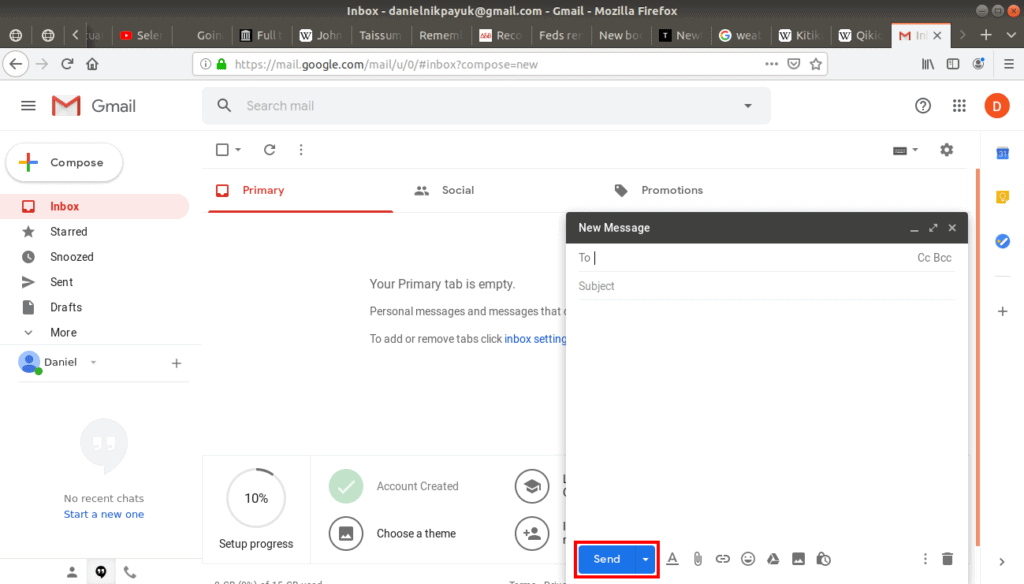
In terms of computers talking to each other, when you send your email, the message is uploaded from your computer to one of the mailbox provider’s computers, and then the recipient(s) of the email is notified and they download it to their computer from the provider’s computer.
Tip: Once the email is uploaded to the service provider’s computers it cannot be unsent, edited, or deleted. So before hitting send, double check your email for spelling errors, and to ensure the tone and content are respectful.
Receiving email
Hey look, I’ve got mail! The Google community sent me a welcome email:
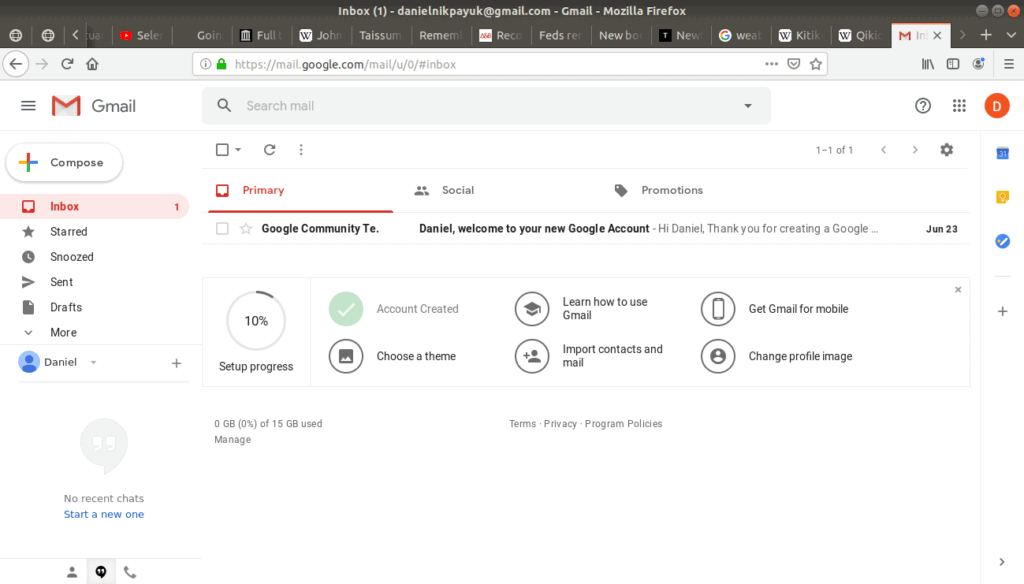
Now that there’s an email in my inbox, we can discuss how to view our mail and what else we can do with it once we get it.
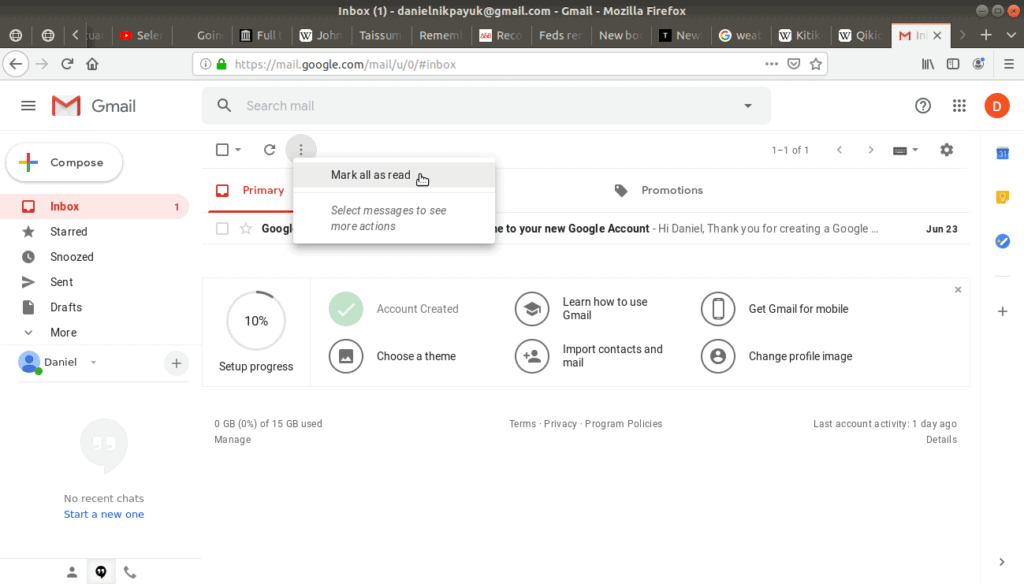
New mail is indicated by the number next to Inbox in the sidebar menu:
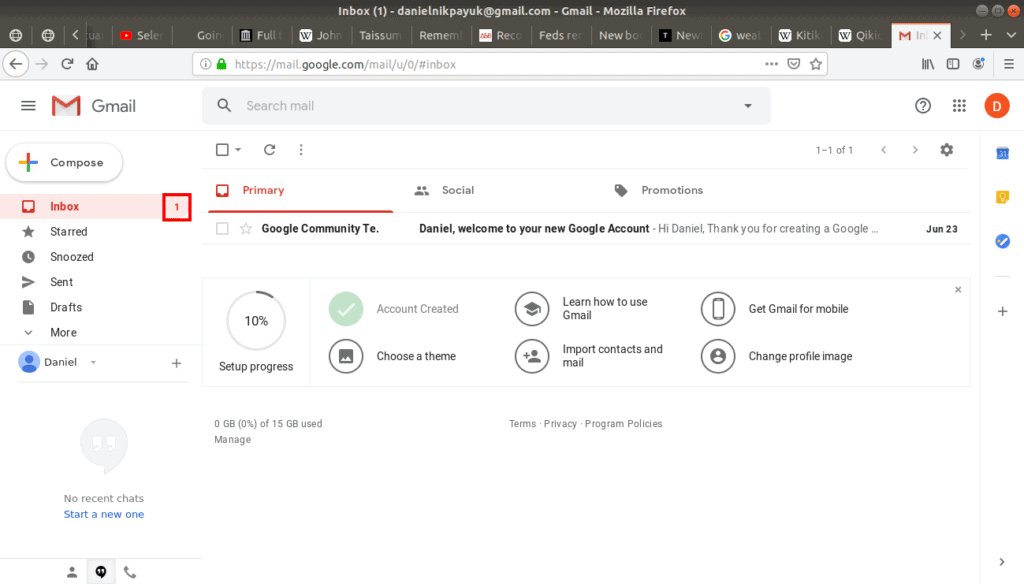
New messages appear bold in the inbox, and displays the sender’s name, subject, the first few words of the content of the email, and the date it was sent:
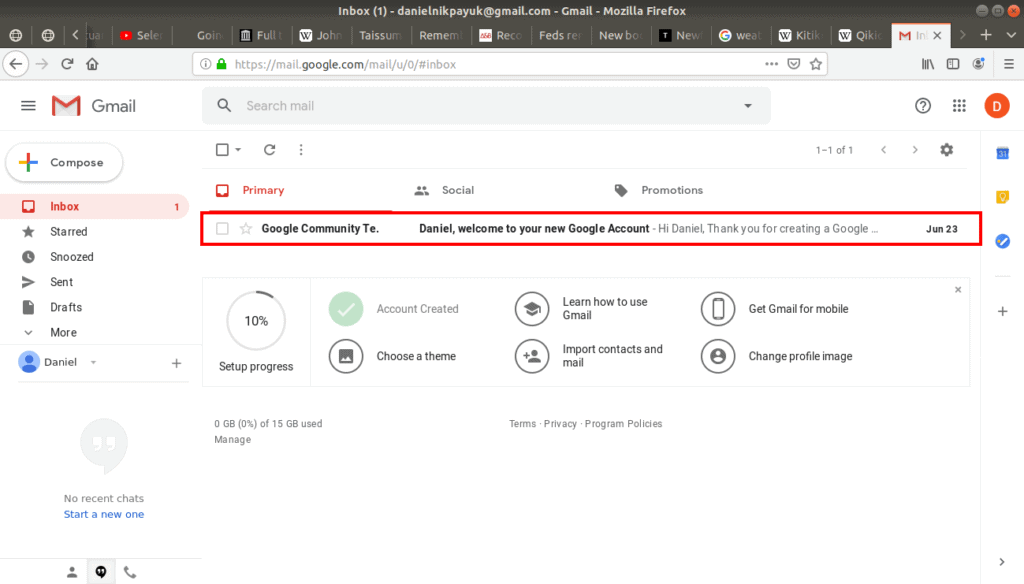
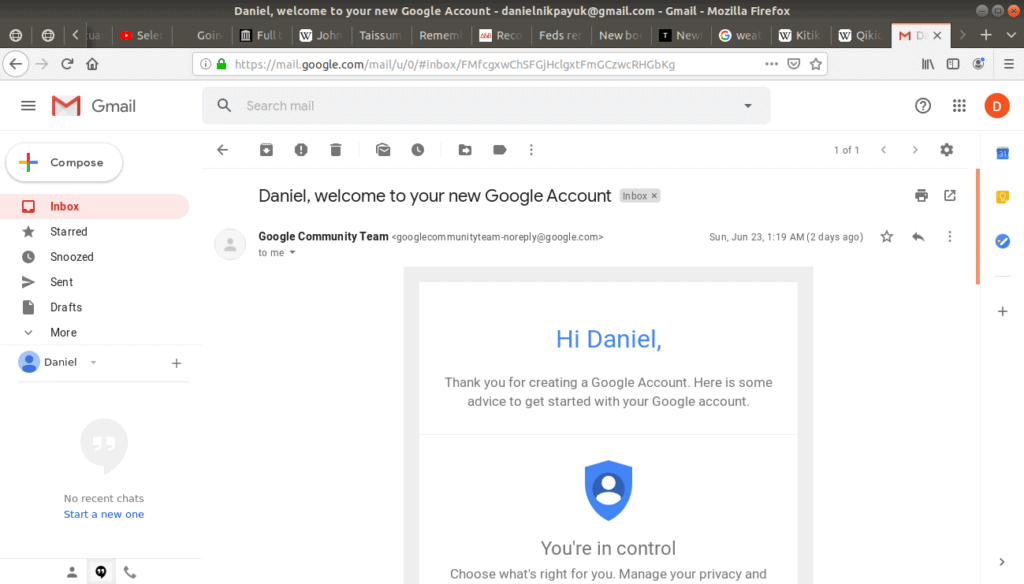
To open the email click on it and it opens:
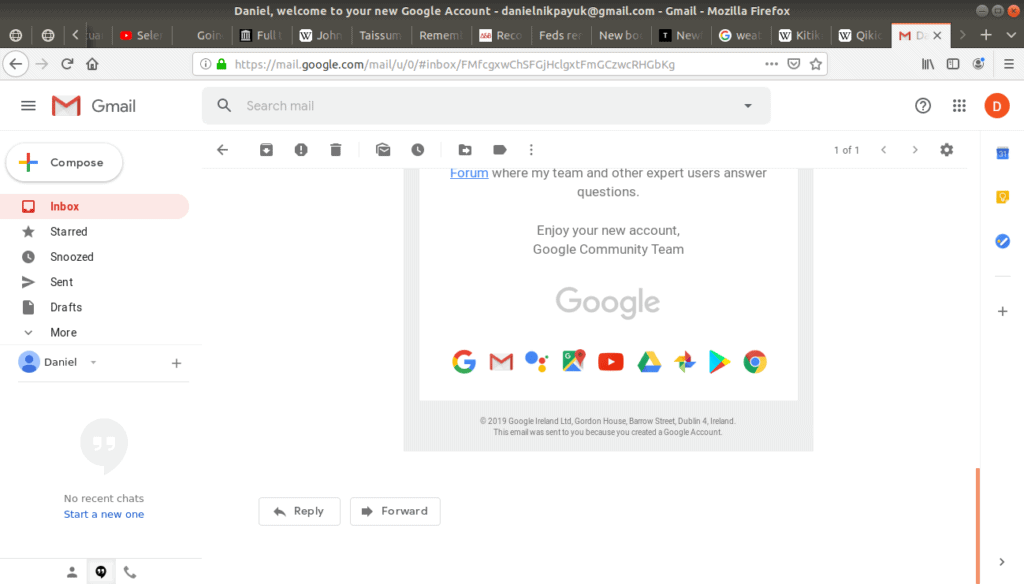
At the end of each email, are the Reply and Forward buttons to either respond, or forward the email to someone else:
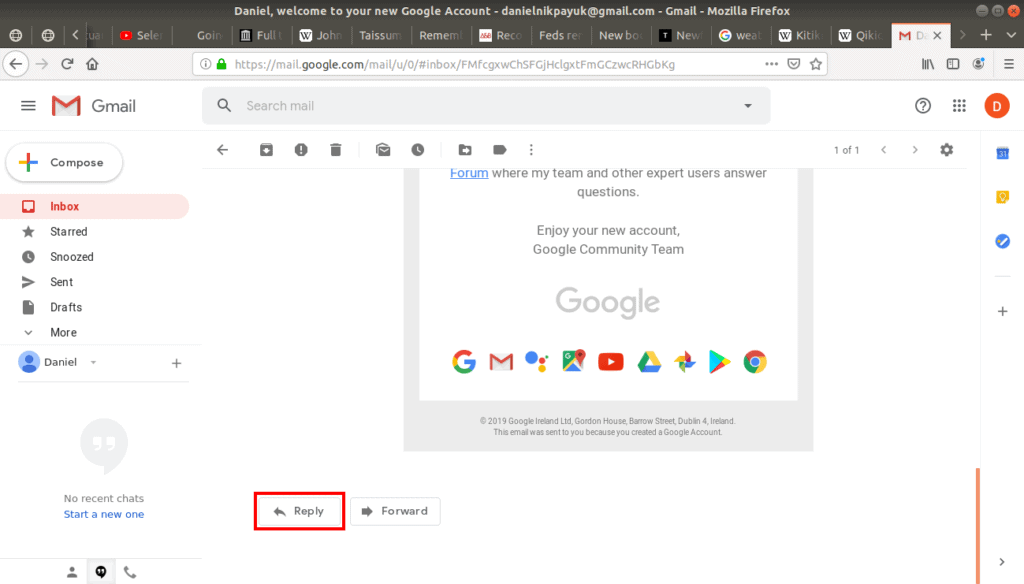
When you click the reply button, the To field automatically fills with the sender’s address.
Once an email message has been opened, it remains in our inbox, but is not considered new anymore. If we return to the inbox (by clicking on the Inbox button), we can see the email listed still, but the number 1 is gone, and the email is no longer in bold:
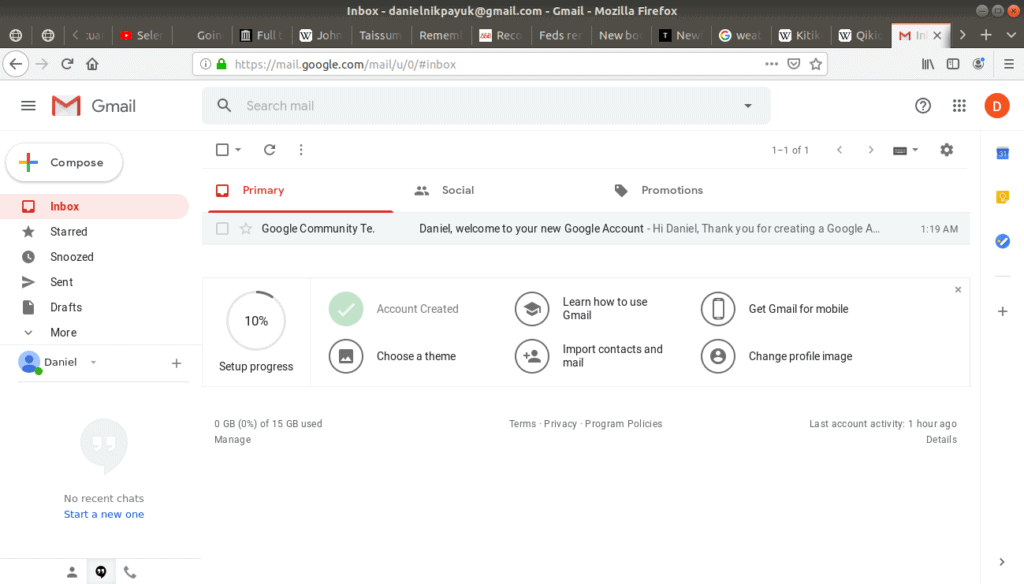
Above the inbox is a submenu indicated by three vertical dots. Within this menu is the option to Mark all as read which has the same effect as opening new emails and will change them to no longer be new messages
Organizing Email
Now that we know how to compose a new message, as well as how to read new emails, let’s explore some of the tools our email account provides to keep our mail organized.
Email accounts take an approach similar to a computer’s file system: things are organized using folders. As mentioned earlier, the Inbox is the main folder and is located on the left sidebar to the left along with other important folders:
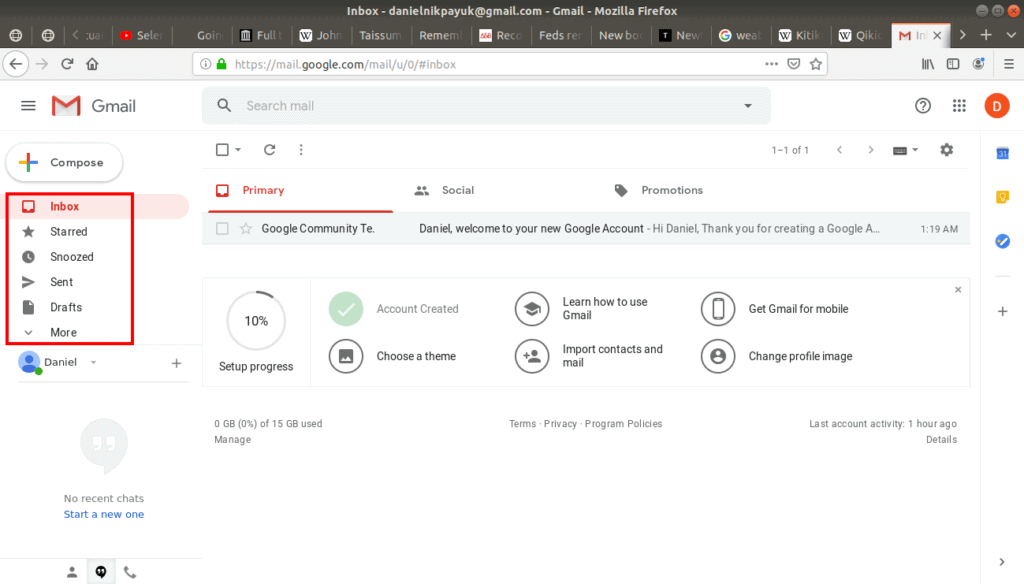
Common email folders you’ll find are:
- Sent: when you send an email, a copy is automatically kept in the Sent folder. If the recipient replies, you will also see your original response as part of their reply.
- Drafts: when you compose an email you can save it before it’s finished. Any unsent or in-progress email compositions are saved to the Drafts folder. They remain in this folder until you send them. Then they move to the Sent folder.
- Spam: advertisements, announcements, sales, and other “junk” email that is not personally addressed to you gets filtered to the Spam folder, instead of your inbox.
- Trash: you can put any unwanted emails in the Trash folder, where they remain for a certain amount of time before they are deleted permanently.
Beyond these, you can create your own folders. Some organizing tools are on display, while others only show up once you select one or more messages:
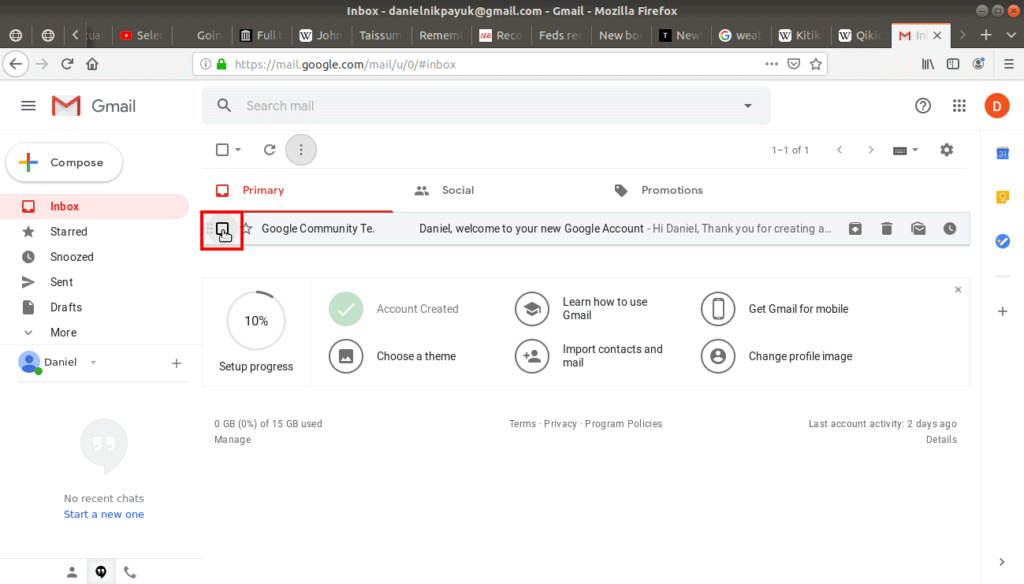
When an email is selected, it becomes highlighted which helps it stand out:
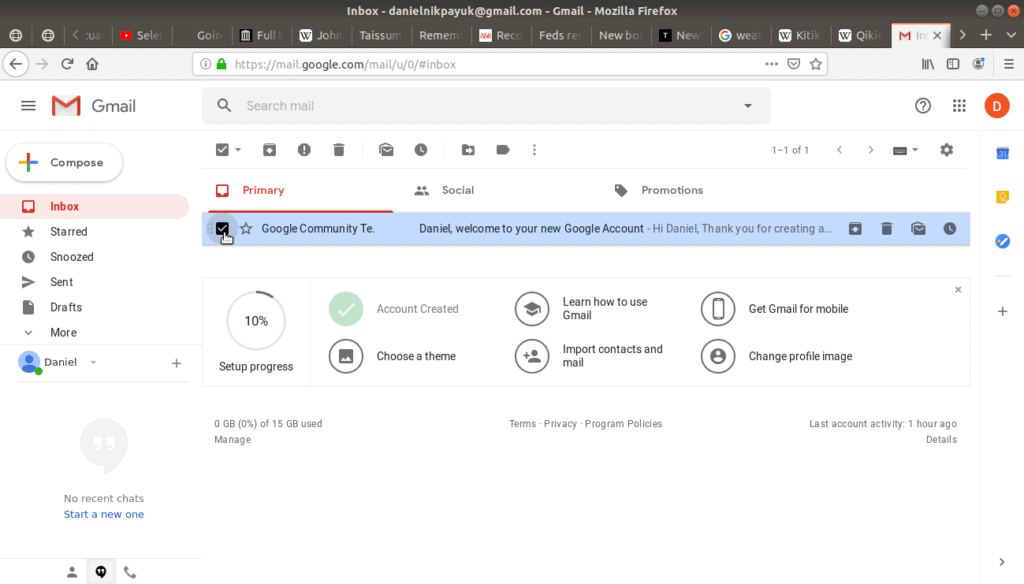
Tip: To select more than one email, you can click each box one at a time, or alternatively, once the first email is selected, many email providers allow the use of keyboard shortcuts. For example, to select emails below the first selected message, hold the Shift key and press the Down Arrow as many times as needed.
With an email selected, new tools appear at the top of the inbox.
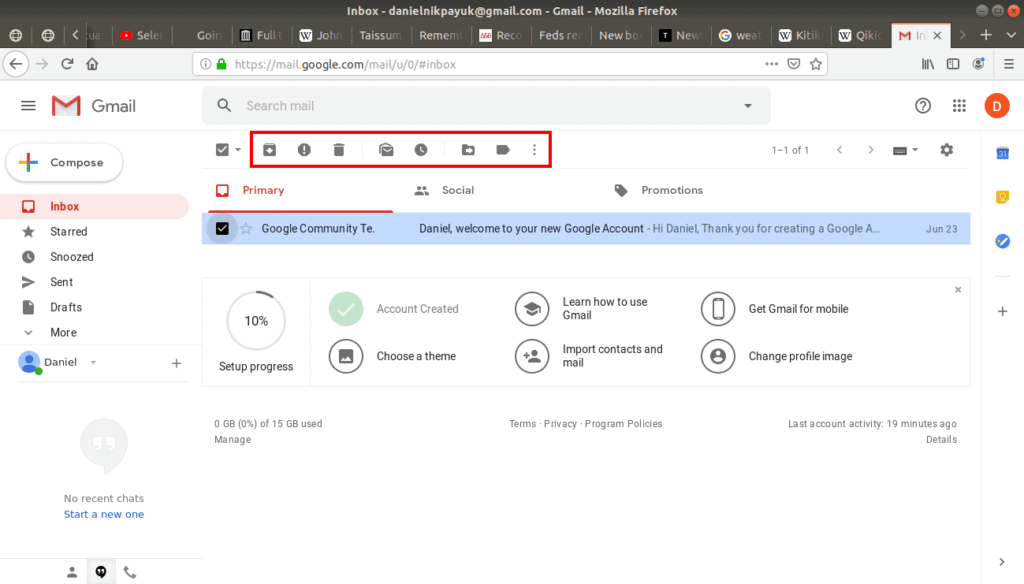
The Report spam button (hexagon with an exclamation mark) allows you to manually mark an email as spam for any junk emails that get through to your inbox:
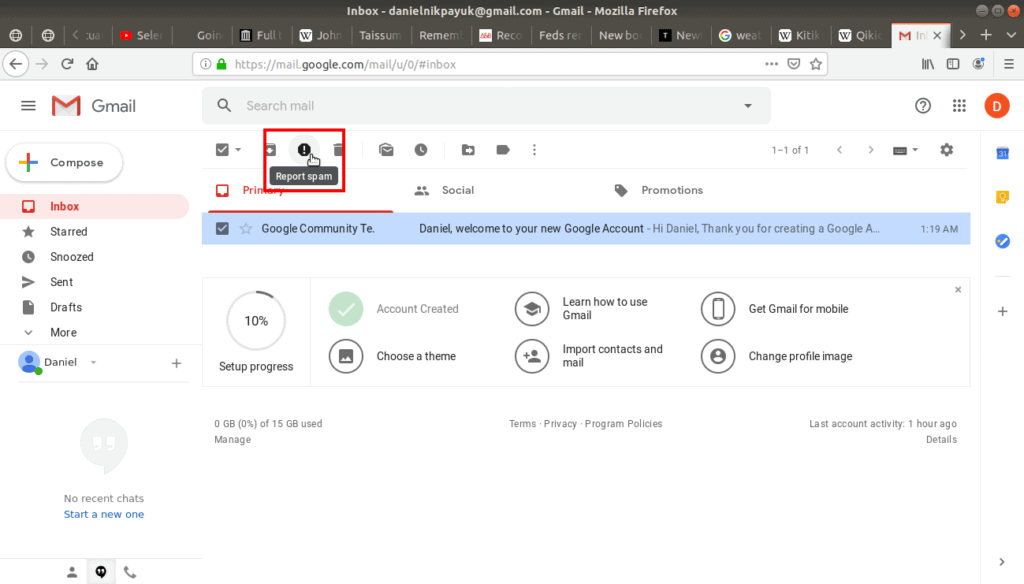
When you mark an email as spam, your email provider uses this feedback to improve its filter for you, so that over time, fewer spam emails make it to your inbox.
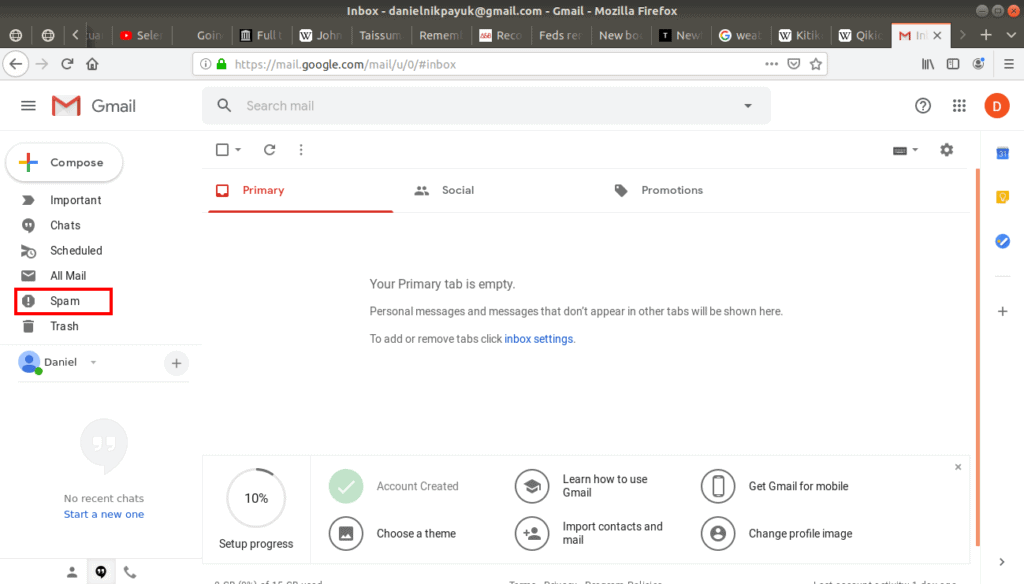
Generally, service providers do good job flagging spam, but once in a while an email you actually want gets put in the spam folder too. Check the Spam folder every now and again for emails that may have been mislabeled as spam:
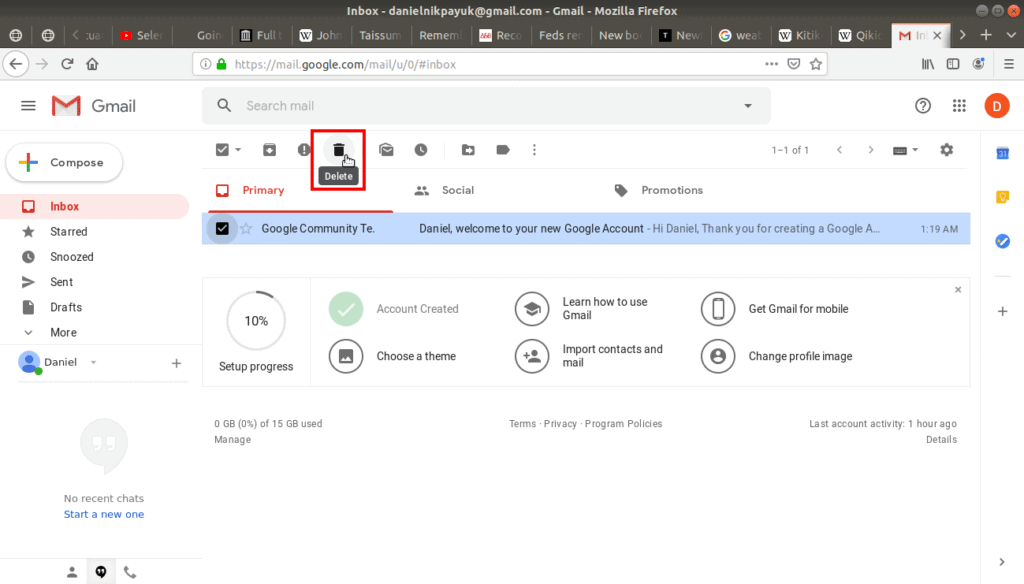
The next tool is the delete button which sends an email to the Trash folder:
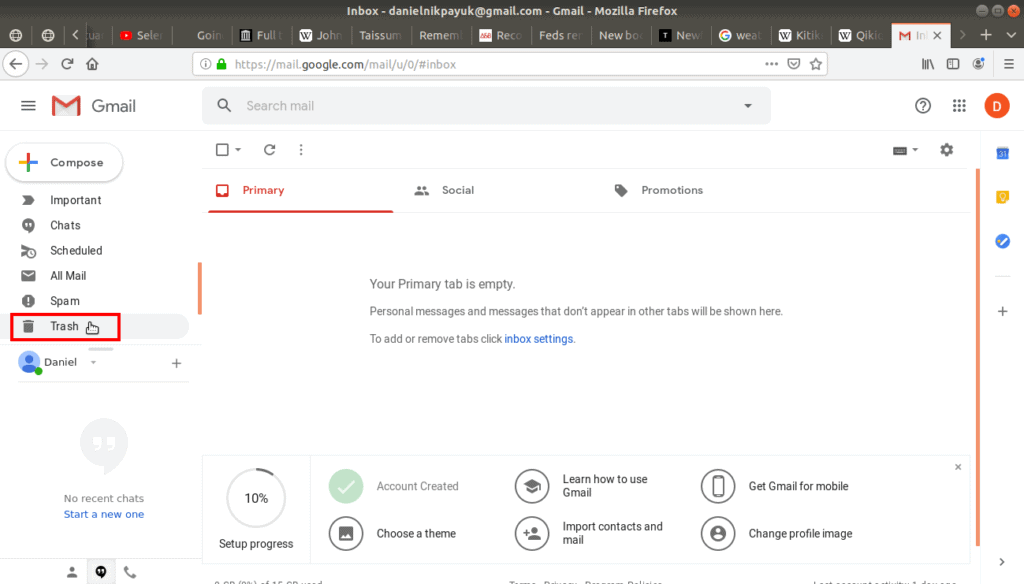
A deleted email can be recovered from the Trash folder within 30 days:
At which point it is permanently deleted:
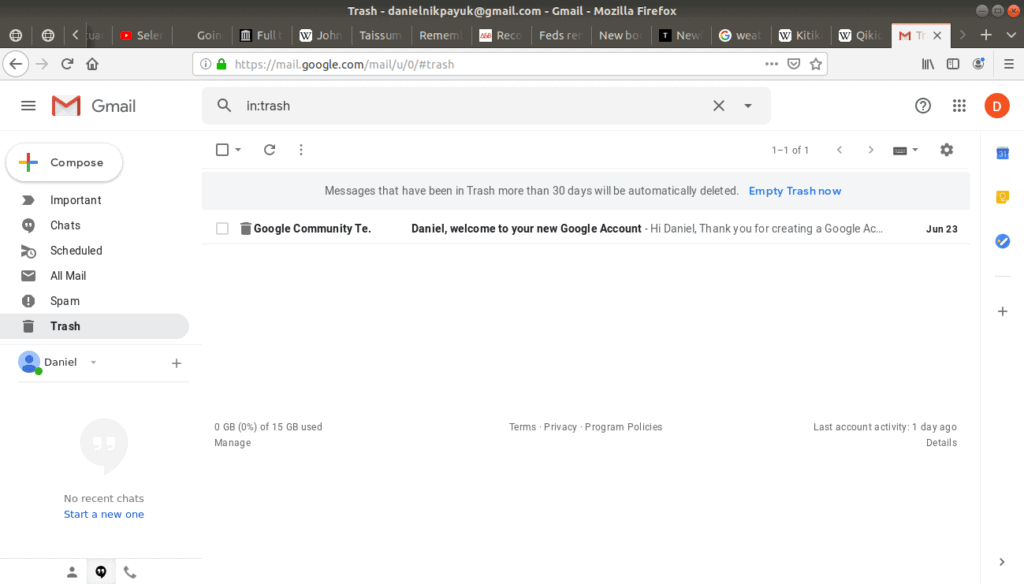
To take a deleted message out of the Trash, select it, and use the Move To tool to move it back to the inbox.
Tip: If you’re looking for a folder in the sidebar but can’t find it, just know that some of the folders don’t show up until there’s something in them. This is to say, if the Trash folder is empty it might be hidden from you.
Signing out
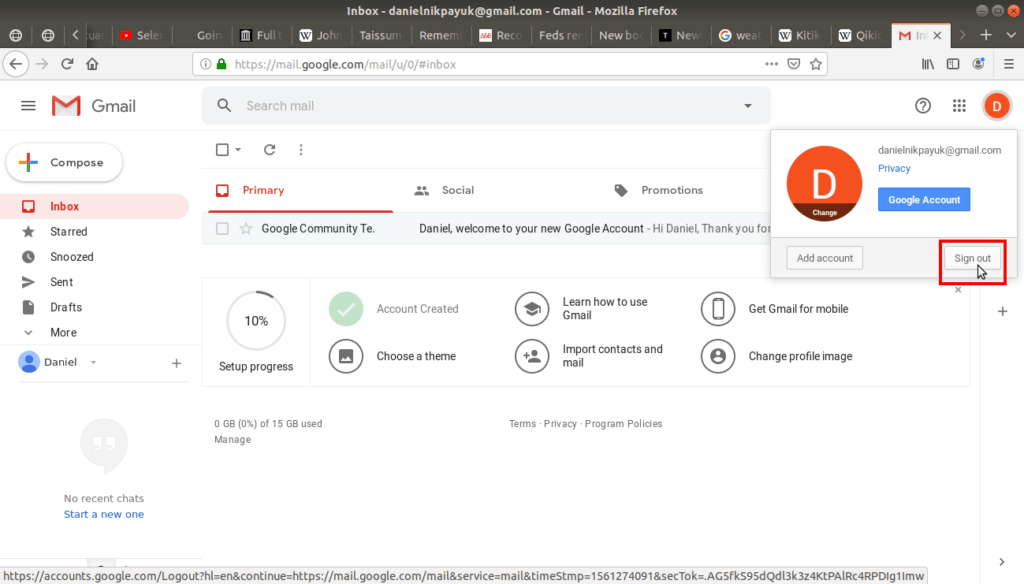
Once you’re done with your email, you can sign out. Signing out is a good habit to keep your privacy, as it ensures that no one else who uses your computer can access your email. The sign out button is accessed from the Account menu in the upper right corner:
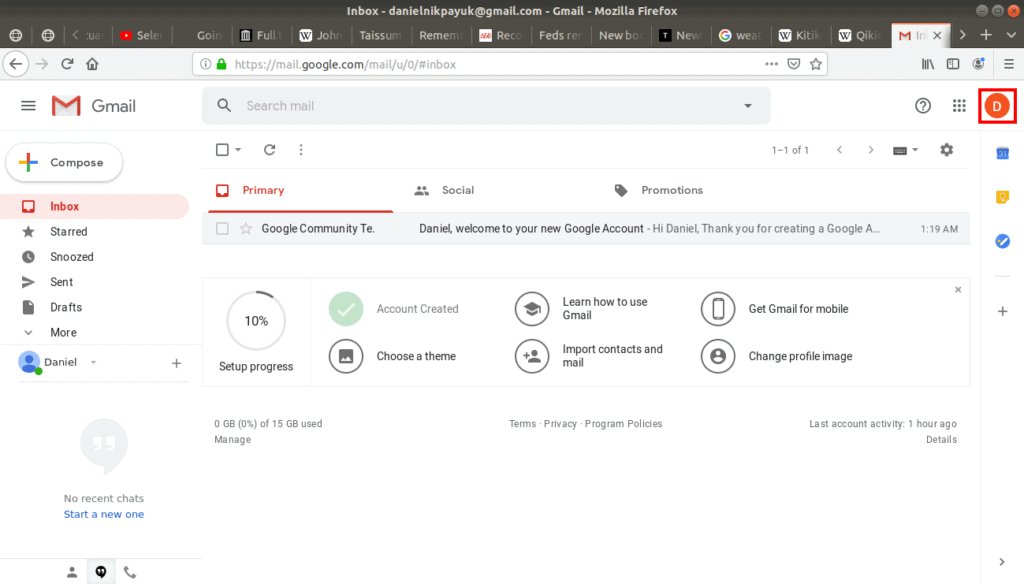
Here my account is marked with a ‘D’, as it’s based on my name. Your account symbol will be the first letter of your name. Clicking on the account button opens a small window where the sign out button is:
The next time you log in, you will need to enter your username and password. You may also see a window like this:
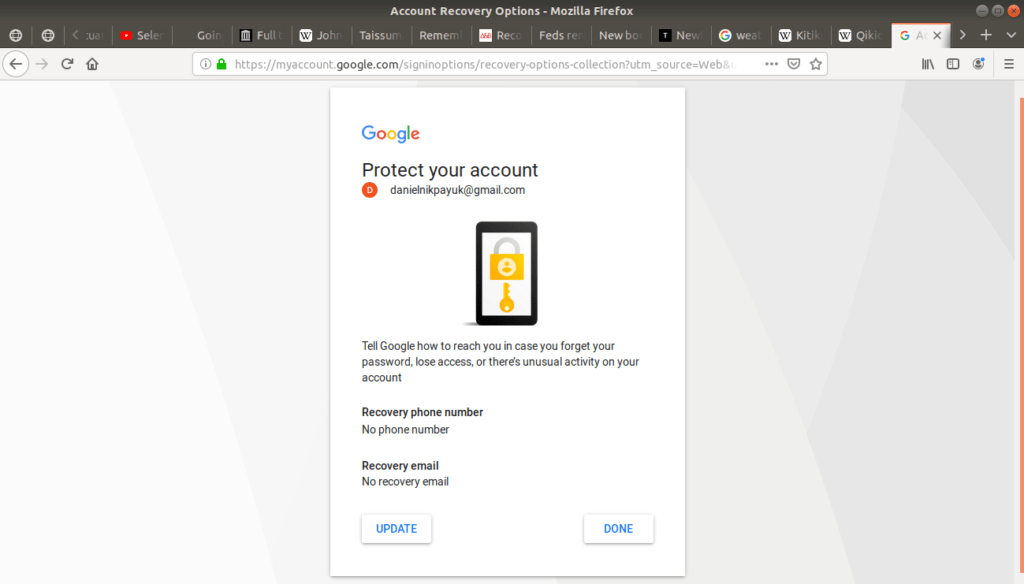
The service provider is asking for some additional information to make the privacy of your account stronger and more secure.
Some of this information was optional when we created our account. We will be discussing why this additional information is needed in the following section on email privacy and safety.


