
Overview
In this lesson, students continue learning how to use the micro:bit in a hands-on lesson in which they develop and test a water quality monitoring system.
Materials
- Download the Scientific Observation Worksheet
- micro:bit
- Battery pack
- AAA batteries (2×)
- Edge connector breakout board
- Turbidity sensor
- Male-female jumper cables
Part 1 – Introduction
Prepare three glasses of water as follows:
- One glass of clean drinking water
- One glass of ocean water if accessible—otherwise, dissolve salt in the water
- One glass of dirty water. Mix in dirt or any other contaminant
Complete the scientific observation worksheet.
Turbidity
Turbidity measures the transparency of water, which can change based on how many particles are suspended in it. When contaminants are present in water, it can become cloudy or murky, and the turbidity level increases. This makes turbidity a great initial measurement to track water quality over time. In this project, we use a turbidity sensor to monitor water quality.
Part 2 – Make Connections
Broken Messages Activity
It is important that our computers be able to communicate properly with the micro:bits and the attached sensors because we are using these wires to send and receive specific information. If we break one of these connections, the messages we send may not get through.
To understand how important it is that the wires are connected precisely, facilitate a game of broken telephone:
- Gather students into a circle (you may wish to split learners into smaller groups—minimum of three students per group).
- The person starting the game thinks of a word or phrase and whispers it into the next player’s ear. The word/phrase can only be said once—no repeats!
- The person who listened to the word/phrase attempts to repeat it correctly into the ear of the player beside them. Repeat until the last participant is reached.
- The last participant repeats the phrase or word aloud.
- Allow a moment for learners to react and laugh if the message has been changed or “broken” .
- The player who started announces the correct word or phrase.
- Players take turns as the starter.
Variation (for students with a hearing impairment):
- Alternate saying and drawing the phrase
- Cover ears and read lips
After the game, facilitate a discussion with learners about the challenges they encountered while trying to communicate this way. On a blackboard or whiteboard, list what good communication strategies are.
Water Quality Monitor Tech Activity
Create a Water Quality Monitor
In this activity, students learn how to create a water quality monitor.
Activity Description: In Part 1 of this activity, students will learn how to make the physical connections between their computer, the micro:bit, and the sensor (to ensure what students code will work). In Part 2, students will use the micro:bit in a hands-on lesson where they develop and test a water quality monitoring system.
Part 1: Get Wired!
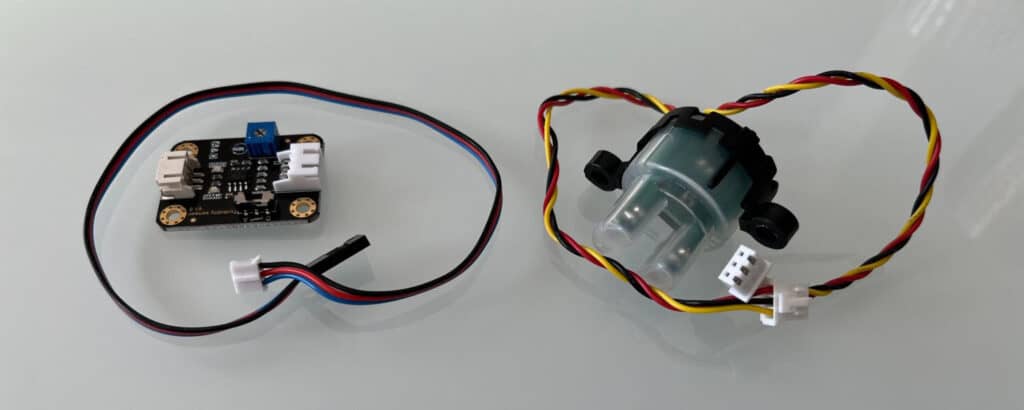
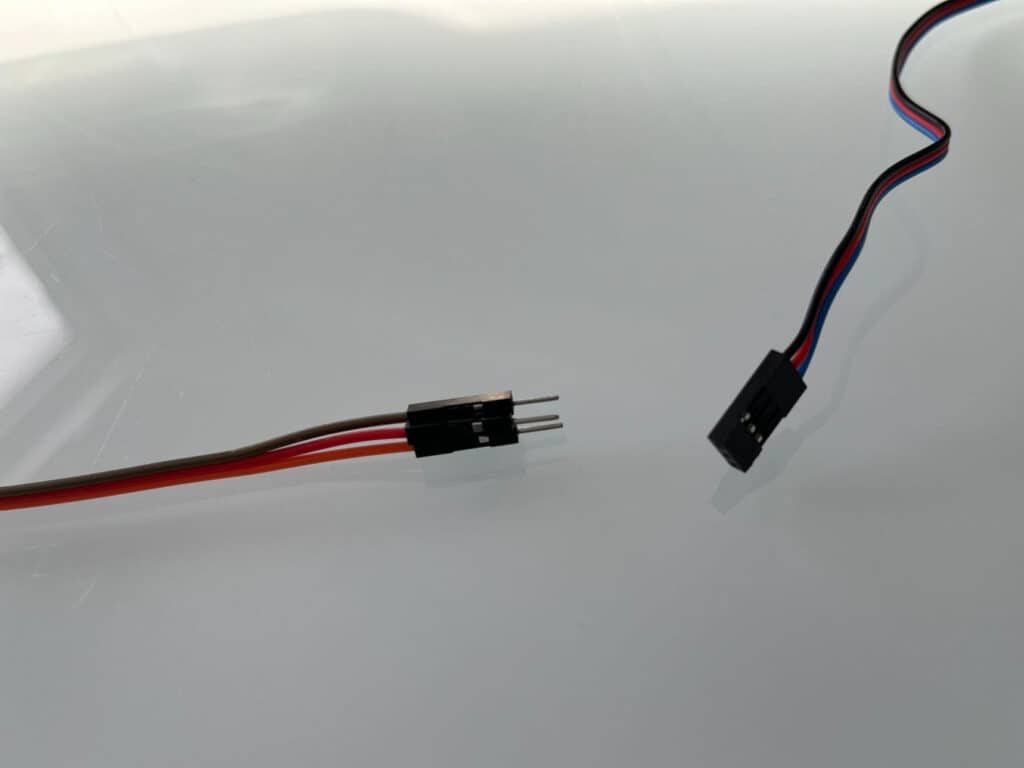
The following is a step-by-step imagine guide that will guide learners how to connect all the pieces between the computer, the micro:bit, and the sensor. Start with laying out the pieces of the sensor as shown here (including the adaptor board and the turbidity sensor and jumper wire):
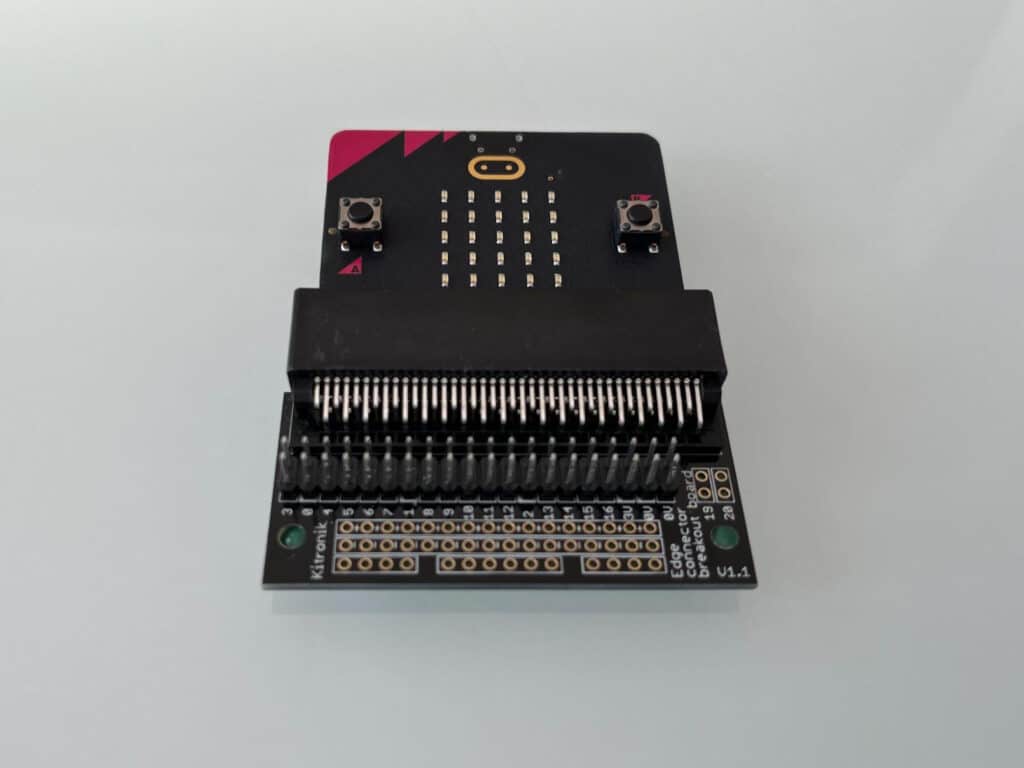
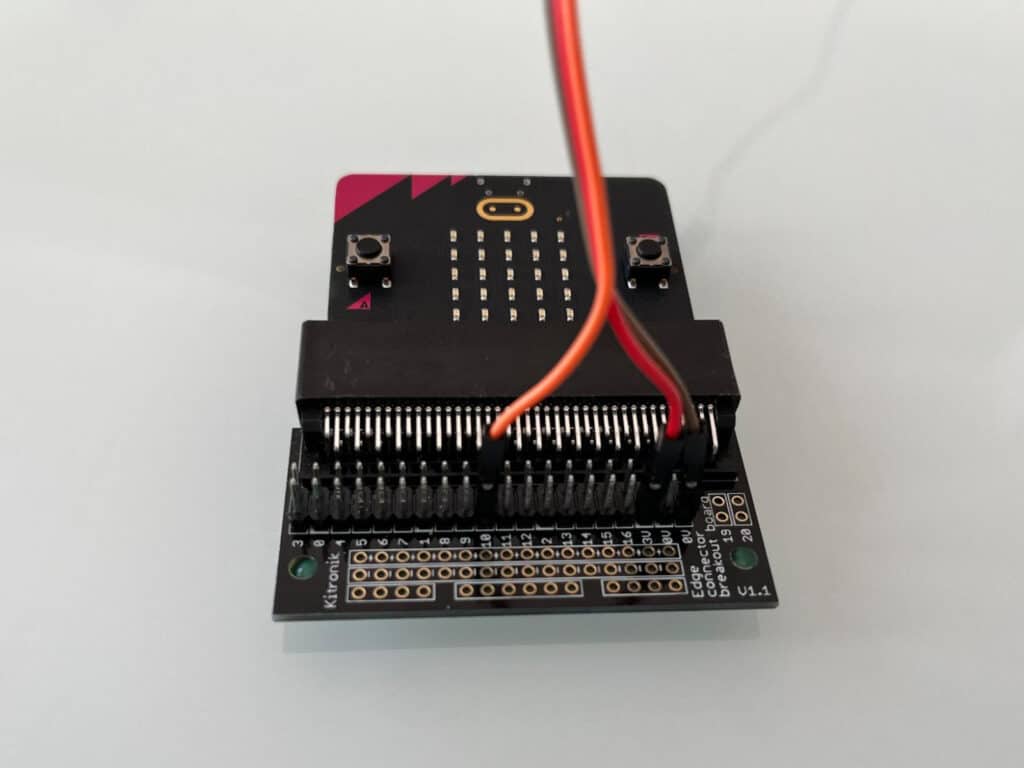
- Connect the Edge connector breakout board to the micro:bit
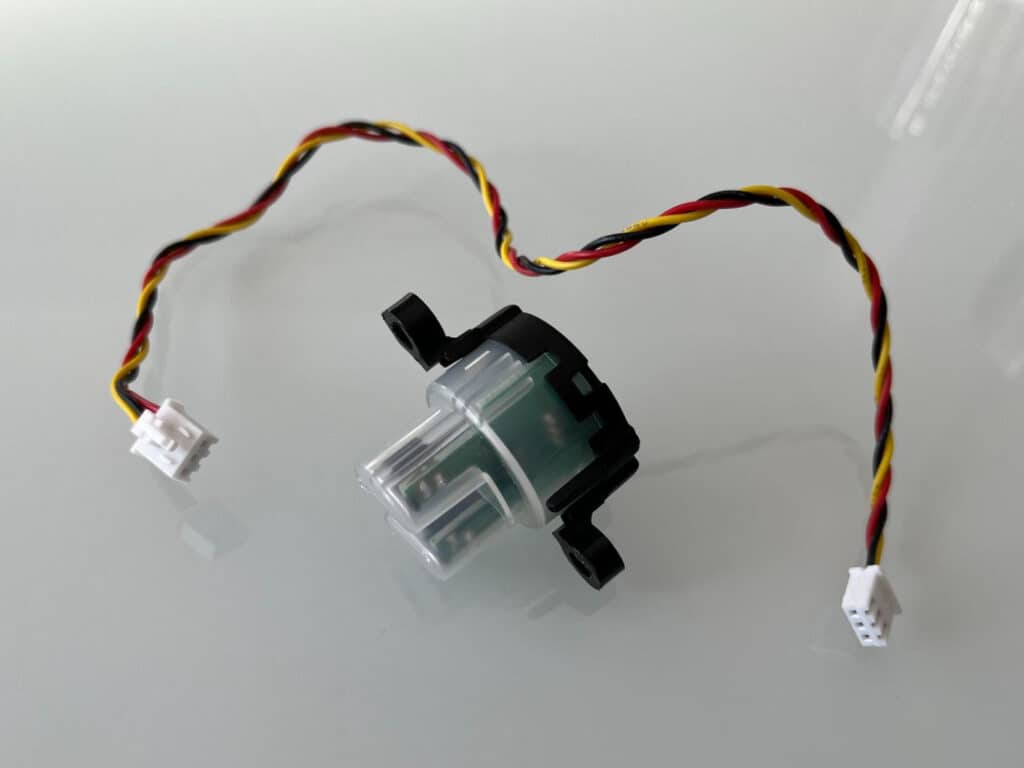
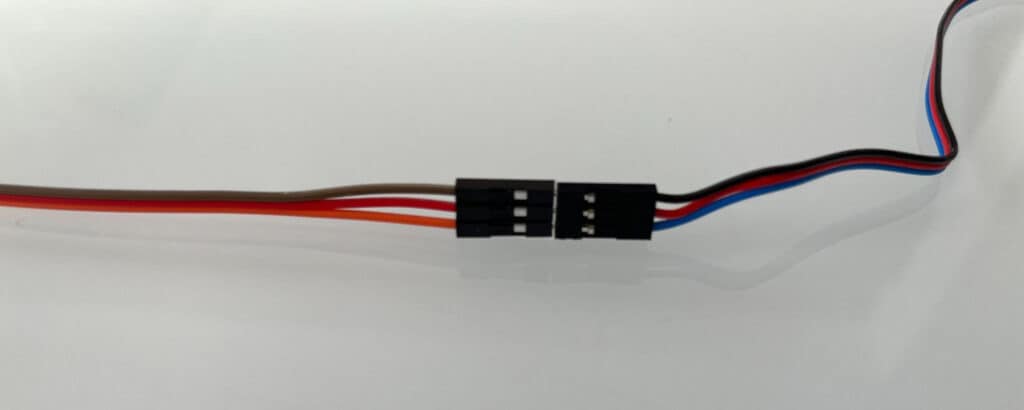
- Connect one end of the red, yellow, and black cable to the turbidity sensor
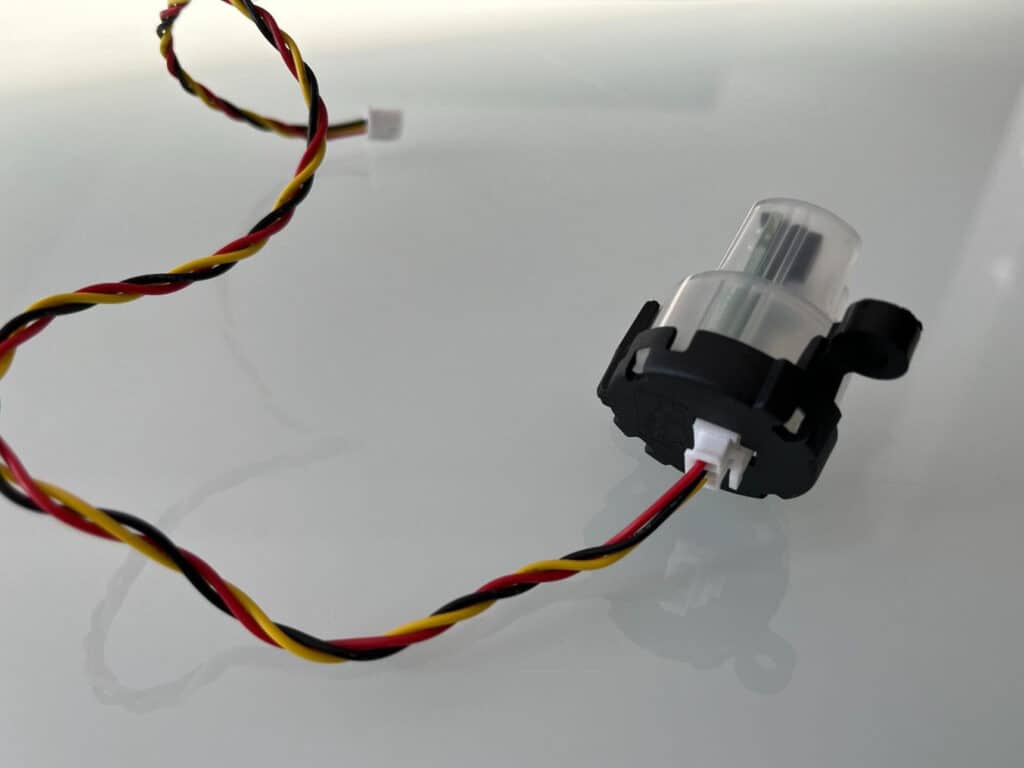
- Connect the other end of the red, yellow, and black cable to the adapter board
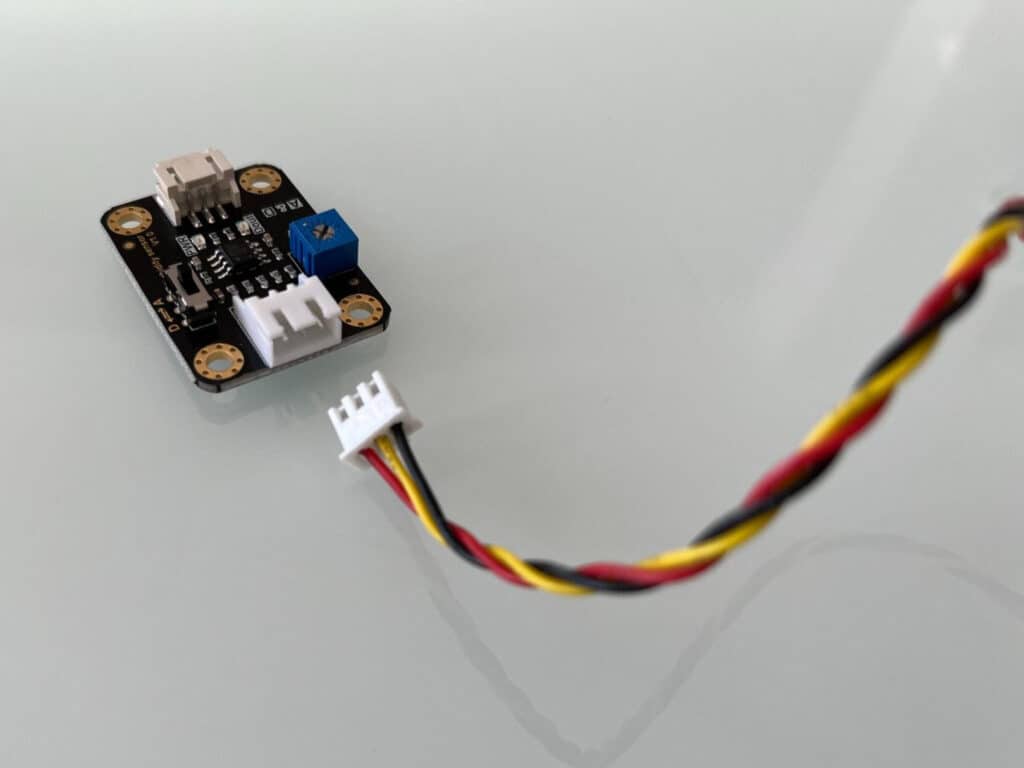
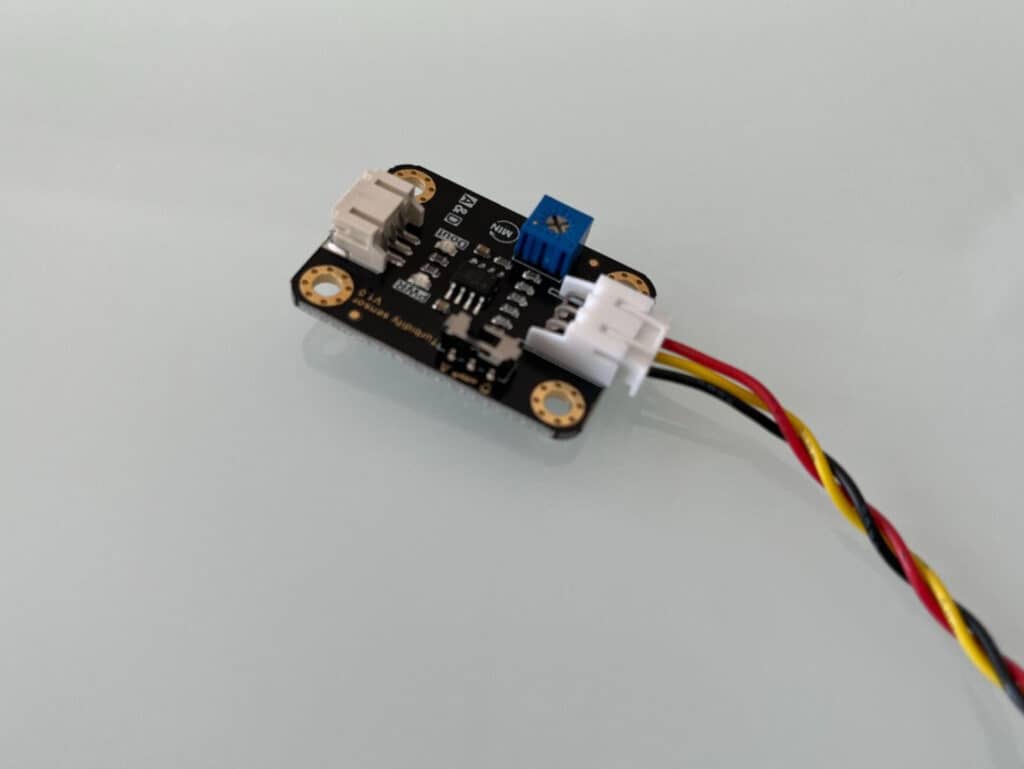
- Connect the white end of the blue, black, and red cable to the free socket on the adapter board

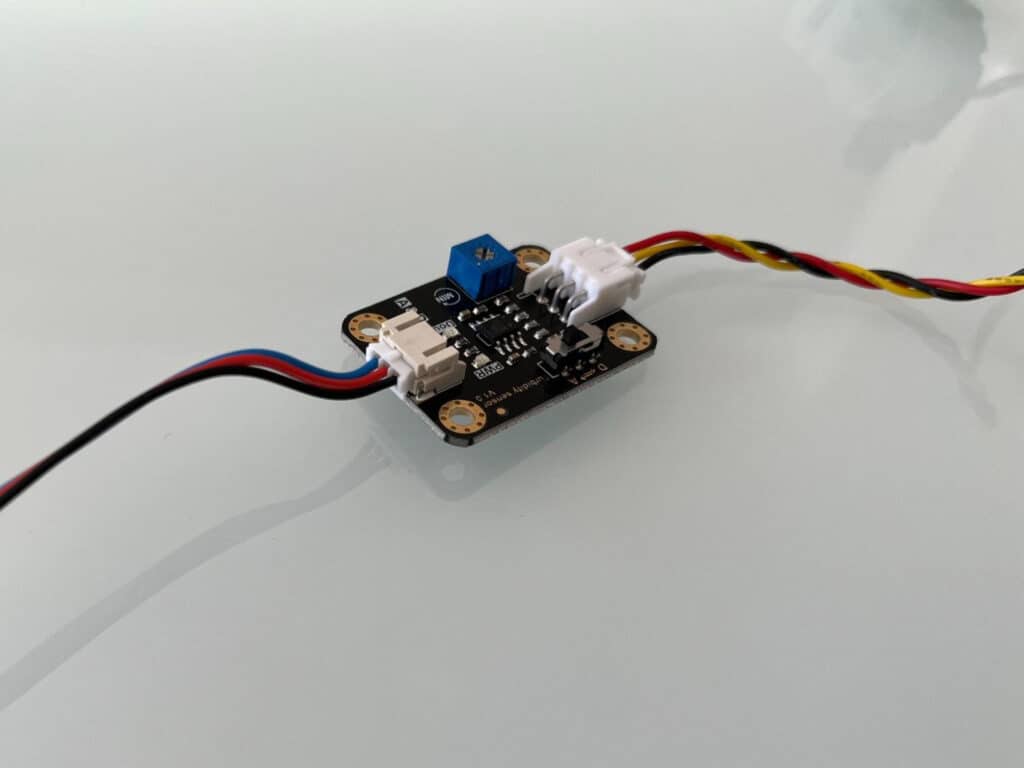
- Connect an orange male-female jumper wire from the blue wire on the blue, black, and red cable to pin 10 on the Edge connector breakout board
- Connect a red male-female jumper wire from the red wire on the blue, black, and red cable to 3V on the Edge connector breakout board
- Connect a brown male-female jumper wire from the black wire on the blue, black, and red cable to GND on the Edge connector breakout board
Activity Break!
We are just about to set up a sensor that will help us monitor the turbidity of water that we find around us, including the water from lakes and oceans nearby. It is first important to understand what turbidity actually is, so let’s play a quick game! To set up, begin with all participants in a big circle with lots of space in between each person. Each participant should stretch out their arms and gently swing them back and forth, and keep their feet firmly planted on the floor. One volunteer will represent the sunlight trying to escape the circle. They will begin in the center and try to sneak out through one of the gaps in the circle. Each time the “sunlight touches one of the participants, or “particles”, that make up the circle, they have to bounce and try another path. Count how many bounces it takes before the sunlight escapes the circle. Now repeat again but have all participants take a step in to bring the circle closer together. You will probably notice that it takes many more bounces for the light to escape!
This is a good example of what we measure when we look at turbidity. We are measuring how many particles are in the water by investigating how much the light bounces around as it moves through the water. The more light bouncing around, the more particles there are, and the higher the turbidity of the water!
Part 2: Code It!
- Open up the MakeCode editor on your computer. Access the MakeCode editor online or download the offline editor on your computer
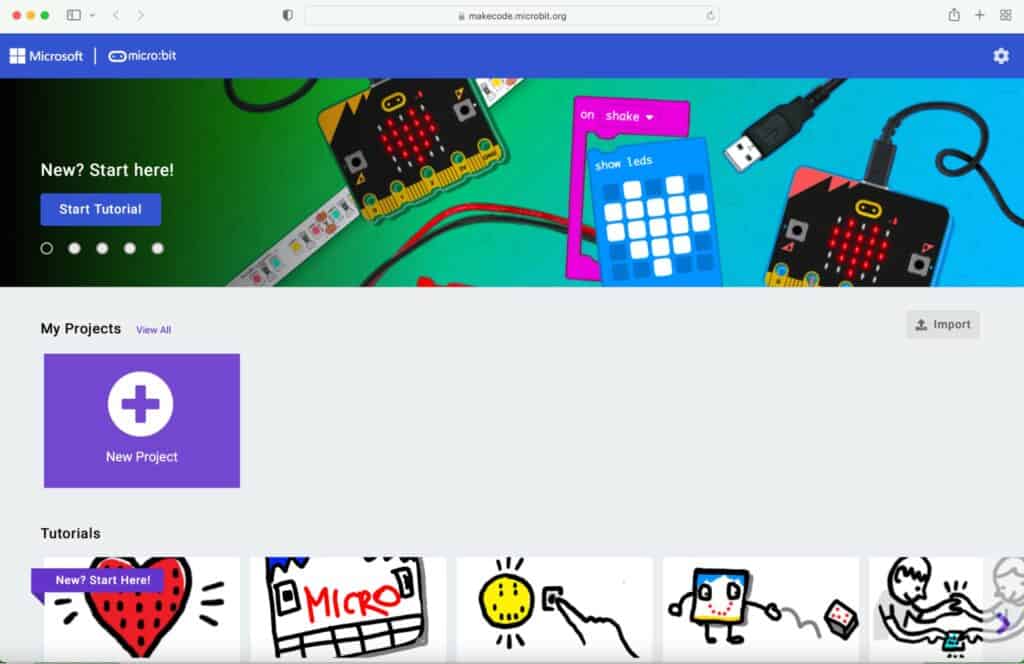
- Create a new project by clicking on the purple plus sign
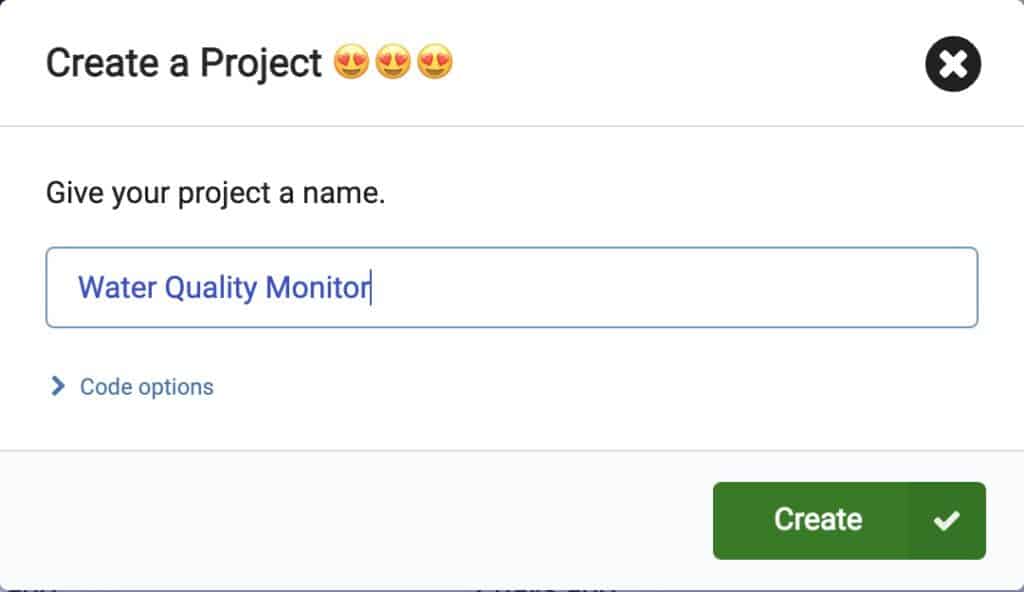
- Give the project a name
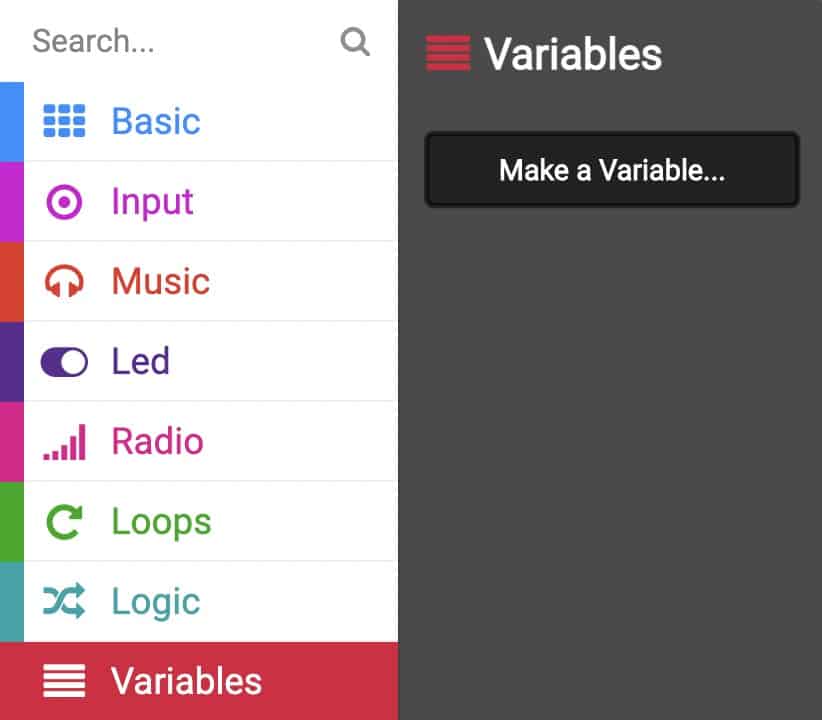
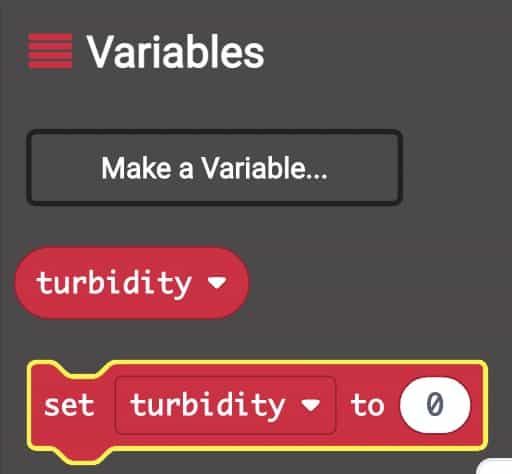
- Begin by creating a variable. We can think of variables in code as being similar to a container that holds a piece of information. In this activity, we want to determine the quality of water by measuring its turbidity. To do that, we need to create a container to hold that information. That will be our variable. To begin, find the red Variables tab in the code palette and click “Make a Variable”
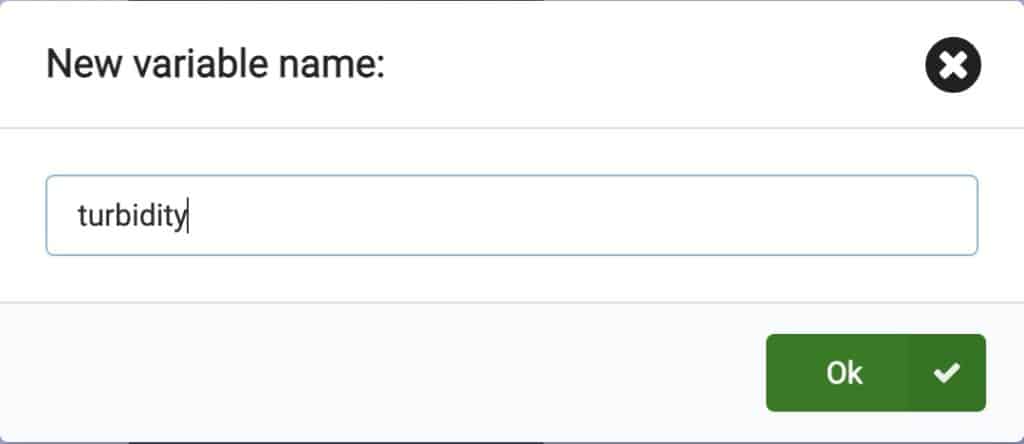
- We can give variables any name we want, but it is important that their names tell us about the information they hold. In this case, our variable will hold information about the turbidity of the water, so turbidity is a good name!
- Now we have several variable blocks to choose from. Find the block that says set turbidity to 0. This block allows us to store information inside our variable by making it equal to a given amount. By default, this block of code sets our variable to equal 0. We will change that in just a few steps!
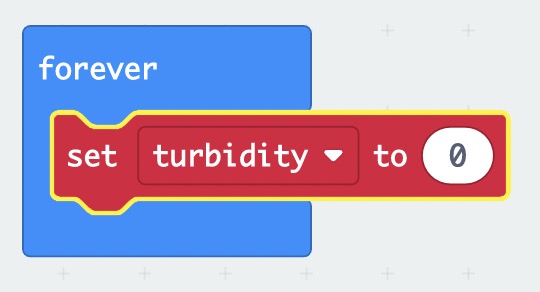
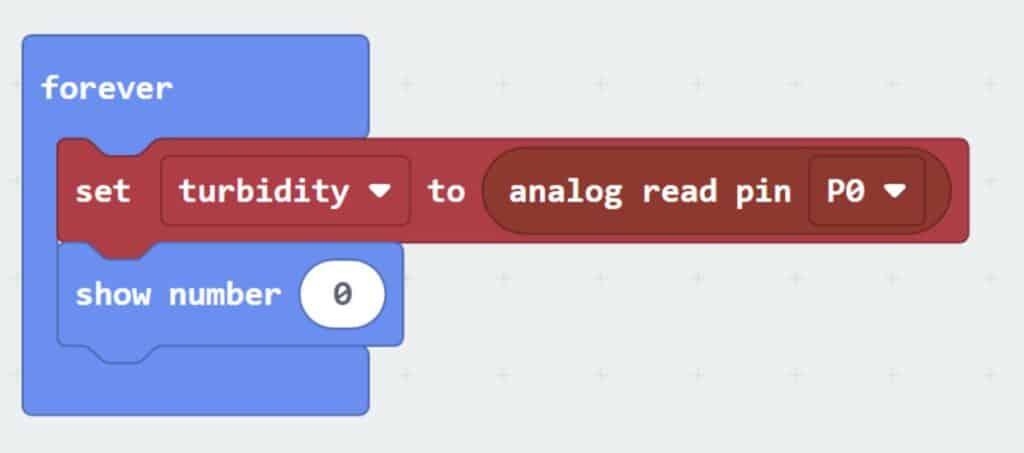
- Drag the set turbidity to 0 block into the forever block. Anything that we put into the forever block repeats over and over again as long as the program is running
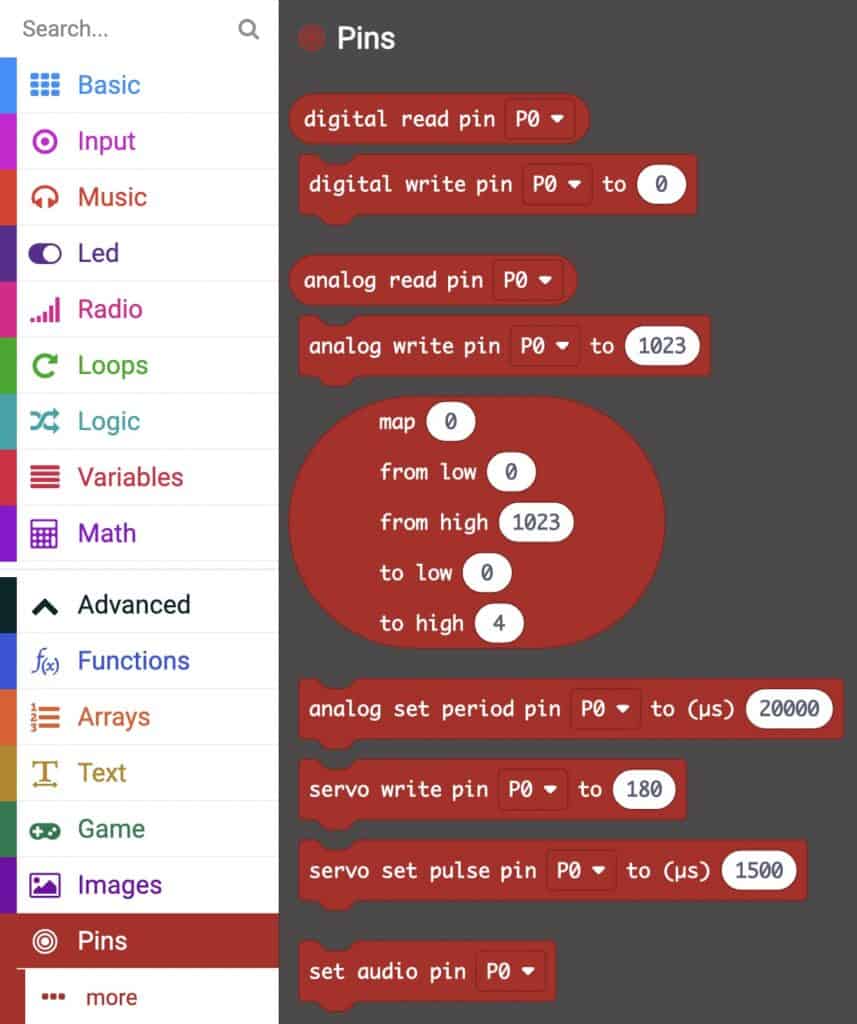
- Now we need to venture into the Advanced section of code blocks and find the block that says analog read pin P0
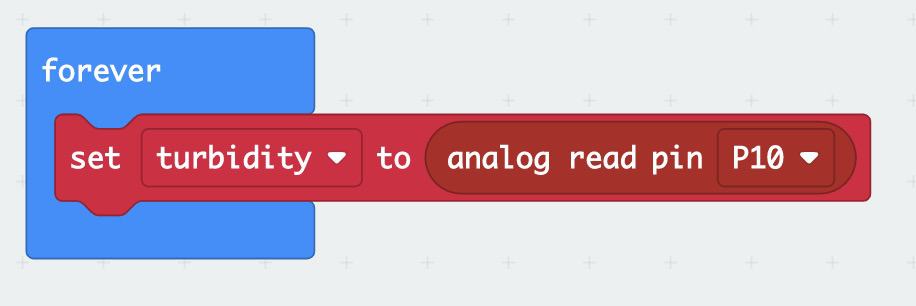
- Drag and drop that block over the 0 in the set turbidity to 0 block. Change its dropdown to P10. This means that whenever our program is running, it will read our sensor on pin 10 of the micro:bit!
- Return to the basic section and grab the show number block
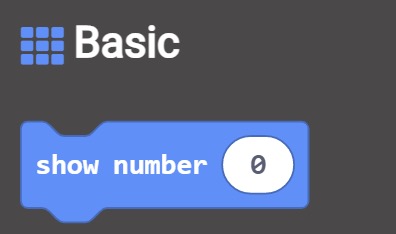
- Drop it underneath the previous line of code
- Now go to the variables section again
- Click and drag the turbidity variable over the 0 in the show number 0 block. Now we can read the turbidity value on the screen of our micro:bit!This means that we can see whether the value is low (cleaner water) or high (dirtier water)!

- Test your water quality monitor in the glasses of water your teacher prepared earlier. In this setup, the higher the number is on your micro:bit, the lower the turbidity of the liquid. Lower turbidity means there are less particles suspended in the water. This can be a good early indicator of clean water.
Now you can take your sensor out into your community and measure the quality of the water in the world around you! Measuring water quality helps us to understand how the water all around us is changing along with our changing climate. With more knowledge, we can become better water protectors and help preserve the environment for animals like natiit!
Conclusion
Students should ask what it means to love and cherish water. Set aside time for students to research ways communities work towards better ocean conservation practices. The following is a list of organizations that advocate in different ways for ocean conservation; select one of the organizations and research more about their work.
